
In the world of polymer clay jewellery making, designs with a durable, shiny finish are highly sought after. In this guide I will teach you how to achieve this with your own creations, in easy steps suitable for beginners.
Let’s start by answering the question…
How do you make polymer clay shiny?
You can make polymer clay shiny through the process of glazing after baking, using a water based polyurethane glaze.
Glazing is a fantastic technique to use with polymer clay jewellery making and can really give your designs a professional finish, with a whole host of benefits.
Glazing polymer clay has many benefits in addition to making your creation shine, such as: preventing UV yellowing from sun exposure, adding a waterproof layer to your clay, adding an extra hardened layer to protect your clay. Sounds great right?
Read on for a step-by step guide to glazing your clay, which glazes to buy, my top tips and more…
This post may link to online stores. If you click a link and buy something, I may get a commission. Learn more.
How to Glaze Polymer Clay, step-by-step
1. Start with conditioning your clay, so the final result is smooth and easy to glaze
Condition polymer clay by warming it up between your hands to make it malleable, and to press out any air bubbles from the clay. Roll the clay into balls or sausages until soft, and no longer flaky.
Here’s what two conditioned balls of polymer clay should look like:

Notice how they are smooth and warmed up, with no cracks in the clay? That’s how they should look!
Now your clay is properly conditioned the final product should be smooth, and easy to buff and glaze after baking. This is why we condition the clay properly in the very beginning – for an easier base to glaze at the end of the process.
2. Mould your design – use cling film with clay cutters to create smooth edges for glazing
Either use your hands to create your designs, or use tools such as clay cutters to create uniformed cut outs – this is particularly useful if you are making polymer clay jewellery, such as earrings, as you can easily make matching pairs.
For help choosing clay cutters, check out my shopping guide here:
Add a layer of clingfilm over your polymer clay before using cutters, and then press the cutter into the cling film. This will help create smoother edges for your design, and make it easier to sand and then glaze the final baked product.
Just tear off a strip and place it securely over your design, and make sure their are no air bubbles or loose bits. Then press your cutter into the clingfilm layer and through the clay.
Simply peel off the clay afterwards for a perfect result!
3. Bake your polymer clay correctly, so the glaze can adhere
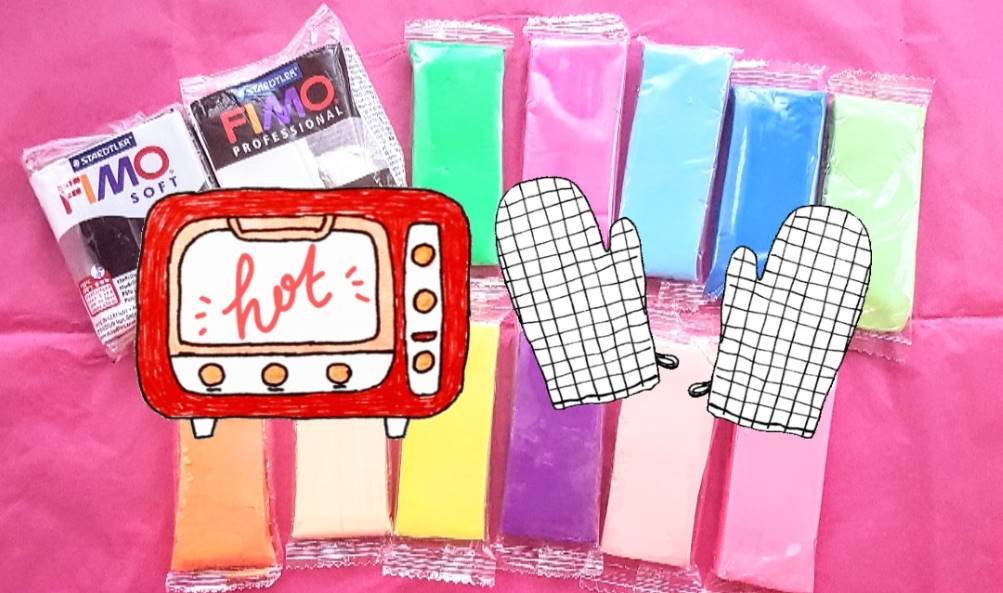

Now your designs are made, it’s time to bake them correctly, to ensure a perfect result for glazing. Undercooked clay or burnt clay makes for a poor base for glazing, so you want to ensure your clay is cooked perfectly every time.
Here is a quick guide on baking, to get you started:
- Cover your clay with baking paper before you put it in the oven, to trap heat around the design for even baking! You can pick up baking paper at your local supermarket, or online – add some to your basket the next time you are shopping.
- Each brand of clay will have slightly different baking requirements, so check the packet and make sure you get it right.
- Don’t use the same tray you would cook food on; it’s best to have an oven tray dedicated to baking polymer clay
I’ve included an A-Z breakdown of brands and their baking instructions here for you, so you can’t go wrong:
Cernit: 30 minutes between 110 and 130°C (230-266°F)
Fimo: Maximum of 30 minutes at 110°C (230°F)
Kato Polyclay: 10-30 minutes at 150°C (300°F)
Original Sculpey: 15 minutes per quarter inch (6mm) of thickness at 130°C (275°F)
Pardo Art Clay: Min 30 minutes at 120 decrees (248 F)
Pardo Translucent Jewellery clay: Min 30 minutes at 120°C (248°F)
Premo: 30 minutes per quarter inch (6mm) of thickness. If thicker, initially bake for 15 minutes and then add another 5 minutes, another 5, and so on until done.
PVClay: 15-20 minutes at 130°C (275°F)
Sculpey III: 15 minutes per quarter inch (6mm) of thickness at 130°C (275°F)
Sculpey Souffle: 30 minutes per quarter inch (6mm) of thickness at 130°C (275°F)
Super sculpey: 15 minutes per quarter inch (6mm) of thickness at 130°C (275°F)
If your designs are still bendy when they come out of the oven this is normal, depending on thickness and brand, but many beginner crafters take this as a sign the clay is not done.
Even properly baked pieces can still be bendy because of what Polymer Clay is made out of; it’s vinyl (plastic), so when still warm it will bend slightly, unless the design is super thick. This is the reason why clay that isn’t baked properly can be brittle and break, because it hasn’t been exposed to heat long enough for the plastic component of the clay, the dye, the stabilizers etc to properly fuse.
So if you can’t tell by feel (bending the already bendy clay), the proper way to tell is trying to break a piece – sounds crazy right? Why would you break one of your new lovely little designs, just to tell if it’s properly done? But that’s what an experimental test piece is for!
Here’s the TEST: If it bends BEFORE it breaks, then it’s done. If it’s not fully done it will SNAP in two because it’s still brittle. Unbaked clay will also chip when drilled.
4. Allow your clay to properly cool before glazing and store properly to avoid brittleness
After baking, wait a few hours, or even a whole day for the clay to cool and sufficiently harden before sanding and glazing.
Make sure you store your clay somewhere safe, away from dust and lint. If possible, store your clay in a plastic storage box or storage drawers made from polypropylene (PP) plastic. Glass storage solutions also work well.
Top tip: to tell if something is the correct plastic, flip it over and look for the markings on the bottom. There should be the number five in a triangle on the underside.
Keep baked polymer clay away from oils and moisture, as these may cause the clay to become brittle after curing. Baked clay should also be kept away from unbaked clay for the same reason – the oils from the unbaked clay may weaken the structure of the baked clay, ruining your creations.
5. Sand and buff your clay before glazing – for a super smooth and shiny finish
Start by gently sanding your polymer clay piece after it has been properly baked and cooled.
Start with a low level git sand paper and slowly work up to a higher level.
Once your piece has been sanded to your liking you can move on to buffing your piece. Use a material like denim, microfleece or muslin to buff the design – a small cloth should be enough.
6. Glaze/varnish your clay with a good quality brush to avoid bristle shedding
Varnishing (or acrylic sealing) will make your design stronger and less susceptible to brittleness from moisture absorption over time – widely available in craft stores, DIY stores, online, you should have no trouble getting your hands on some.
The glaze (or varnish) is super easy to use: simply wait for your paint to dry and then seal your design with a thin layer, and leave to dry – acrylic sealer and varnish can take between 4-12 hours to dry, so be patient and avoid touching your designs.
You should keep your designs stored somewhere safe, so they won’t get damaged out and about, and little bits of dust and fluff on the air in your home won’t stick to the varnish and mess up your designs in this final stage.
Once fully dried your designs will be scuff, chip and scratch proof and will benefit from an extra layer of hardening – win win!
Top tip: make sure you invest in a good quality brush!
The reason you want a nice brush is so the brush hairs don’t shed onto your design and stick in unwanted places.
Secondly, the smoother and better quality brush hairs, the nicer your glaze strokes will come out – think of a cheap brush like an old toothbrush, with the bristles bent out of shape – not the best tool!
A more expensive brush will create lovely smooth and even glaze strokes, with no rough bristle marks.
Glazing technique:
- Glaze the clay two or three times with thin layers, to avoid overdoing it and making the glaze look opaque
- Add your first layer carefully and wait a few minutes, to create a barrier for the following coats – especially if you have painted your designs, as this will help prevent unwanted smudging
- Allow to dry fully before touching
7. Allow the glaze to dry by hanging the clay creation from a hook
This is particularly effective for drying glaze on polymer clay earrings, and really easy to do.
- Start by making a slim hook that will fit through the earring loop in your polymer clay design – use a straightened out paper clip to form a hook shape, or take some craft wire and create the same thing.
- Hang your hook with the jewellery attached from somewhere safe – a jewellery rack for example.
- Wait for the glaze to dry, according to the brands packaging instructions.
Top tip: if you are painting your polymer clay, allow the acrylic paint to fully dry before applying your glaze – wait several hours or a day just to be sure! Otherwise you may run the risk of smudging the paint and messing up your designs.
Different Types of Polymer Clay Glazes
It’s best to use a polymer clay varnish or glaze that has been specifically designed for use with the material, as this will adhere the best and will not have any adverse side effects on your clay.
I like to stick with clay brand varnishes, such as the FIMO gloss, as below:

Sculpey also do an excellent range of glosses, if you prefer this brand over FIMO, as below:

You can pick up craft varnishes from craft stores or online that will work with polymer clay, but I prefer to buy the clay branded one, as I’m just like that! I like to be reassured the varnish is 100% safe to use on my little masterpieces 😉
Epoxy resin is another way to make polymer clay pieces shine, if you are a resin crafter and are familiar with how to use it. If you don’t have a resin kit to hand, it can be easier to stick with regular varnish.
You can also use PVA glue to varnish polymer clay, which I will discuss below.
Top tip: water-based glazes work best on polymer clay, so stay away from solvents and petroleum based glazes.
How to Make a Polymer Clay Glaze
How to make polymer clay shiny with PVA glue –
An easy way to make a glaze for polymer clay is to water down PVA glue until you create a consistency like milk, and to apply it in thin layers to your design. This is popular amongst beginner crafters who are looking for a quick-fix when glazing their clay, with what they have lying around the house.
I wouldn’t recommended it as being the best method, but it’s an easy fix if you’re in a pinch.
Can I use Nail Varnish on Polymer Clay?
It’s best to avoid using nail polish or nail varnish on polymer clay as it can react with the material, causing a mottled effect. The solvents will break down the polymer clay over time and ruin your creations structural integrity as well as outward appearance.
Avoid aerosol glazes also for polymer clay, for the same reasons as above.
How to Use Glaze When Applying Glitter or Mica Powder to Polymer Clay
Here’s a quick breakdown for you:
- Apply a thin coat of glaze to the area of the polymer clay design you would like the glitter/mica to adhere to.
- Add the glitter as quickly as you can so it doesn’t start drying up.
- Carefully tip off the excess glitter.
- Allow the glaze to dry for one hour – longer than what is required on the glaze packaging instructions, as the glitter will slow the drying process, as it reduces the air exposure to the glaze.
- After the first layer of glaze is dry underneath the glitter, go ahead and add the top layer of glaze over the glitter. The glitter shouldn’t smudge if you have allowed sufficient drying time for the first layer of glaze.
- Wait another hour for the top layer of glaze to dry, and you are done!
Which is the Best Glaze for Polymer Clay?
The best glaze to use for polymer clay is a water-based glaze from a clay brand, as the glaze is specifically designed for use with polymer clay, unlike general all-purpose glazes, resins and PVA thinned gloss. Water based glazes provide UV protection for the clay to prevent sun bleaching, they are durable, they will not effect the structure or corrode the appearance of polymer clay and they will not become tacky over time.
I highly recommend the FIMO gloss, as below:
- It comes with a brush attached to the lid – easy to use!
- It’s a good quality gloss with high durability designed for use with polymer clay from a reputable brand
- Quick drying and a lovely shine
- A little goes a long way, great value for the price
Conclusion
I hope you found my guide to ‘how to make polymer clay shiny’ useful and you now feel confident to use your new knowledge of glazing for your upcoming polymer clay projects! Glazing is a fantastic technique to use with polymer clay jewellery making and can really give your designs a professional finish, with a whole host of benefits.
It’s my goal to make the world of polymer clay earring making fun, easy and informational for all beginners out there looking to get started with the craft! I have more guides and how-tos to help you on your journey, as below:
I also provide articles on: a How-to Guide for beginners, a Sales Guide for selling polymer clay earrings on Etsy, a comprehensive Cost Guide, and a bumper list of earring Design Ideas, so you’re never stumped by clay-makers block!
For more information on getting started with polymer clay earrings, check out:
How Much does it Cost to Make Polymer Clay Earrings?
Can You Paint Polymer Clay Earrings? A How-to Guide
How Long to Bake Polymer Clay Earrings – Quick Guide
How to Sell Polymer Clay Earrings on Etsy
How to Make Polymer Clay Earrings: the Basics
Design Ideas for Polymer Clay Earrings
Top Tips for Making Polymer Clay Earrings
Why Polymer Clay Breaks and How to Fix it
The Best Polymer Clay for Earrings and Other Jewellery

Lorna is a footwear geek and the founder of Wearably Weird. She created a YouTube channel in 2021 for fellow footwear fanatics, dedicated to detail-rich footwear reviews and info. She has a fashion media qualification (awarded in 2011).