
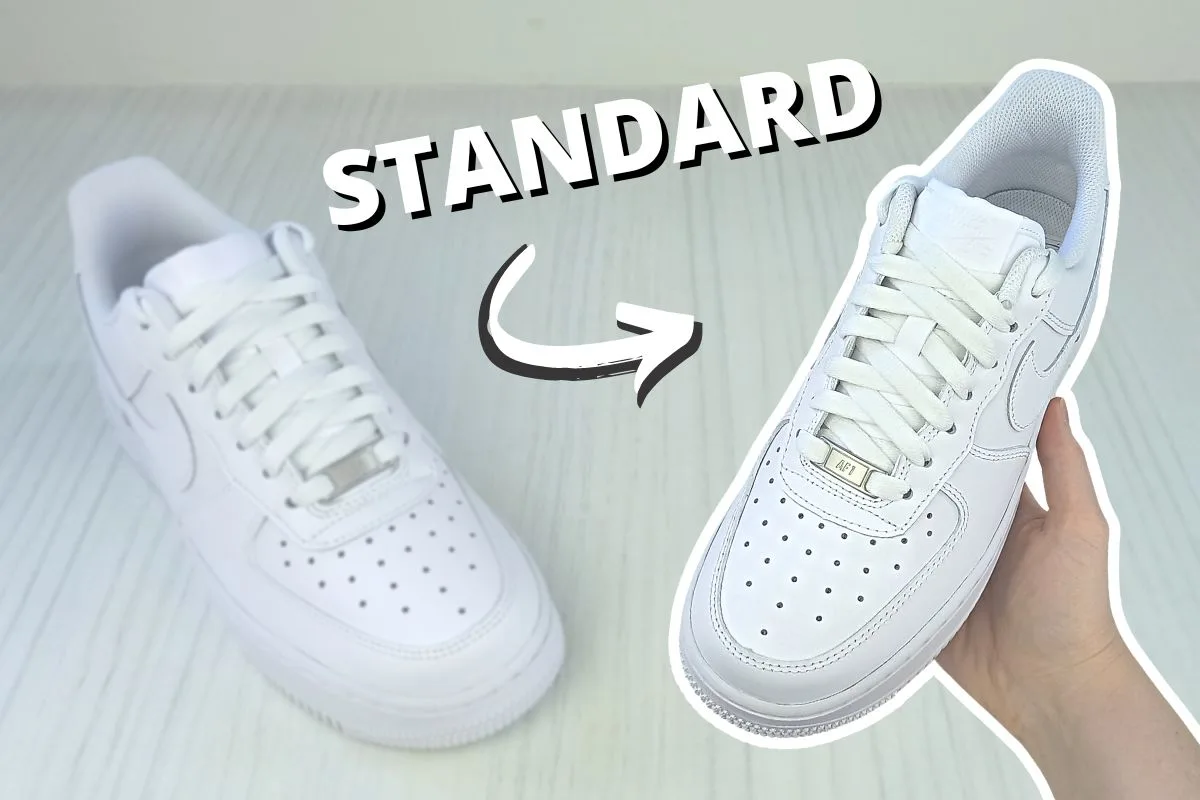
Learning how to lace up your Air Force 1s in a standard style is a great skill to have if you have removed your laces for cleaning, or need replace them with a fresh new set and have no clue how to lace them back up.
In this post I’ll be showing how to lace Air Force 1s in a standard way that is the Nike factory default. I’ll be including photos of the steps on my own Air Force 1s, as well as a video for you to follow along with if you get stuck.

How To Lace Air Force 1s
If you would prefer to watch the step by step instructions, here is a video of me showing how to lace your Air Force 1s:
Let’s get into the written instructions, which I’ll be demonstrating on the LEFT Air Force 1. When lacing the RIGHT Air Force 1 please reverse the lacing pattern (left hand lace sits on top of the right hand lace in this case).
Step 1.
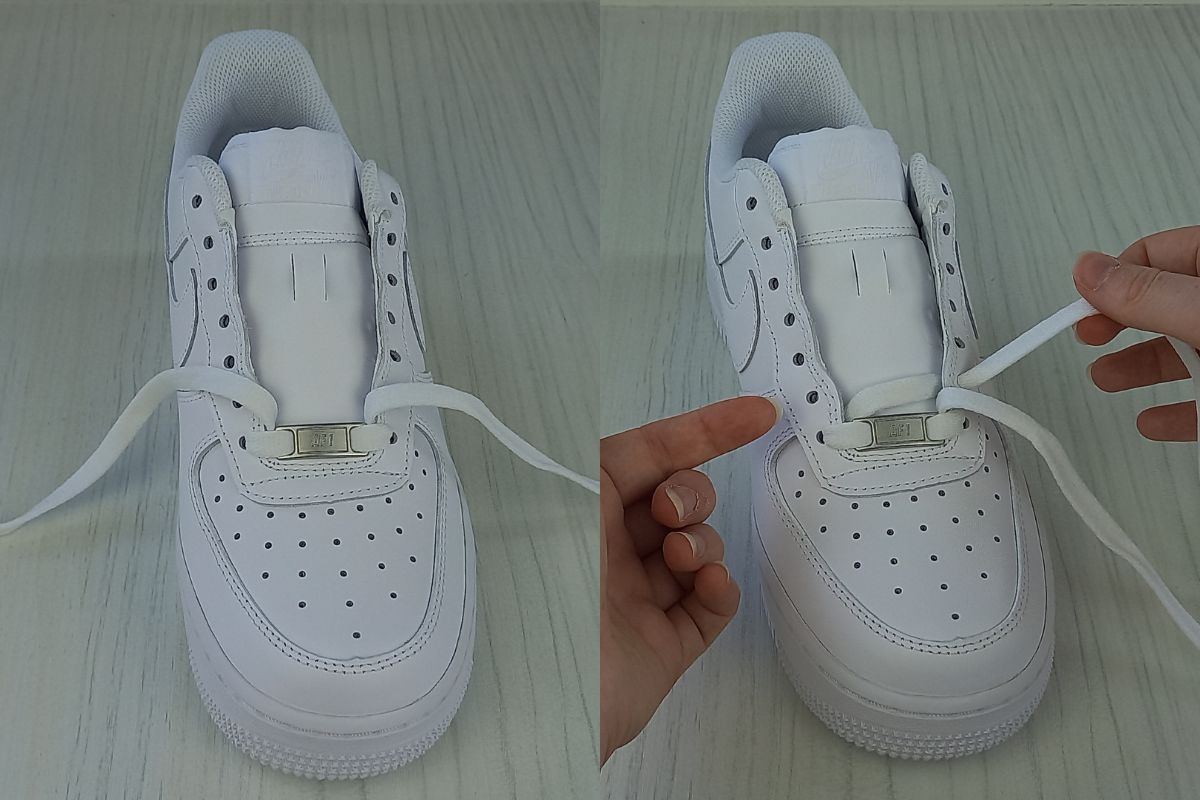

- Begin by slipping the little AF1 metal dubrae onto the lace. Pull the lace ends through the slots in the dubrae until it sits in the middle of the lace.
- Then thread each lace end down into the two bottom eyelets on each side, from above. Double check the lace ends are definitely going down into the eyelets from above, not underneath, as pictured.
- Then adjust both lace ends to ensure you have an equal amount of lace on each end, and the dubrae is sitting flush against the sneaker tongue. If you like you can slip a pair of balled up socks down into your Air Force 1s to create a little bit of resistance under the tongue at this stage. This will ensure the pattern will turn out nice and evenly as we go along.
Step 2.

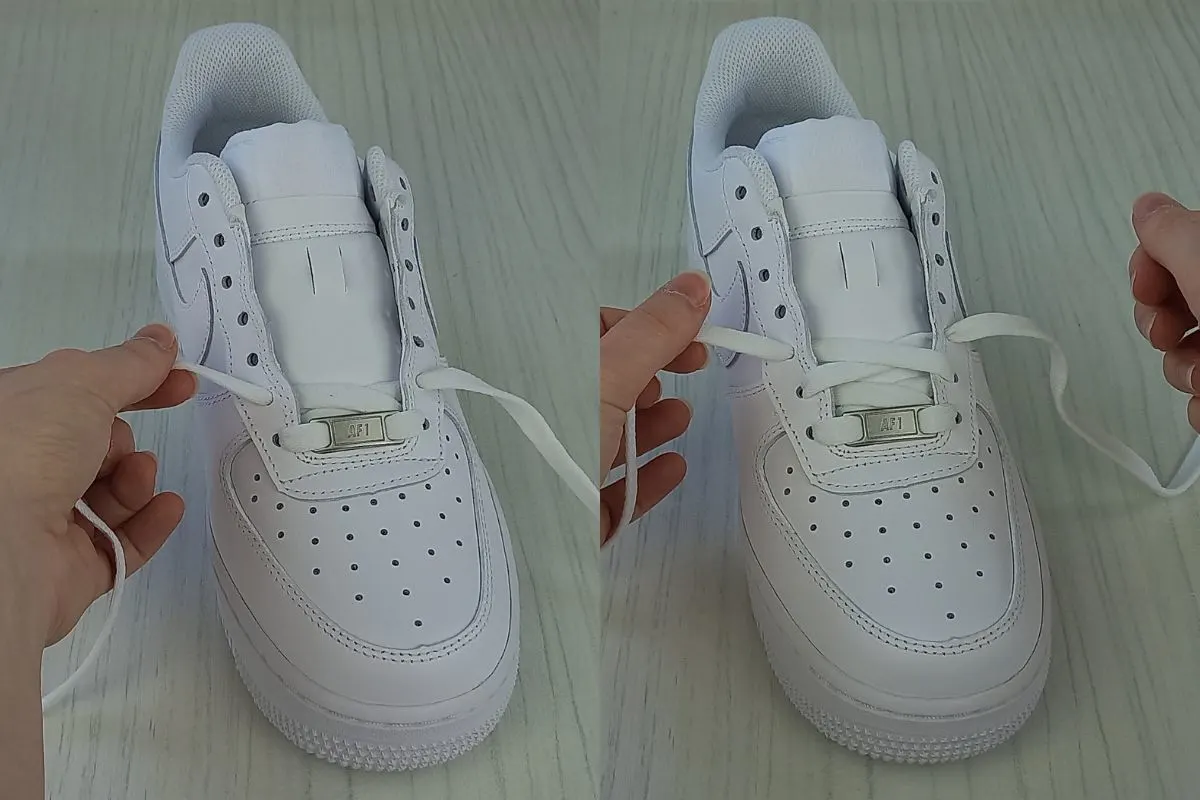
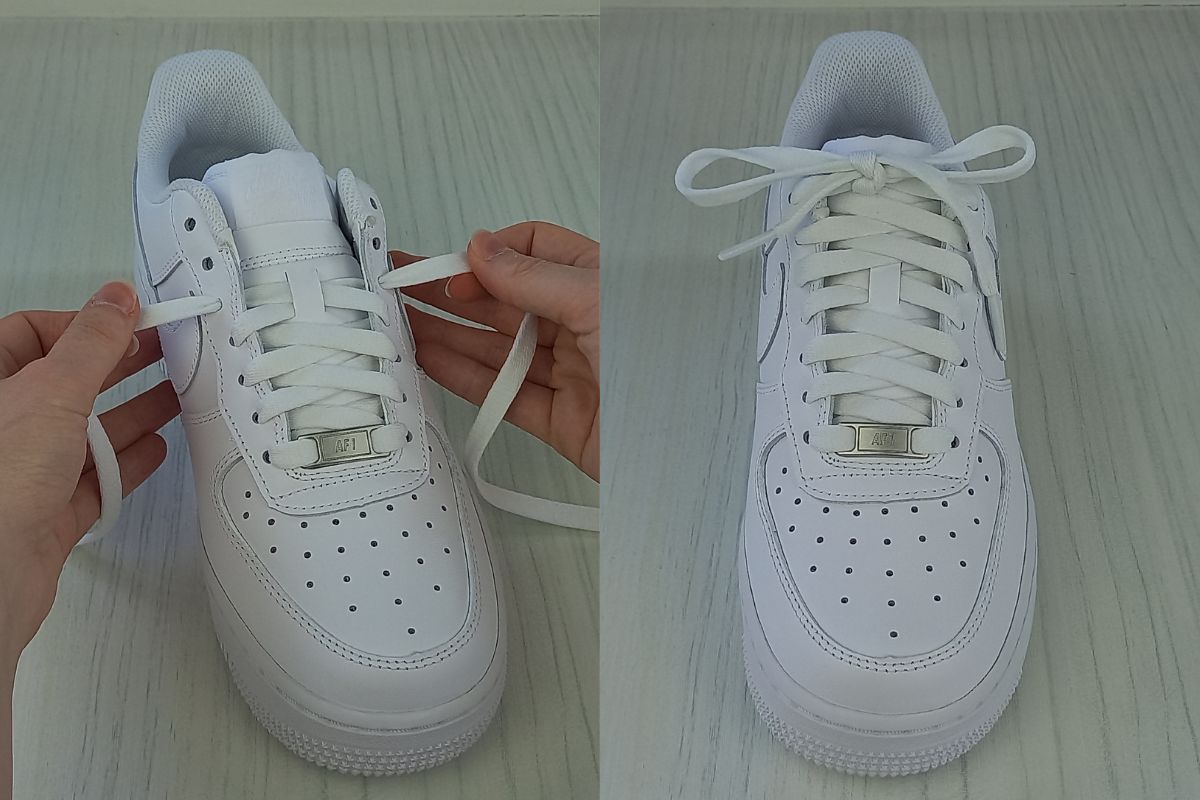
- Now take the lace end on the left hand side and bring it across the sneaker tongue first. Take it up into the second eyelet from the bottom on the right hand side.
- Then take the lace end on the right and bring it over the sneaker tongue and up into the second eyelet from the bottom on the left. The lace should be sitting neatly on top of the other to form a cross on the sneaker tongue, as pictured above. If you get any twists in your laces take your time and straighten them out so they sit nicely.
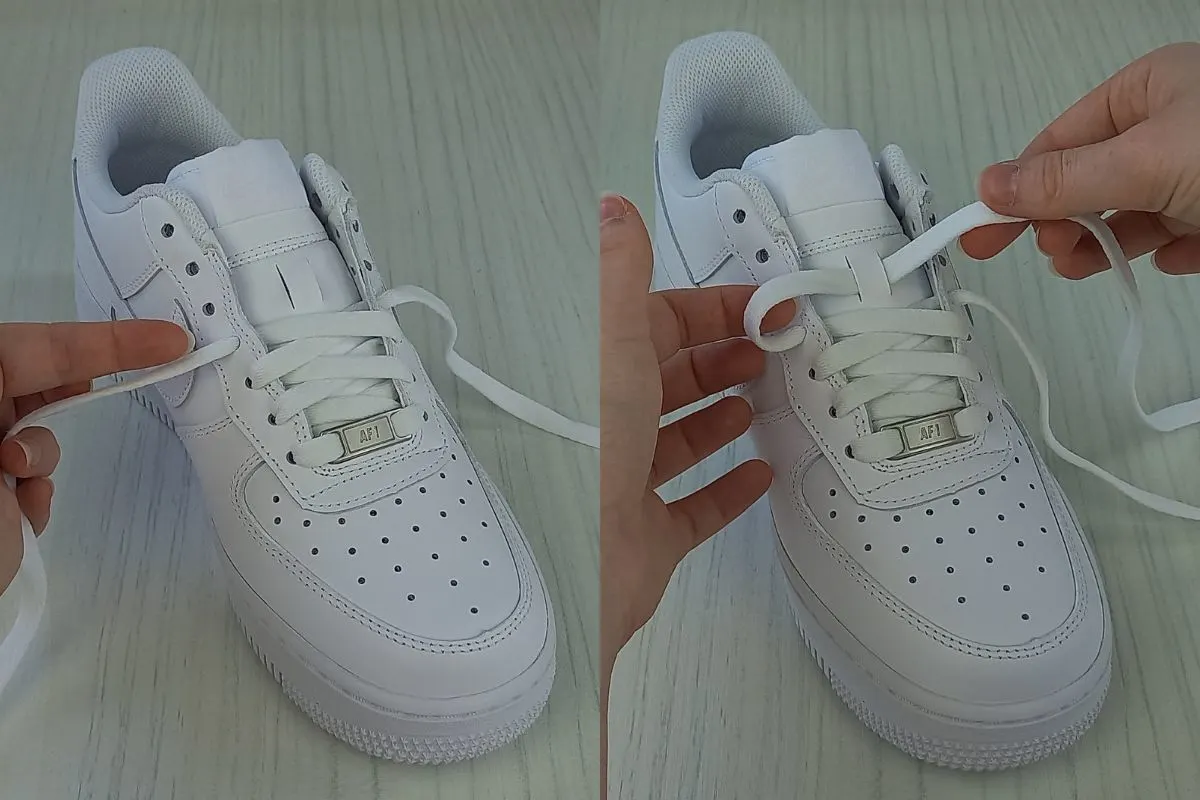
- Repeat this step, starting with the lace that now sits on the left hand side. Make sure to always start with the left hand side, so the crosses always turn out the same. Bring it over the sneaker tongue and up into the third eyelet from the bottom on the right. Then take the lace on the right and bring it over the other to form the neat cross, and up into the third eyelet from the bottom on the left.
- Note – make sure the lace ends are always coming up into the eyelets from underneath, not going down into them from above.
Step 3.

- Repeat the step again, forming the third cross on the sneaker tongue. The lace ends should now be coming up into the FOURTH eyelets from the bottom on each side. This is important, so make sure to stop once you reach these eyelets.
- Now we are going to make use of the little loop on the sneaker tongue. Start with the left hand lace end and bring it underneath the little loop and up into the fifth eyelet from the bottom on the right hand side.
- Now take the lace end on the right and bring it through the loop also, to sit neatly on top of the other lace. Feed it up into the fifth eyelet from the bottom on the left. If you feel a bit confused with this step you can always check out the video linked earlier in this post and follow along!
Step 4.

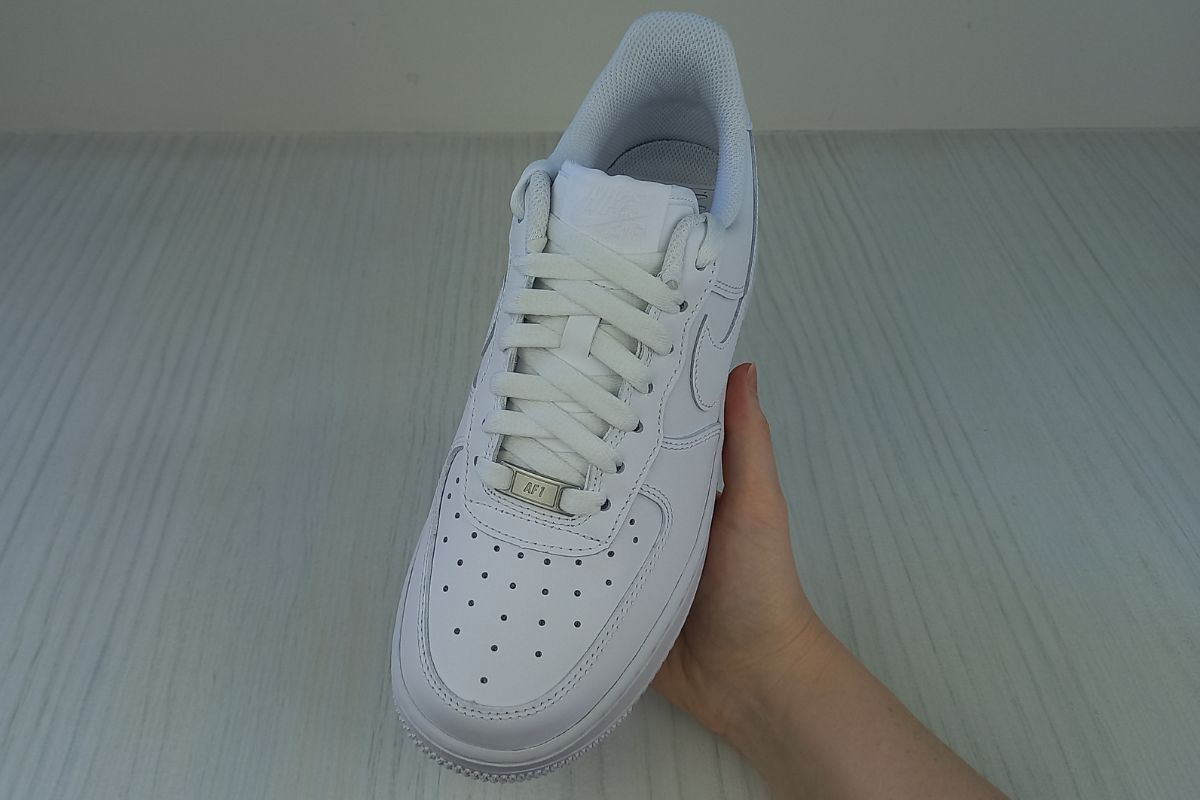
- Continue the lacing pattern, always starting with the lace end on the left, until you reach the top eyelets on each side.
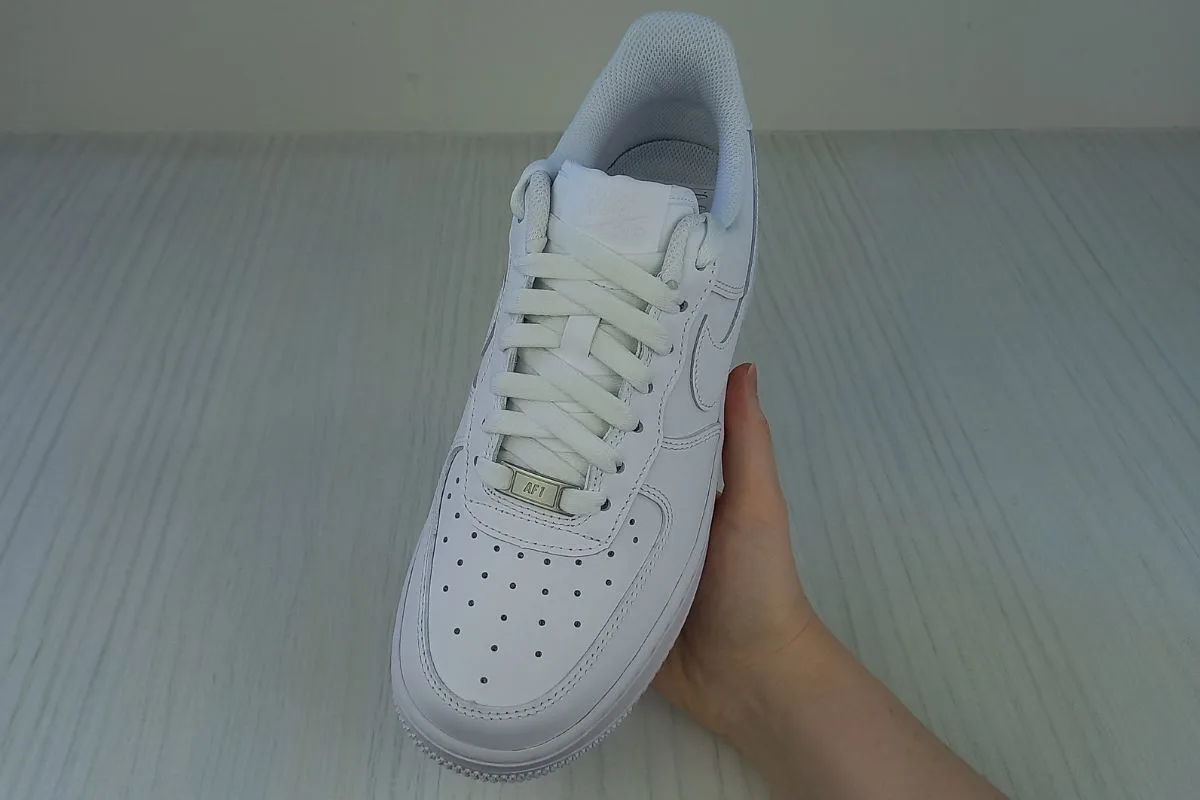
- At this stage you can bow your laces as usual, as I have done in the above image. I think this looks fine, but some may prefer a crisper look. In this case you can simply tuck the lace bow behind the sneaker tongue at the top, as I have done in the below image:
- Alternatively if you are worried about the lace bow bothering the top of your foot you can use lace anchors to hold the lace ends in place. This creates a neater finish. Lace anchors are inexpensive, and can finish off your Air Force 1s with a neat pattern, that you won’t need to re-bow each time you slip on your shoes. Check out lace anchors here.
- Repeat the above steps on your right shoe, and remember to flip around the lacing order. So always start with the lace on the right hand side, so that the lace on the left hand side sits on top of it when they form the cross.
Ideal Shoelace Length For Lacing Air Force 1s
If you are purchasing a new pair of laces for your Air Force 1s, the ideal lace length to go for is between 49 and 54 inches. If you have small feet go for 49 inches, and for larger feet choose the 54 inch laces.
Air Force 1 Lows have 7 eyelet pairs, so may benefit from a shorter lace. The highs have 9 eyelets, so a longer lace is required.
Related Posts
I hope you found the information on lacing Air Force 1s in this post helpful, and now feel confident to try lacing up your own pair.
For more lacing content, check out:
How To Lace Vans Old Skools (Standard Way)
How To Lace Converse – 9 EASY Ways
How To Lace Vans – 7 Cool Ways (EASY guide)
How To Lace Shoes So They Slip On – 3 EASY Ways

Lorna is a footwear geek and the founder of Wearably Weird. She created a YouTube channel in 2021 for fellow footwear fanatics, dedicated to detail-rich footwear reviews and info. She has a fashion media qualification (awarded in 2011).