
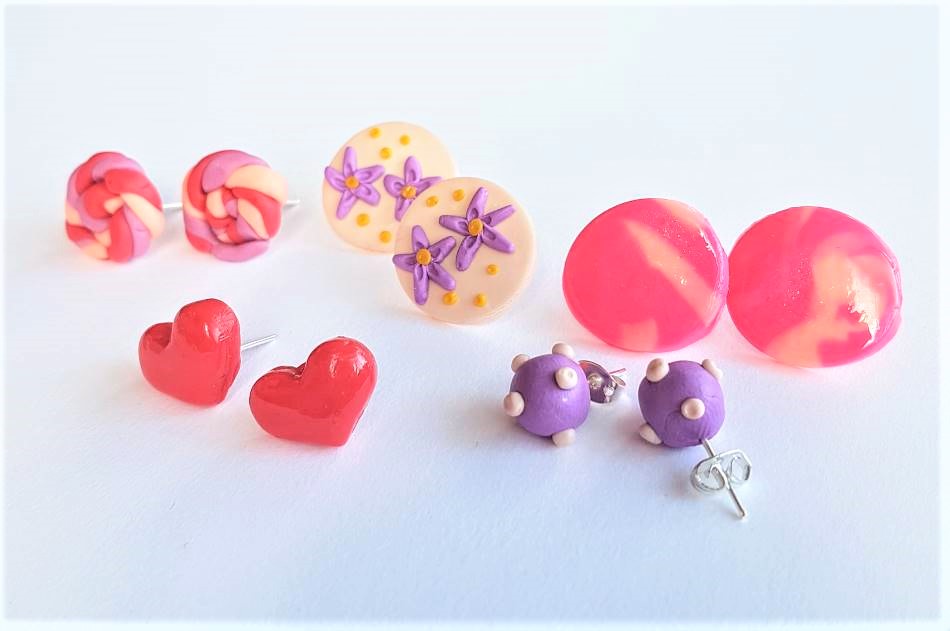
Check out these polymer clay stud earring ideas, as some inspiration for your next jewellery crafting project.
Polymer clay earrings are everywhere right now, on our Instagram feeds, to our Pinterest boards; why not give these stud designs a go for yourself and see how easy it is to get started in the world of polymer clay earring making.

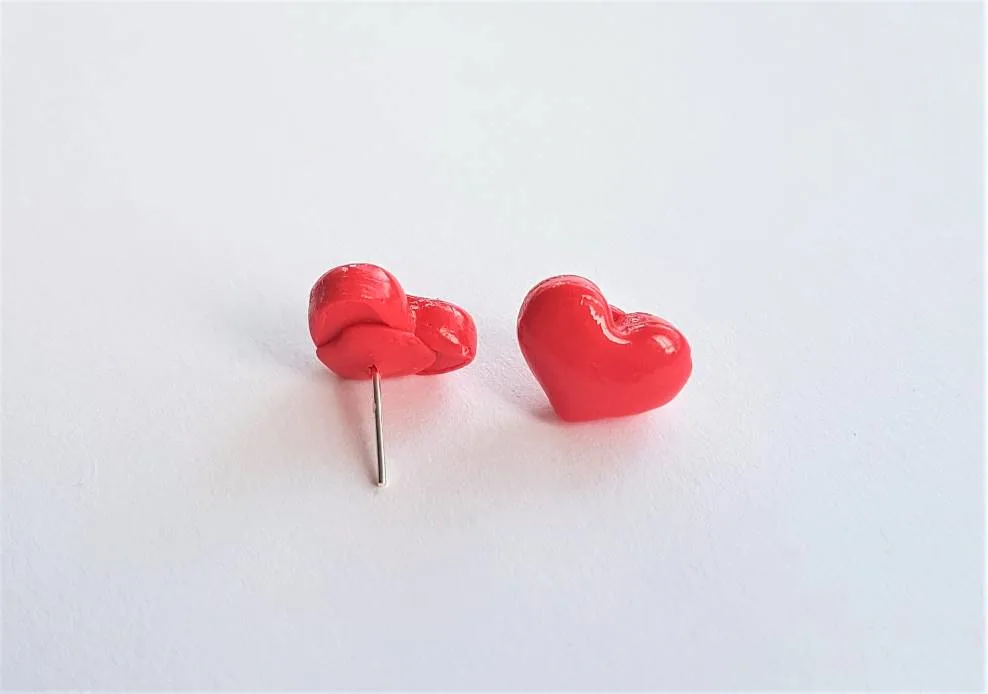
1. Polymer Clay Heart Stud Earrings
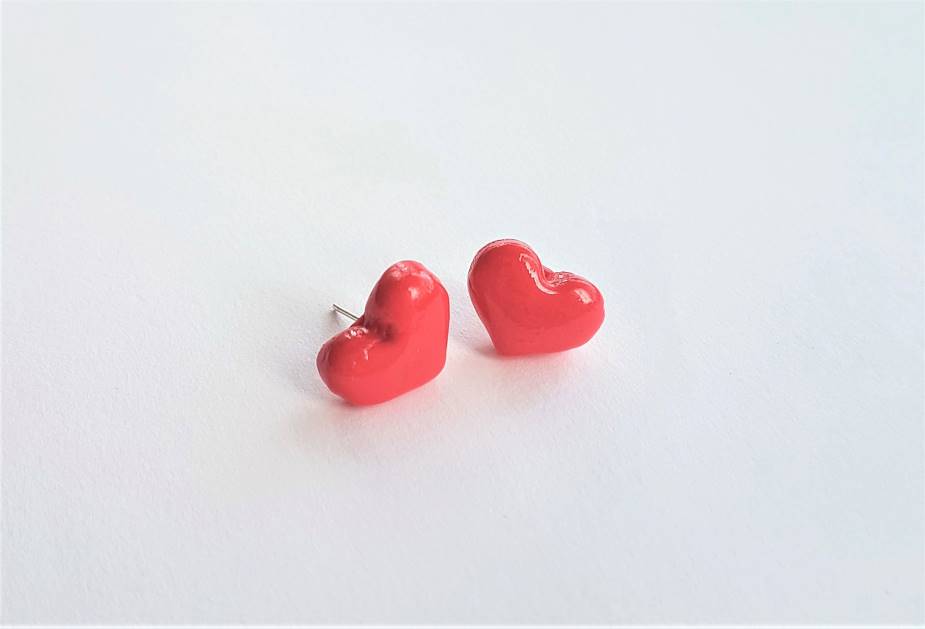
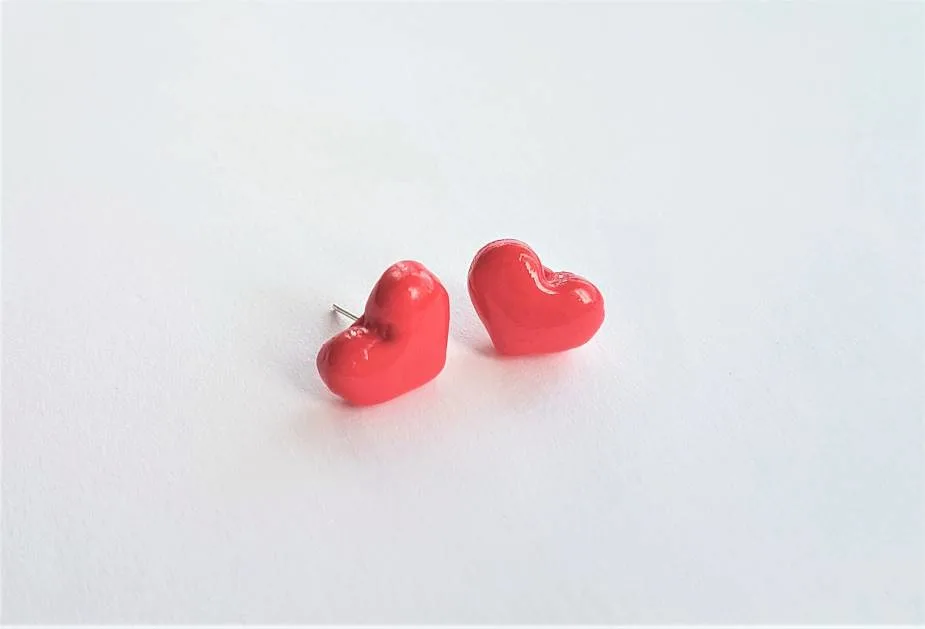
These shiny heart studs are very cute to look at and are super simple to make. I feel these would do really well on Etsy (especially as Valentine’s Day stock), or as a gift for your friends, as hearts are a classic earring design and always sell well.
They can be made in any colour you like, but I decided to go with a classic red.
Here’s how to make them…
1. Condition your clay, roll out your clay and use a heart shaped cutter
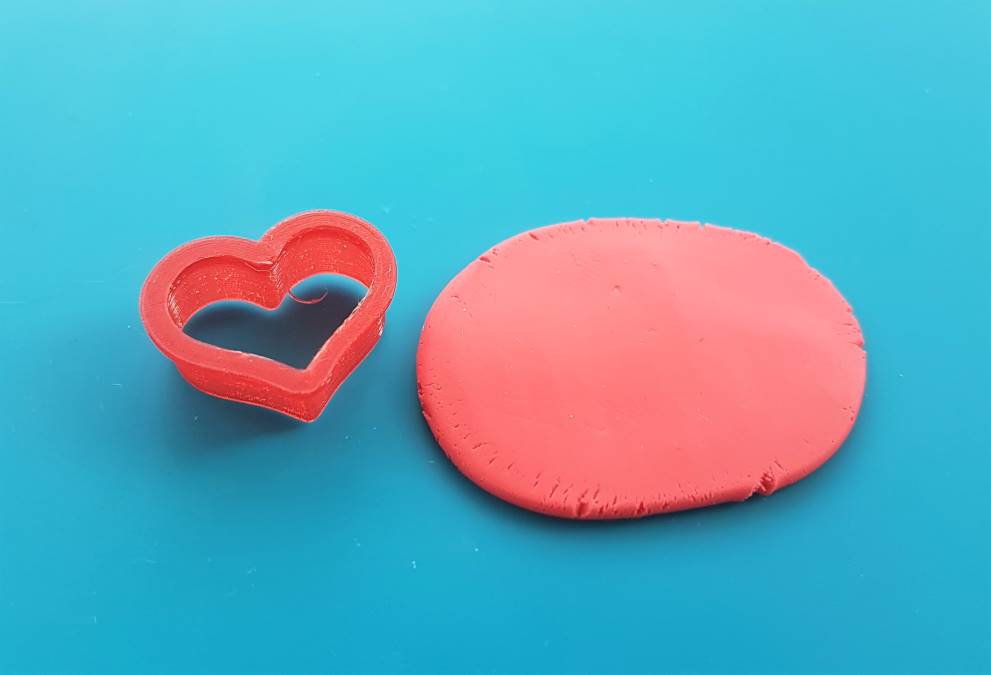


- Condition your clay until it’s smooth and malleable, as pictured above.
- Then, take an acrylic rolling pin and roll out the clay.
- Take a small heart shaped cutter that is an appropriate size for a stud, and press it into the clay.
If you need help shopping for cutters check out my recommended products here:
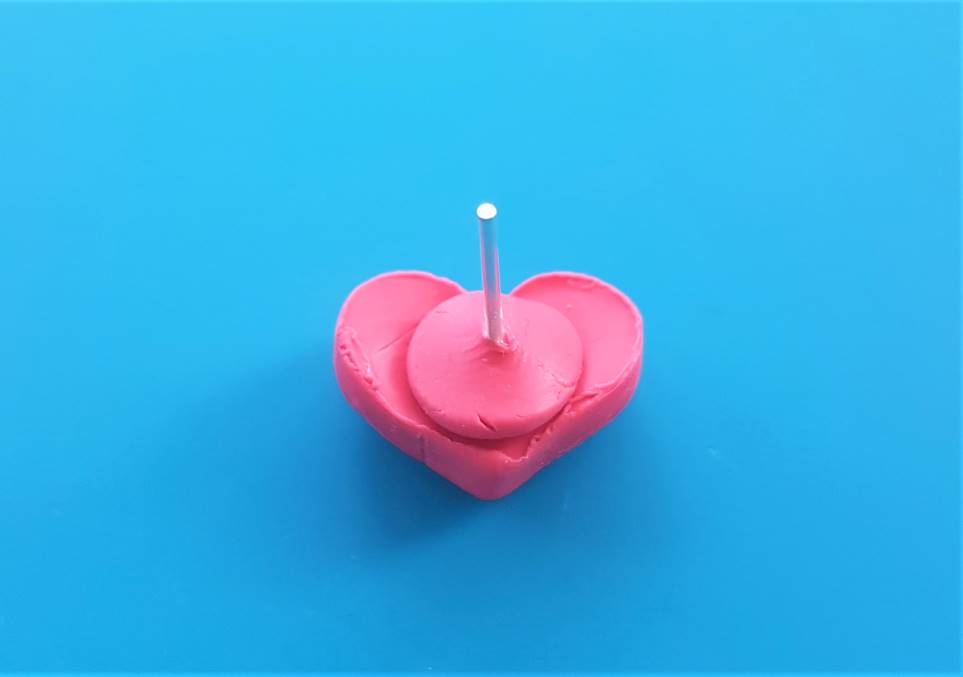
2. Take a small ball of clay and make a ‘pad’ to cover the stud back


Use a clay that is the same colour as your heart (or use a contrasting colour for an extra flare of design!) and condition it into a small ball.
Flatten the ball with an acrylic rolling pin, until it is slightly wider than the base of the stud, but not too large to completely compromise the back of the design.
3. Use polymer clay glue to attach the clay covered stud back to the reverse side of the earring
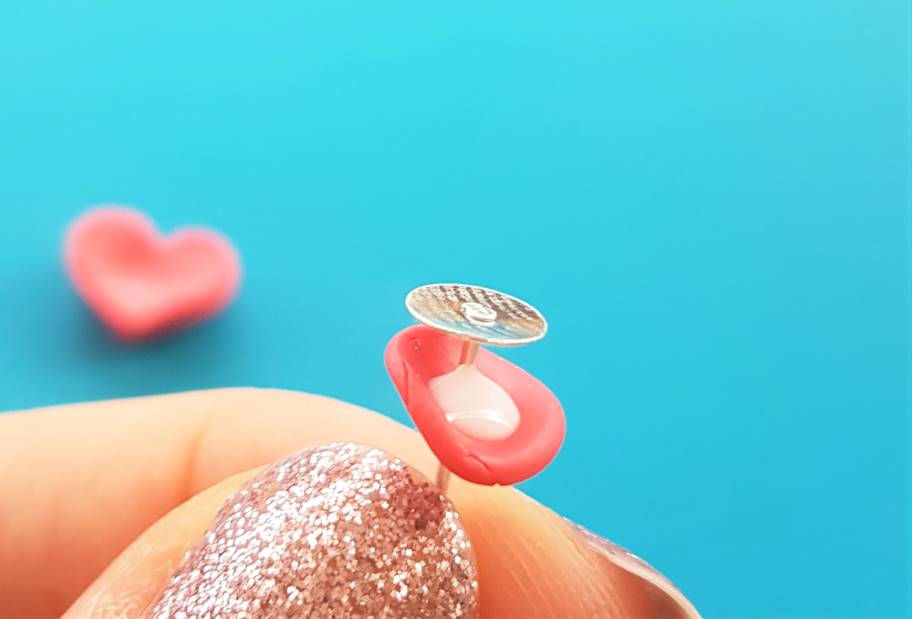

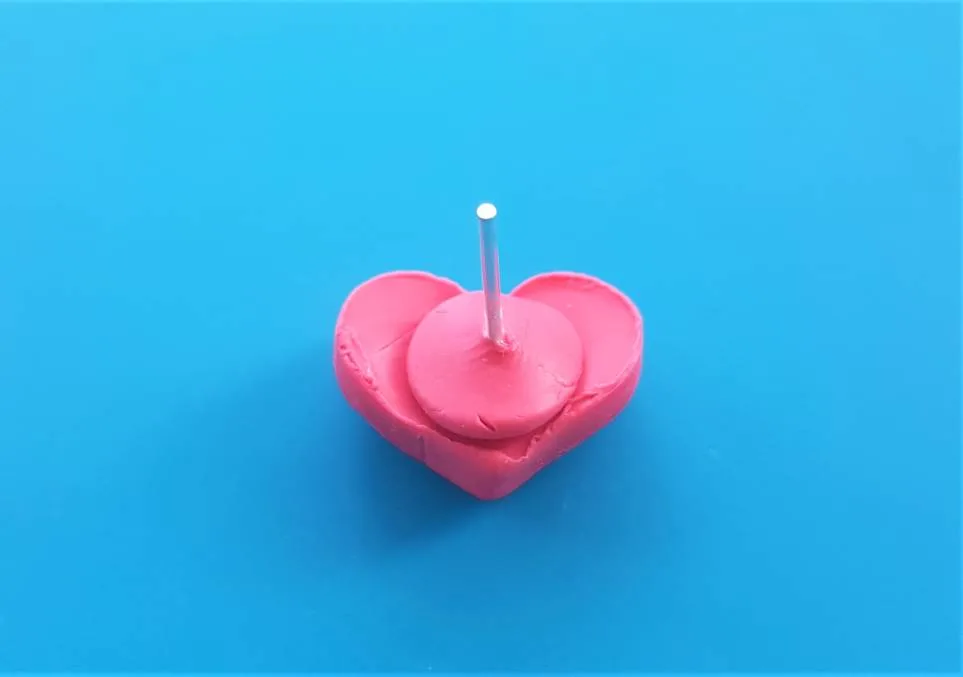
Skewer the pad of clay over the stud stem and press it down so it sits just above the base, as pictured above.
Then take some polymer clay glue and add it between the base of the stud and the pad of clay, and press everything against the base of the stud (as pictured).
Now bake your polymer clay studs in the oven according to the packaging instructions of your chosen brand of clay.
4. After baking, use varnish to add shine to the stud

Once your studs have baked, take them out of the oven and allow them to fully cool. I suggest waiting at least several hours for them to cool and harden, before varnishing.
Take a polymer clay varnish or glaze and begin to apply it with a good quality brush. Two to three coats should be fine; too many coats will make the glaze look a little cloudy.
Top tip: A good quality brush will prevent bristle shedding onto your design, and leave nice smooth streaks.
After this step allow your glaze to fully dry according to the packaging instructions of your chosen brand.
Add the butterfly, or plastic backs and your polymer clay heart studs are done!
2. Polymer Clay Swirl Stud Earrings
Just like old-fashioned lollipops these swirl earrings will add a sweet touch to any outfit.
Here’s how to make them…
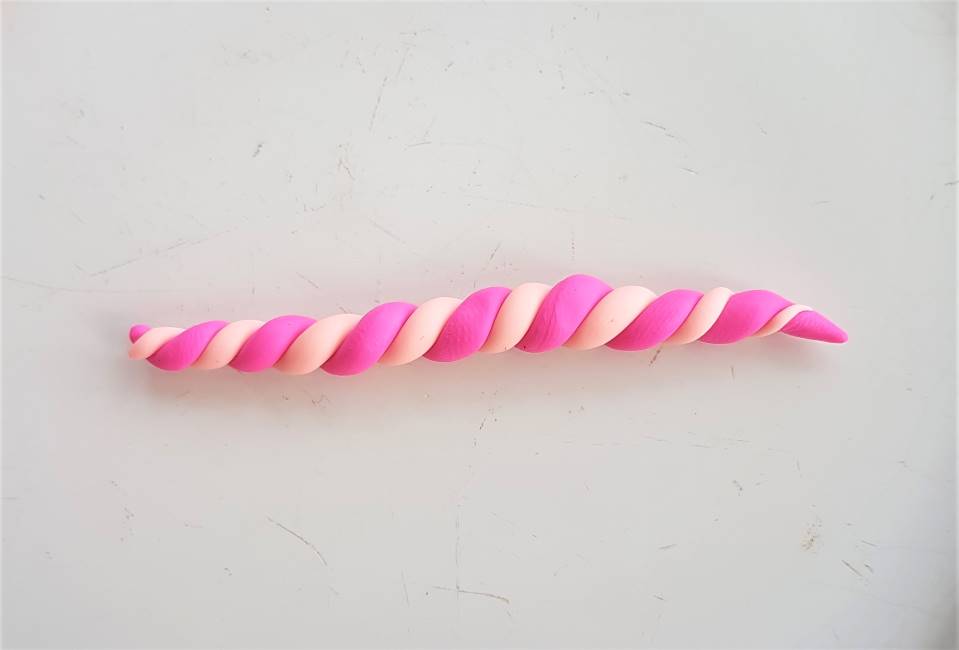
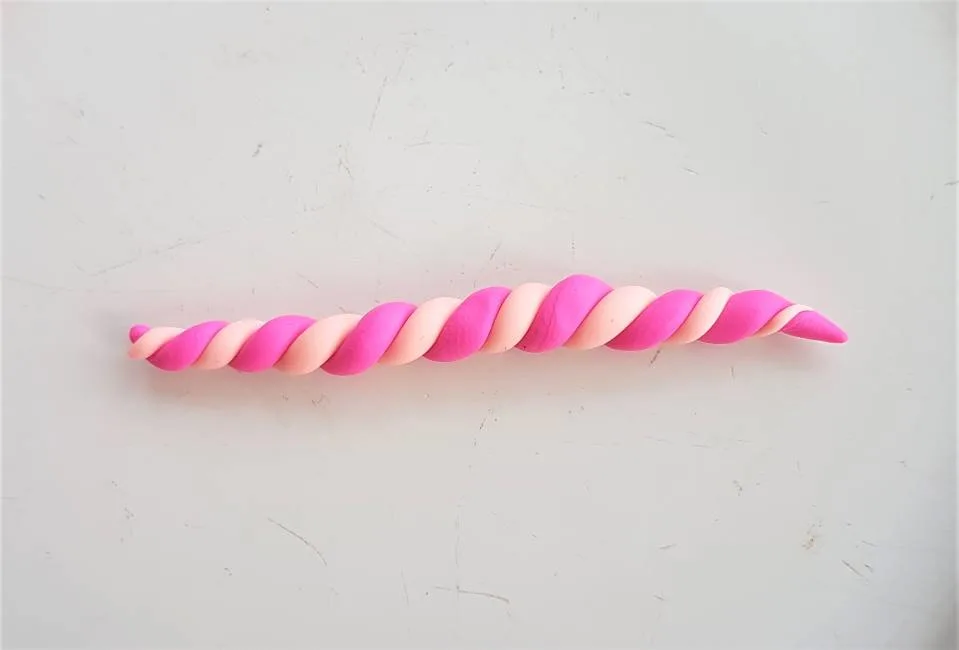
1. Condition your clay and roll it into three strings, then create a twist
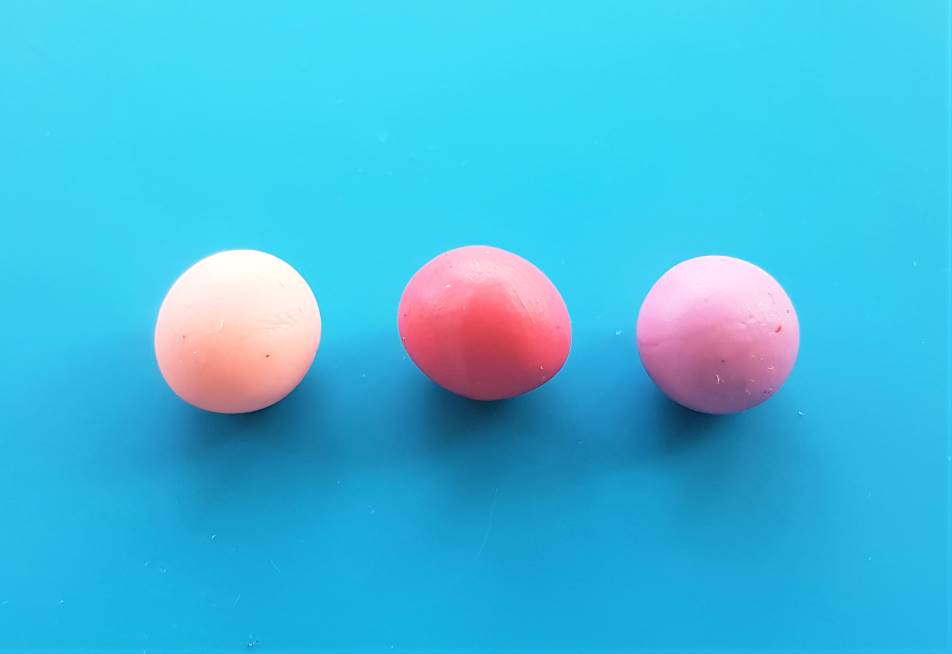


Condition three balls of clay in the colours of your choice. I chose a rose pink, a lavender and a peachy-pink, as I love how these three colours compliment each other.
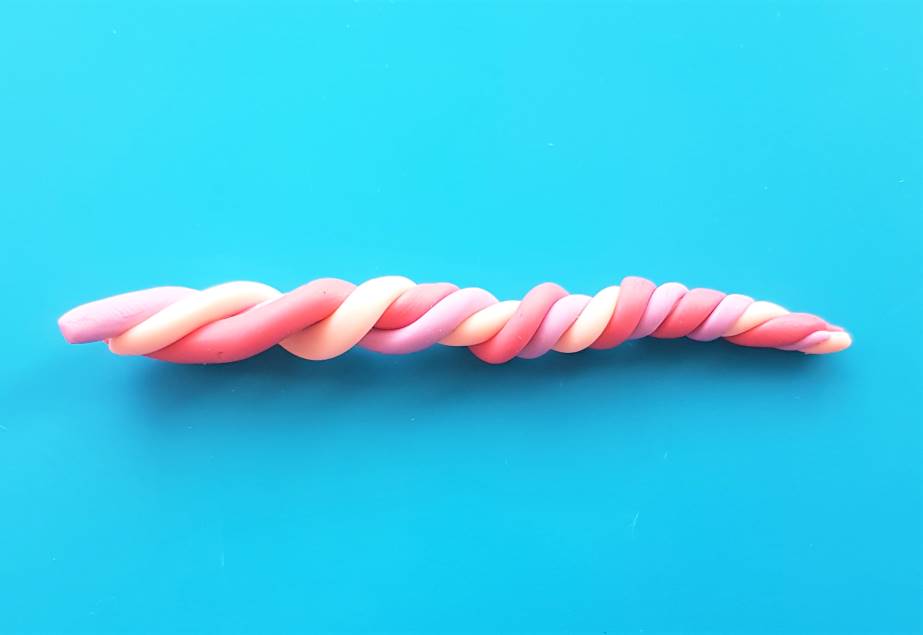
On a crafting mat roll out the three colours into equal lengths, and then begin twisting them together as pictured above.
Take a clay cutter and separate the twirled clay into two equal pieces.
2. Form the two earrings from the twirl of clay
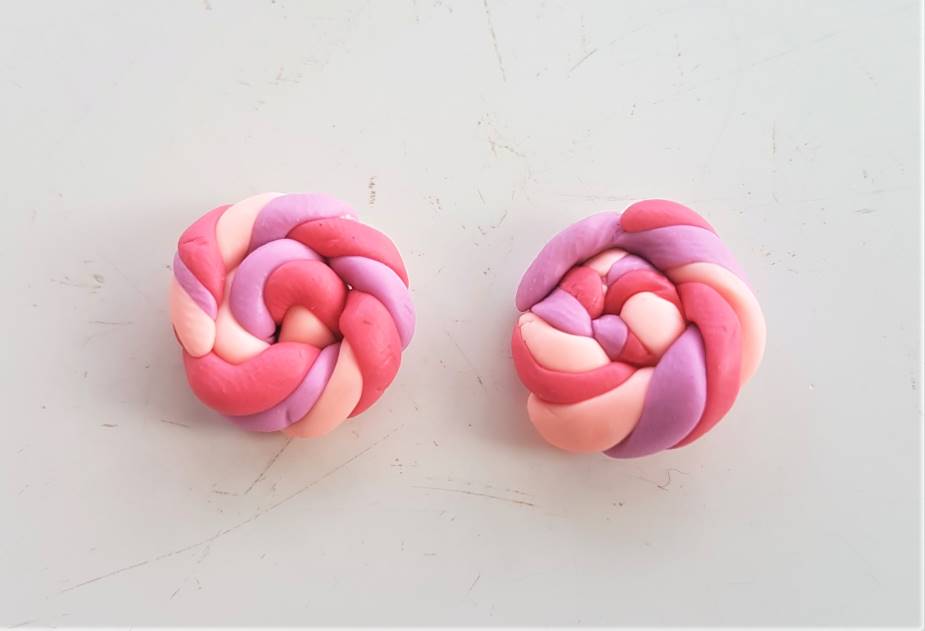

After separating the twirl of clay into two pieces, begin spiralling each piece until they form the above shapes.
The clay should be tacky enough to stick to itself, however you can use a bit of polymer clay glue if necessary to get the swirl to hold.
3. Attach the stud backs to the earrings
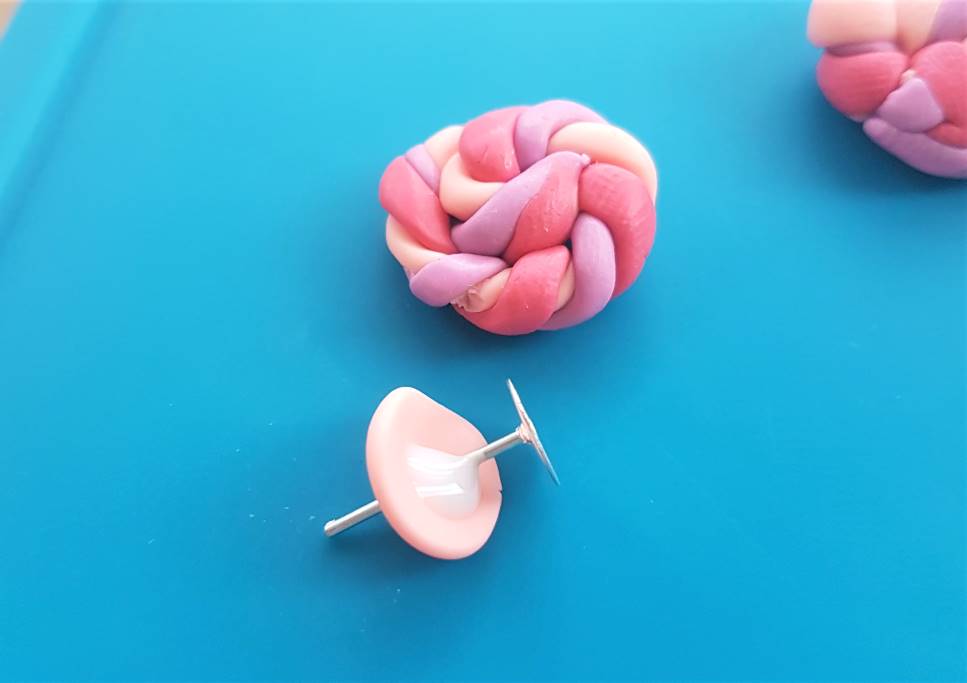

Create a pad of clay to cover the stud back and secure the metal to the back of the earring. I chose a peachy pink, as it runs through the swirl of the earring and I liked how it contrasted yet complimented the earring as a whole.
Don’t skip on the polymer clay glue, and make sure it’s placed between the pad of clay and the stud back, so when pressed to the earring it oozes between the clay and creates a ‘mechanical hold’.
For more help with attaching stud backs to earrings (including different methods if you don’t like the one I have chosen to go with in this article), check out:
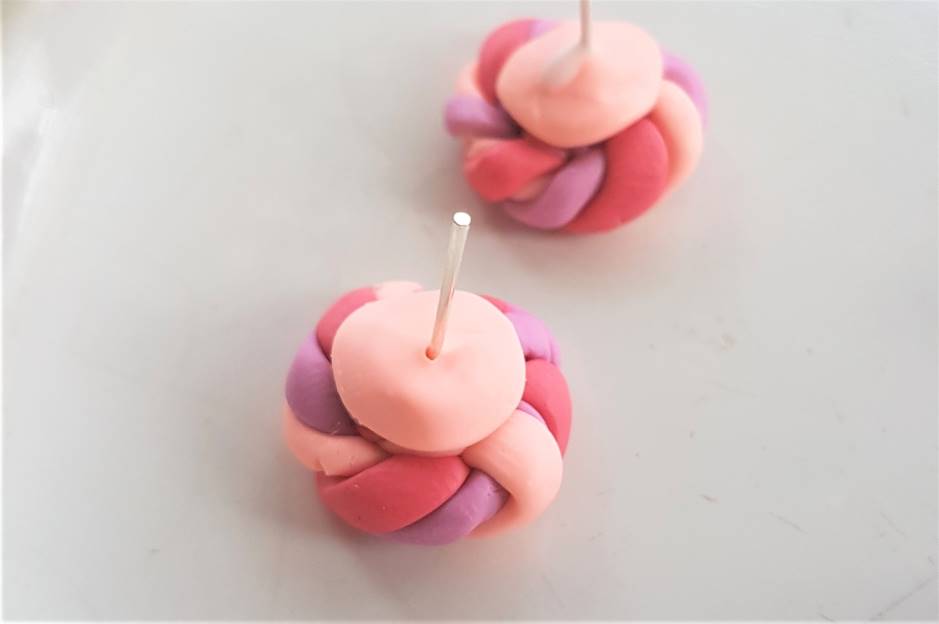

Once fastened it should look something like the above.
Now it’s time to bake the earrings…
4. Bake the earrings
Bake the earrings according to the packaging instructions of your chosen brand of clay.
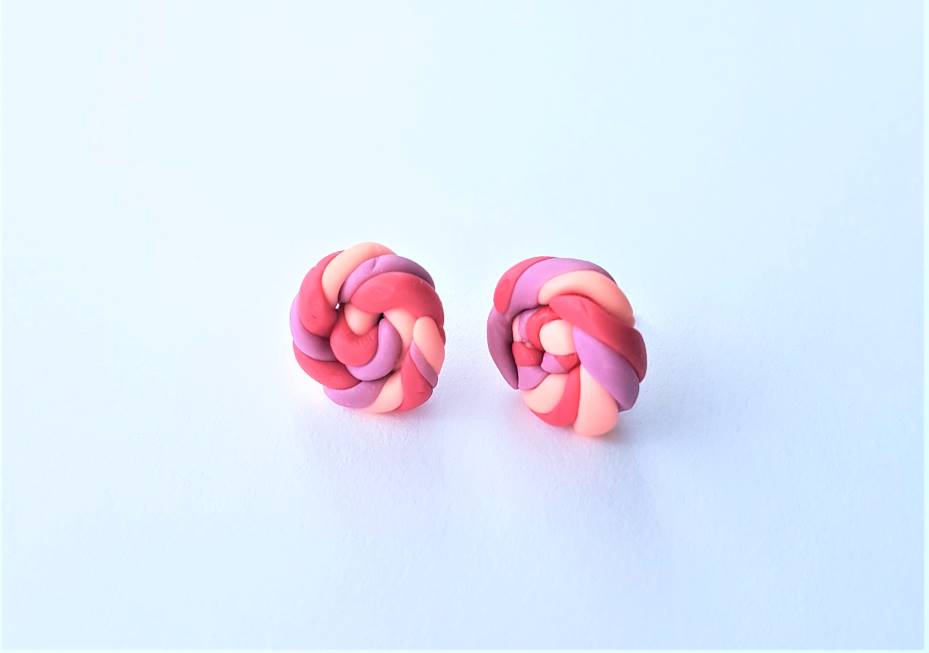
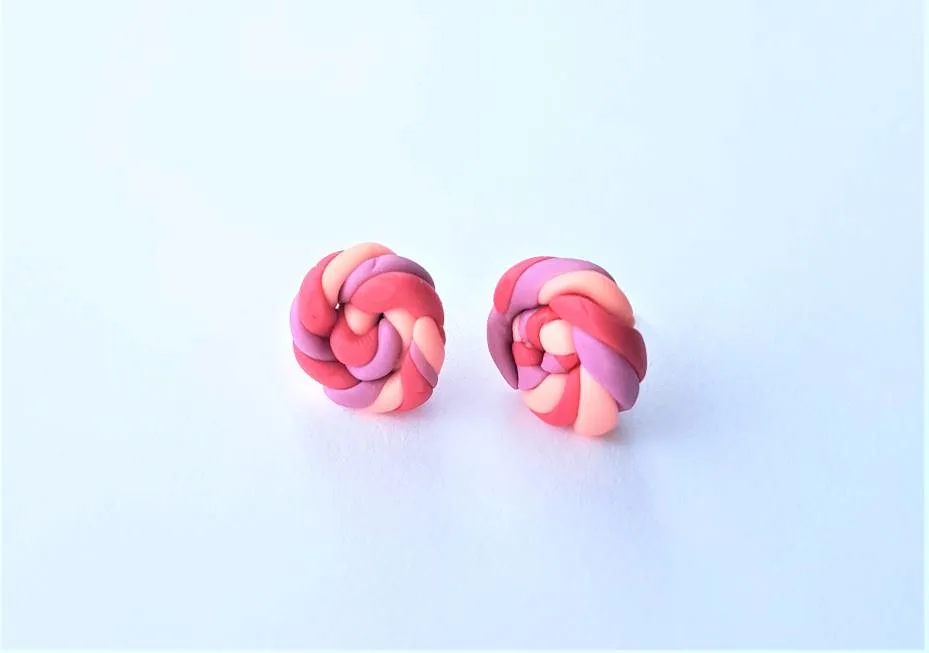
Allow the earrings to cool, and then they are done! They should look as below:
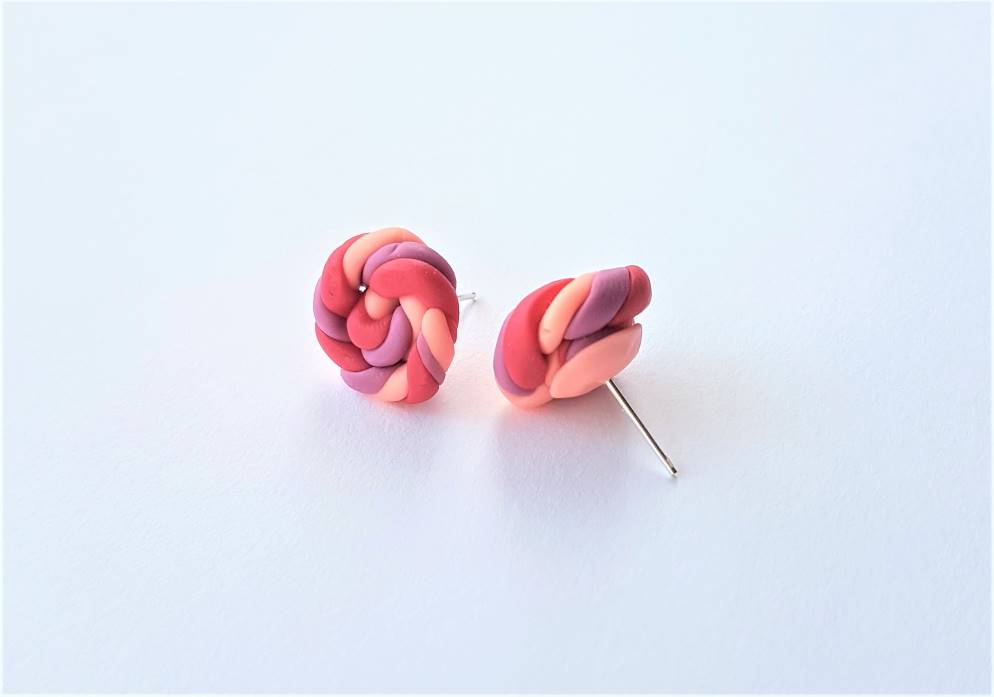
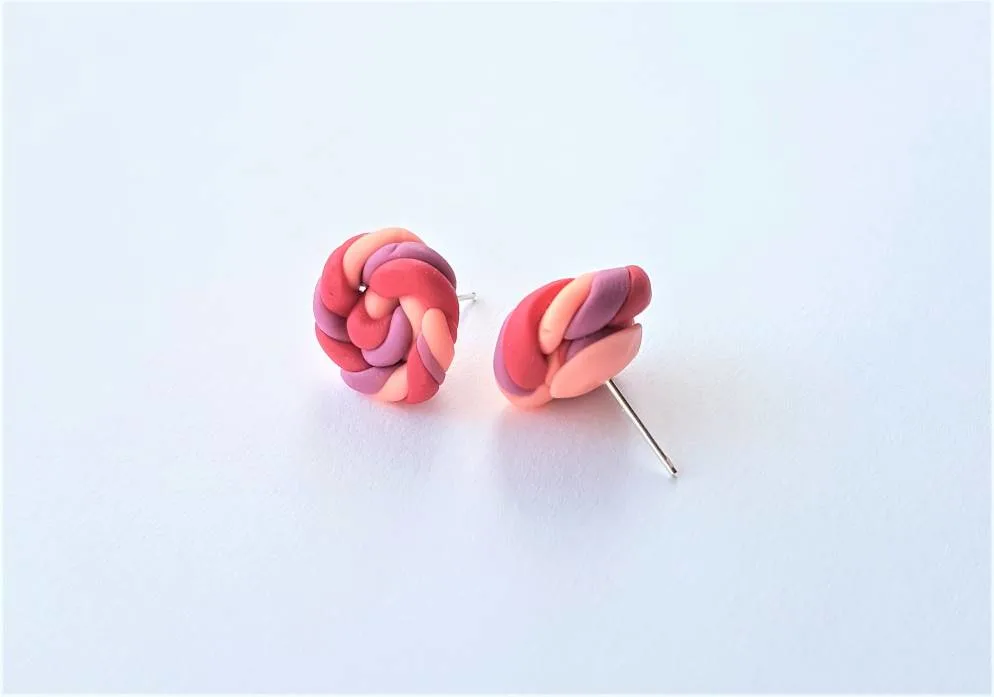
Don’t they look great?
Now let move on to floral stud earrings…
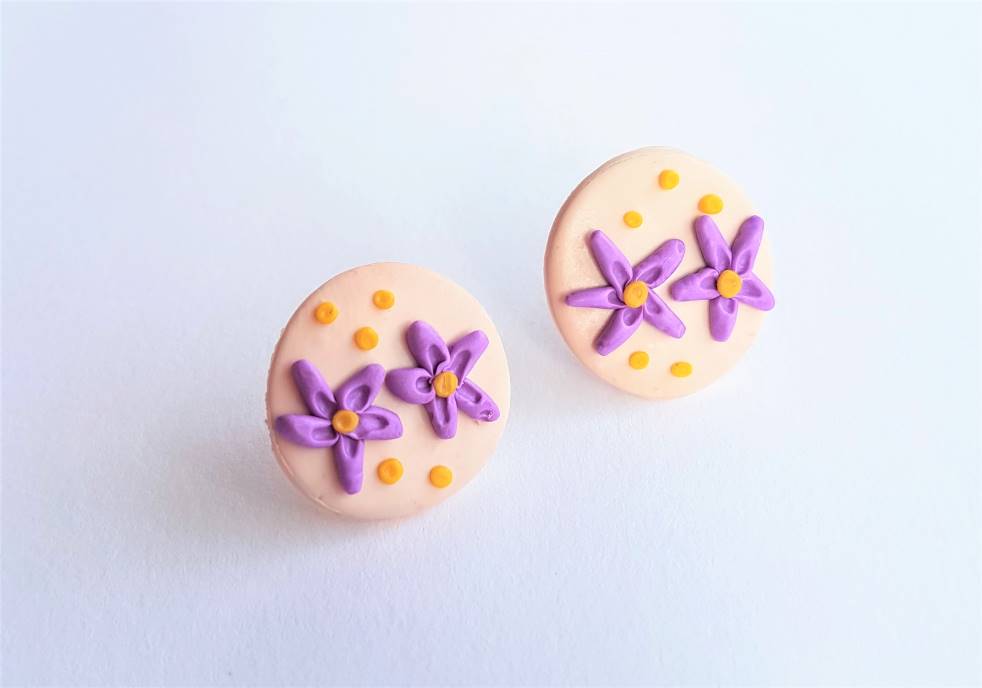
3. Polymer Clay Floral Stud Earrings

To create these lovely floral earrings you will need to make a slab first, which I will go through step-by step below.
You can choose whichever colour combination you like. I went for lilac coloured flowers with yellow centres, on a stone-white circle base, which I think came out really pretty.
1. Prepare your clay and cutter

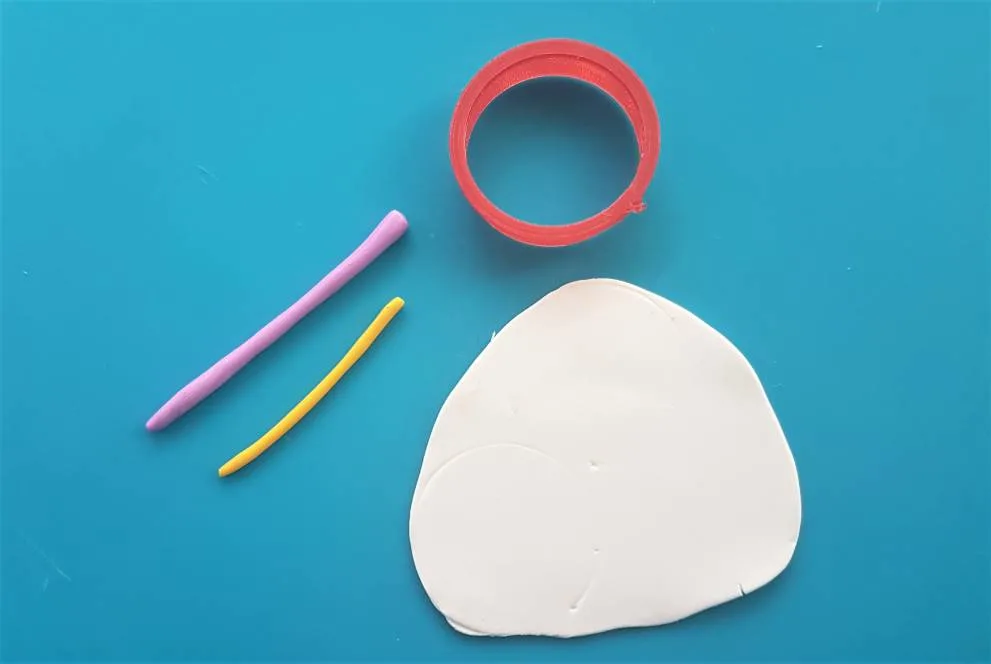
Condition your clay until it is smooth and malleable, and rolled into balls without cracks or flakes.
Roll the lilac and yellow clay into strings for cutting, and use an acrylic rolling pin on the white until it forms a slab shape, that your cutter will fit into twice.
Place your cutter onto the white, to make sure you will definitely get two earrings out of the slab.
2. Divide your lilac clay into petals
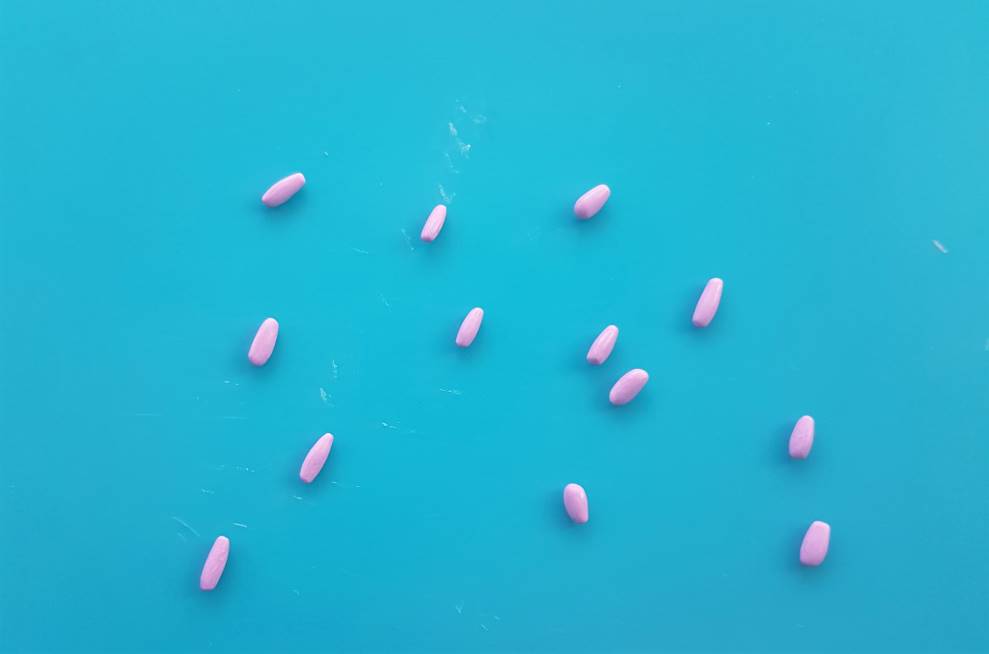
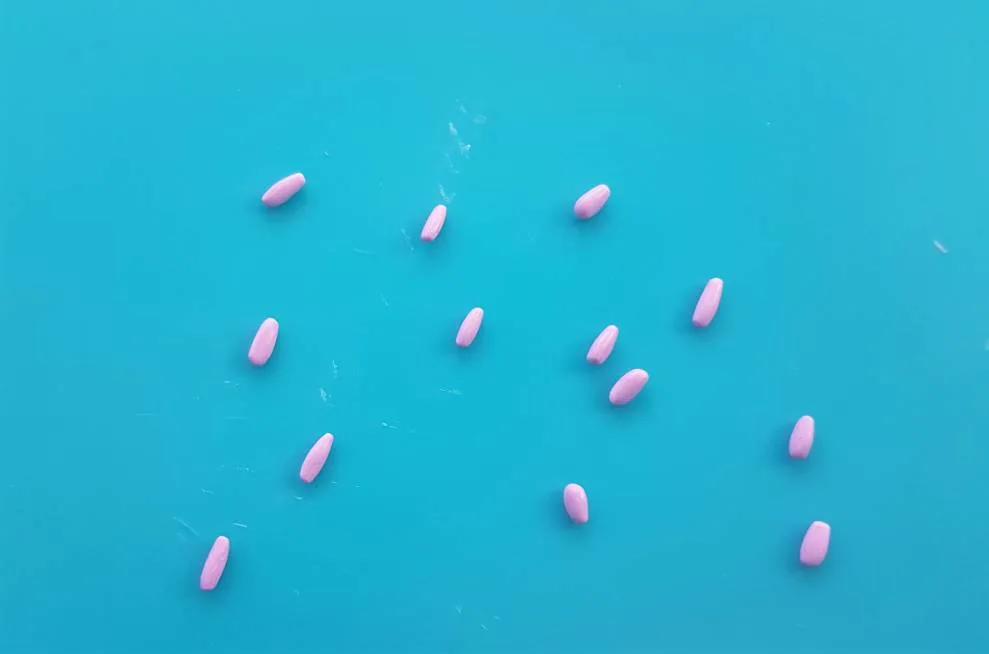
Take the string of lilac clay and begin dividing it into even chunks which will form your petals.
Then roll each piece with your fingertips until they form small oval shapes, as pictured above.
For my earrings I decided to add two flowers to each, with five petals per flower, so I rolled out 20 tiny pieces of clay in total.
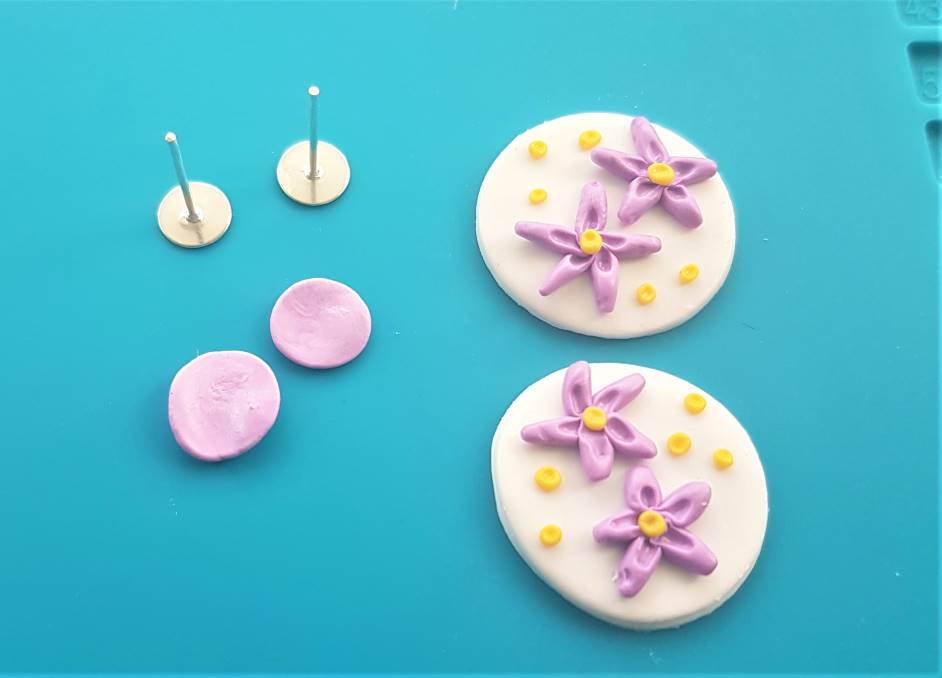
3. Add the petals to your white slab to form flowers

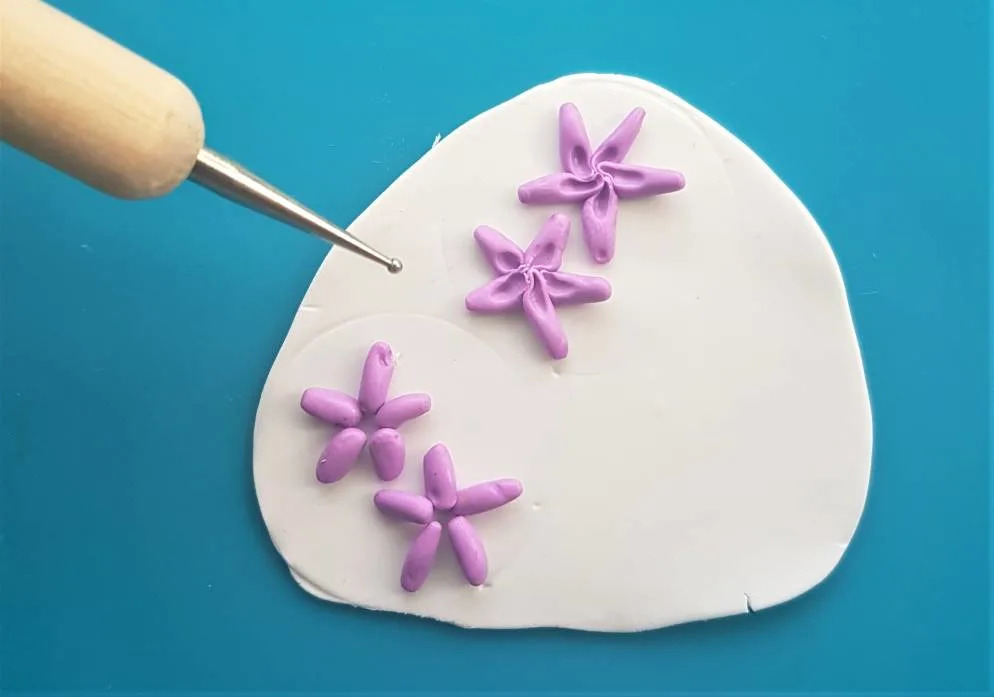
Take a small ball ended tool, or anything pointed you have to hand, and use it to pick up the tiny pieces of clay that will form your petals.
They should stick easily to your slab, without the need for glue.
Take your ball ended tool and use it to press small impresses into each petal, to form a detail as pictured above. This will also help the petals adhere to the clay slab, as the clay will be thoroughly stuck together.
Now your slab is taking shape it’s time to add the yellow details.
4. Divide your yellow clay into small balls for the details

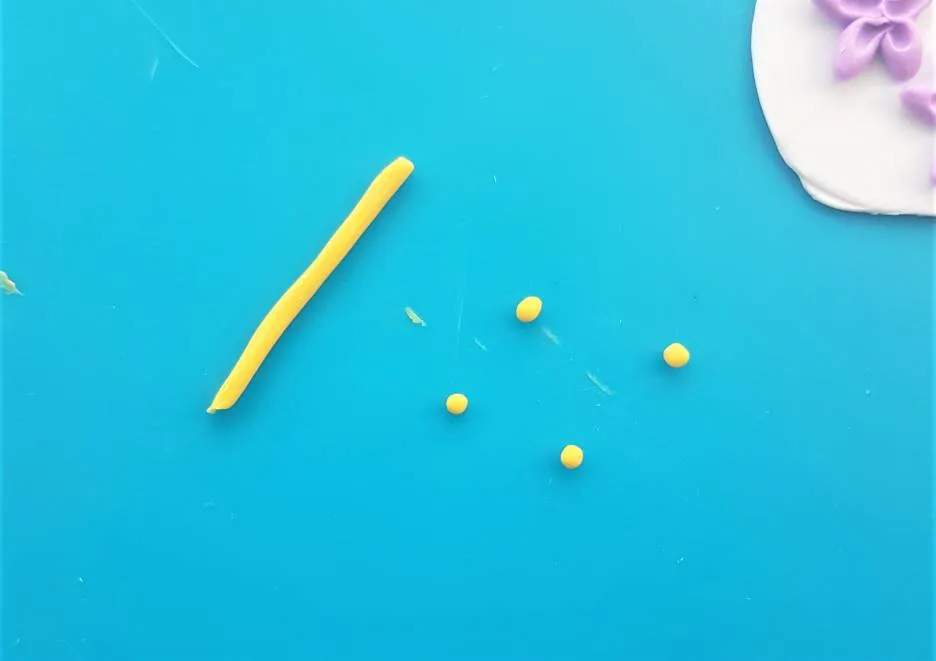
Take a clay cutting tool and divide the string of yellow clay into balls, and roll them with your fingertip until you are satisfied with how they look.
Then take a pointed tool to pick up each ball and add it to the slab.
Make sure you use these to form the centre of the flowers first, then add any remaining balls to the spaces around the flowers to create a pretty accent.
Press each ball with the pointed tool to add a small indented detail, and to make sure the yellow balls are sufficiently stuck to the slab.

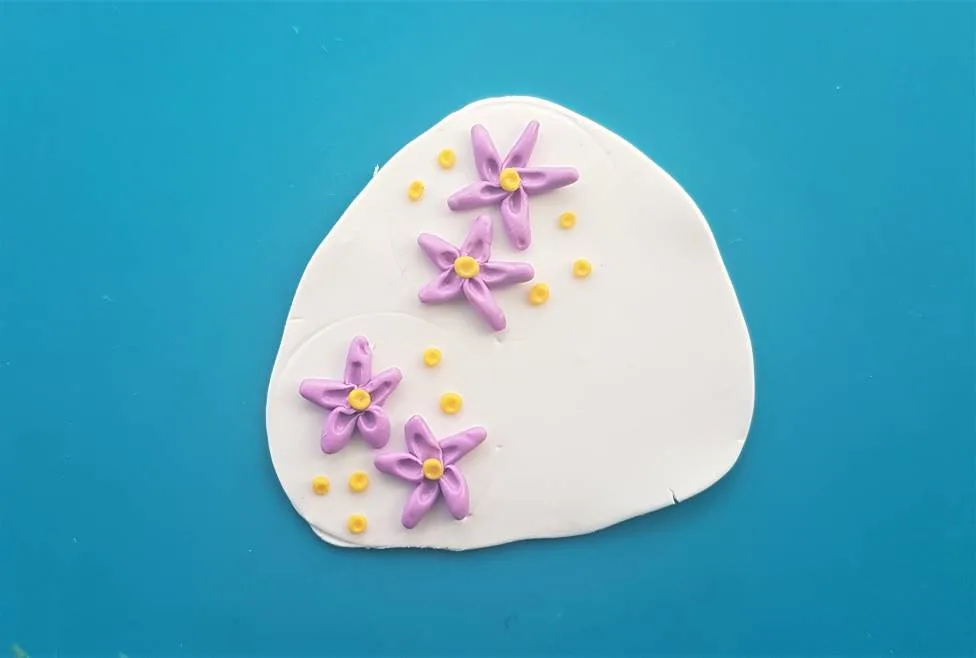
After you have added the details the slab should look something like the above – nice right?
5. Use a circle cutter to form your earrings from the slab, then attach the stud backs

Use your cutter to cut two earrings from the slab, and then create two small pads of clay which will be used to secure the stud backs to the earrings.
I chose a purple colour for my stud back ‘pads’ as I liked the contrast to the white and think it adds an extra design element to the earrings.
Then take some polymer clay glue and add a blob between the clay pad and the stud back, and fasten to the earrings.
6. Bake the earrings
Bake your earring according to the packaging instructions of your chosen brand of clay.
I craft with FIMO clay, and their baking instructions are as follows: maximum of 30 minutes at 110°C (230°F).
After the earrings are baked take them from the oven and allow them to sufficiently cool and harden.
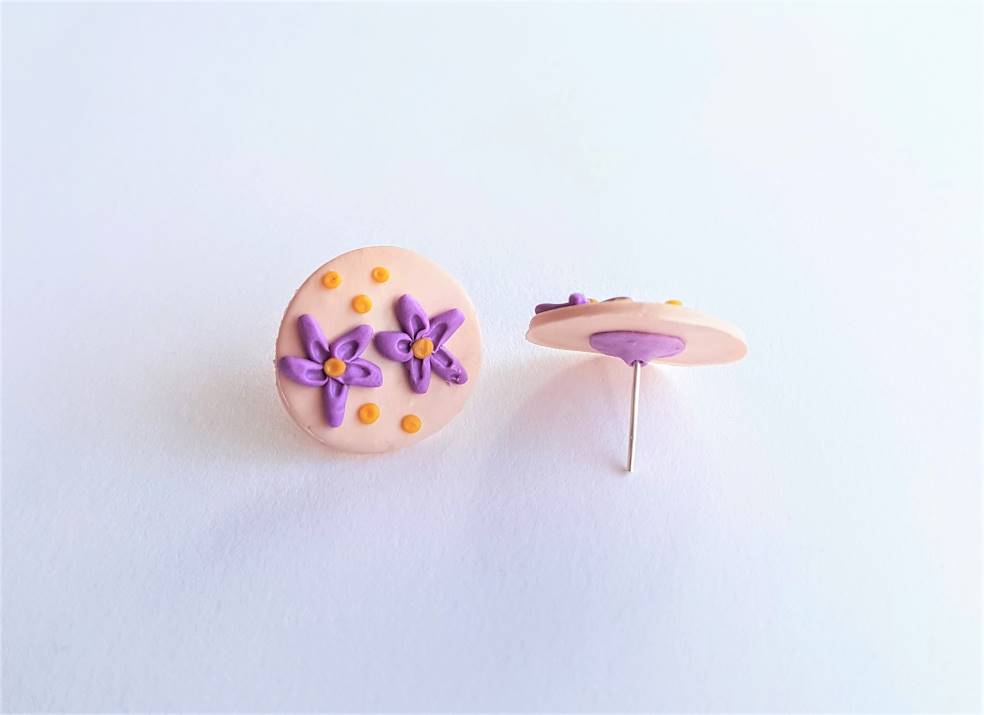
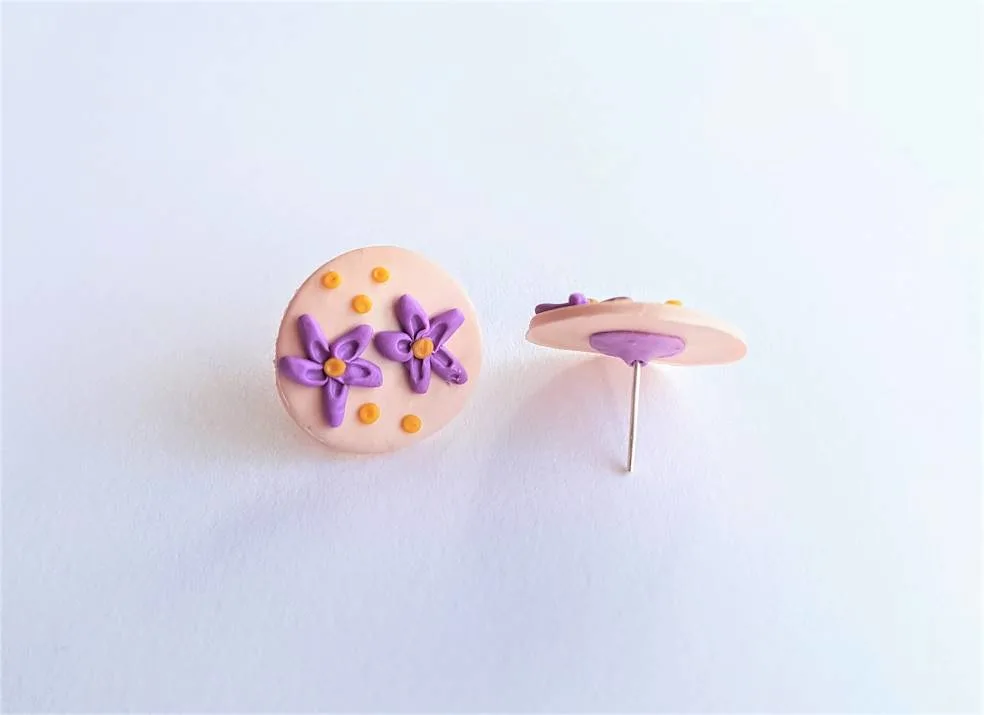
Now your earrings are done, they should look something like the above. Add your butterfly earring backs or plastic backs and they are ready to wear!
4. Polymer Clay Ball Stud Earrings
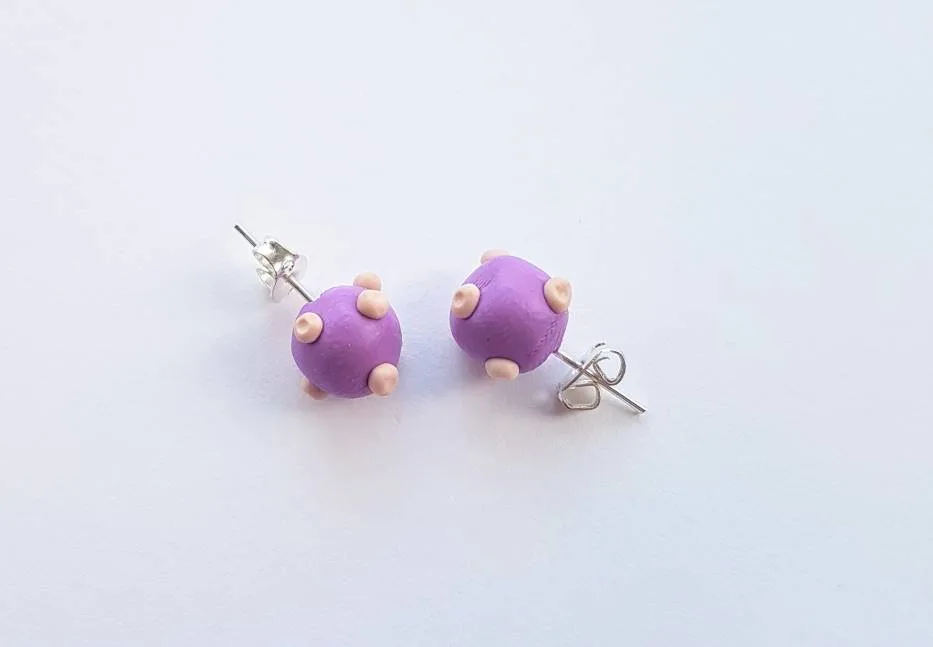
Ball stud earrings are a classic earring design, and they’re easy to make from polymer clay.
With ball studs you are only limited by your creativity – chose colours you like, make them out of marbled clay, add details like dots or glitter… it goes on and on.
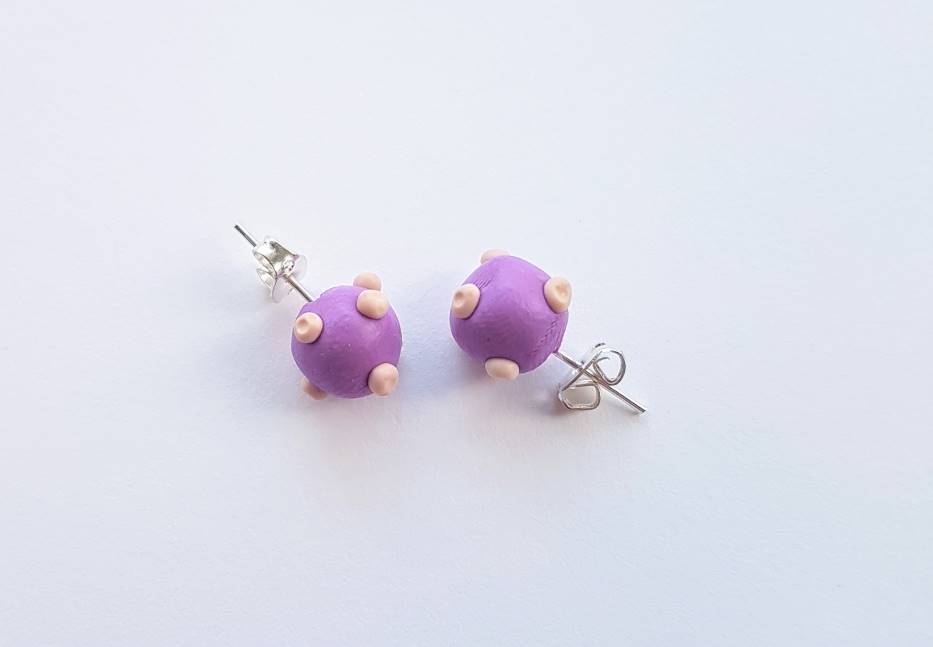
I decided to make these out of lavender clay, with white dot details, so they matched the colour palette of the other stud earrings I designed here. They really complete the collection and add a 3D feel.
Here’s how to make them:
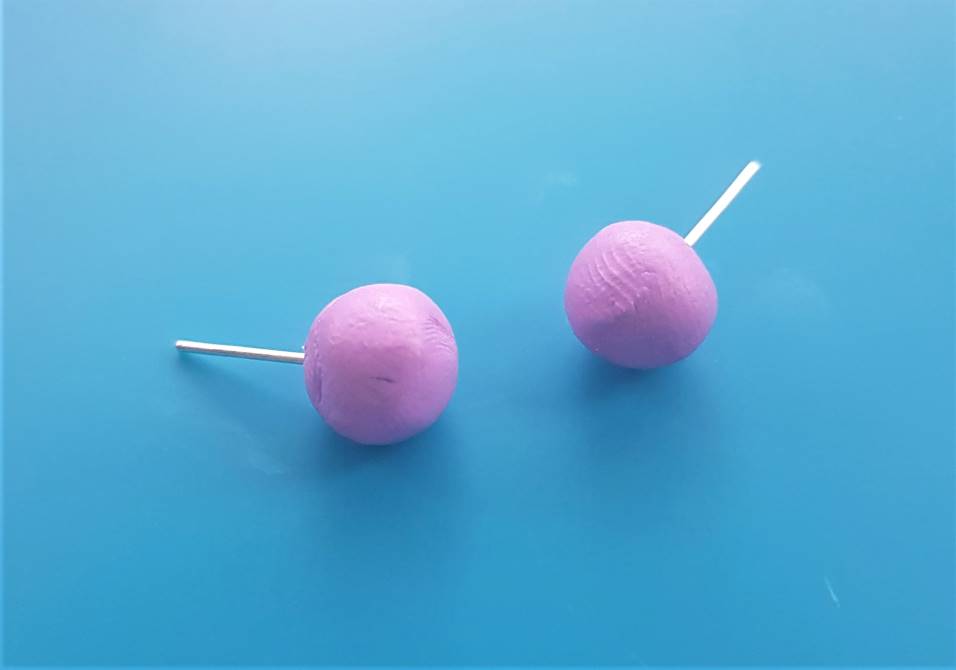
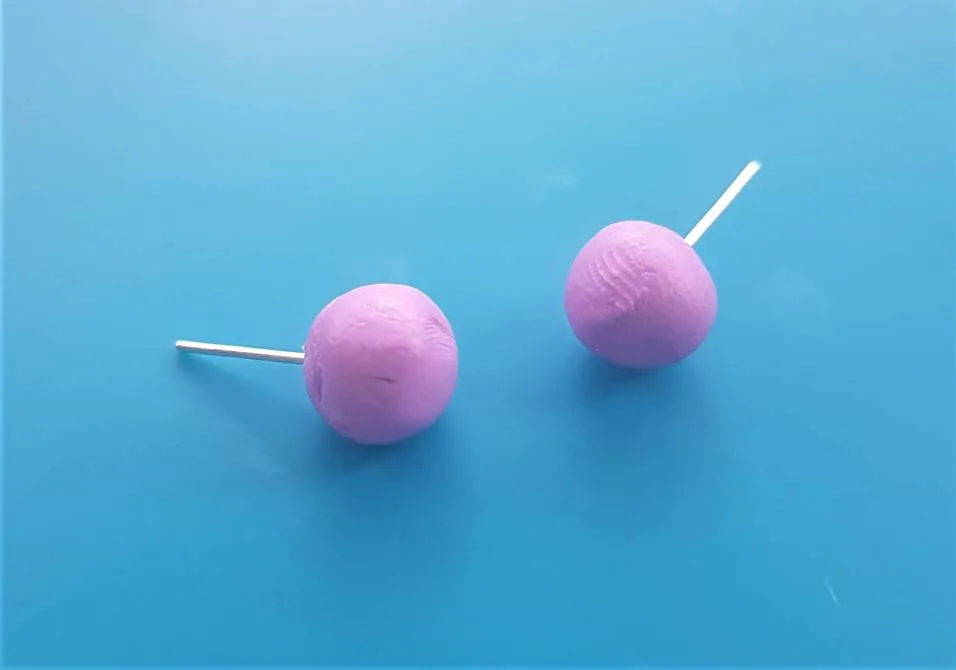
1. Condition your clay, and press it around the stud back to form a sphere
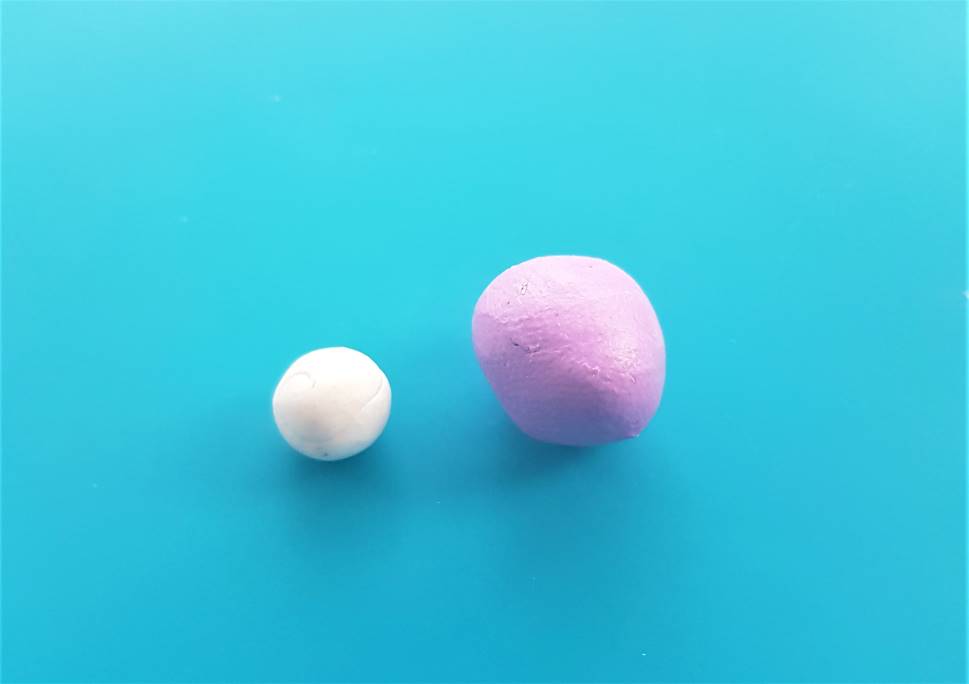

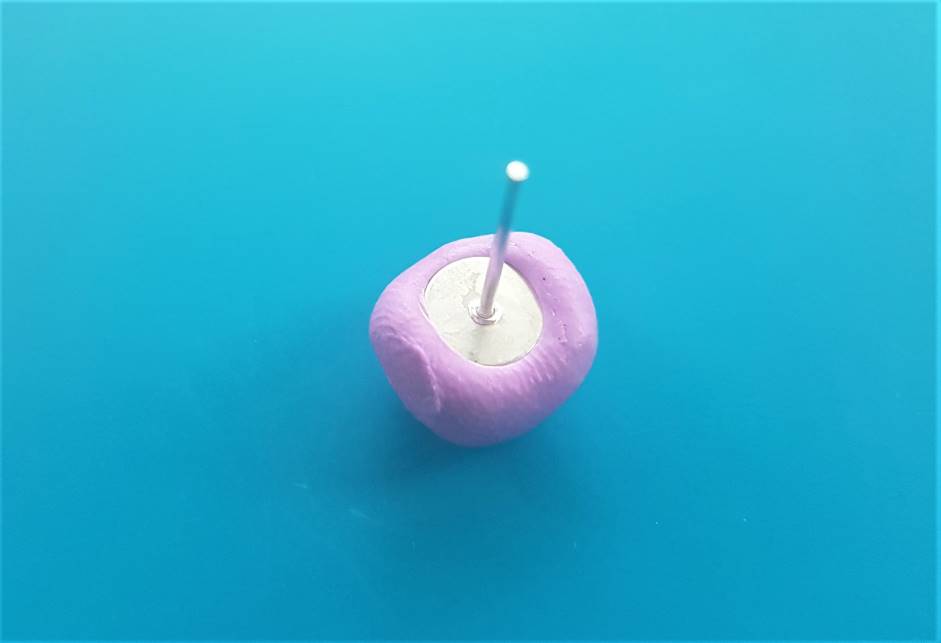
Condition two balls of lavender and white clay and set the white aside. Begin to press the lavender ball of clay around the stud back base, until it is fully engulfed, with the majority of the stud back stem still visible, as pictured below.
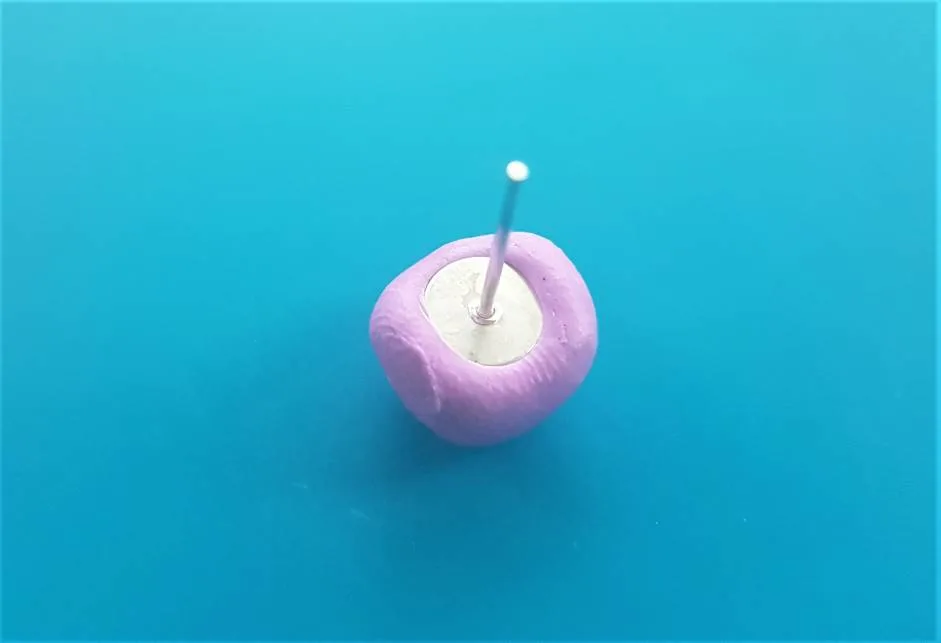
Roll the clay in your hands until it forms a neat sphere around the stud back base.
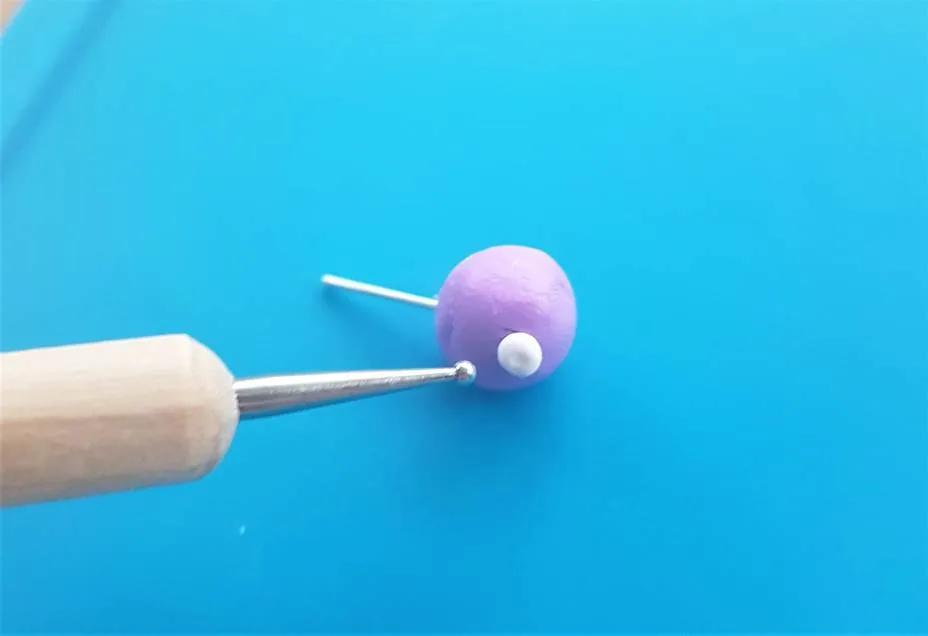
2. Add the white details
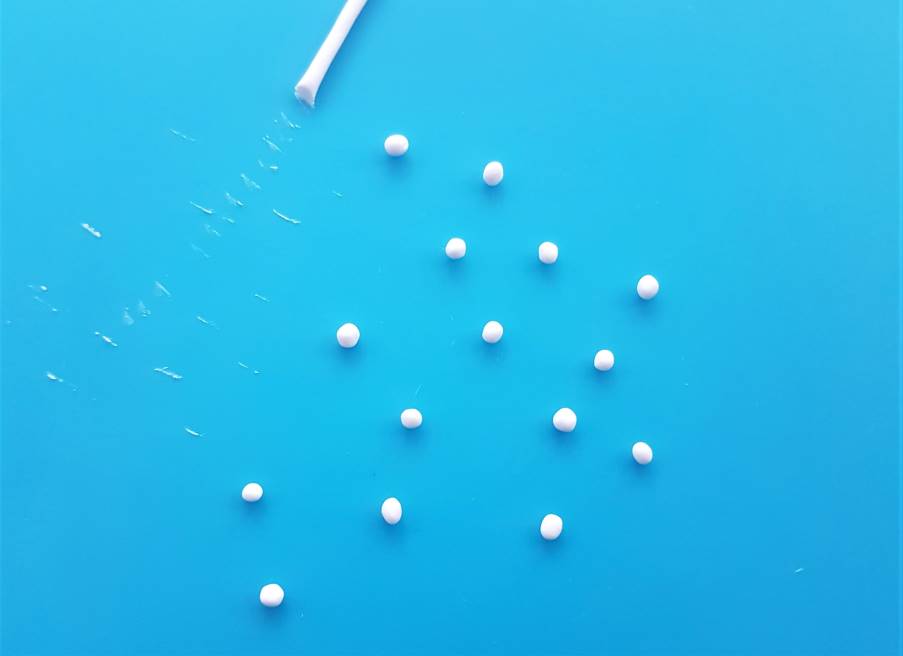
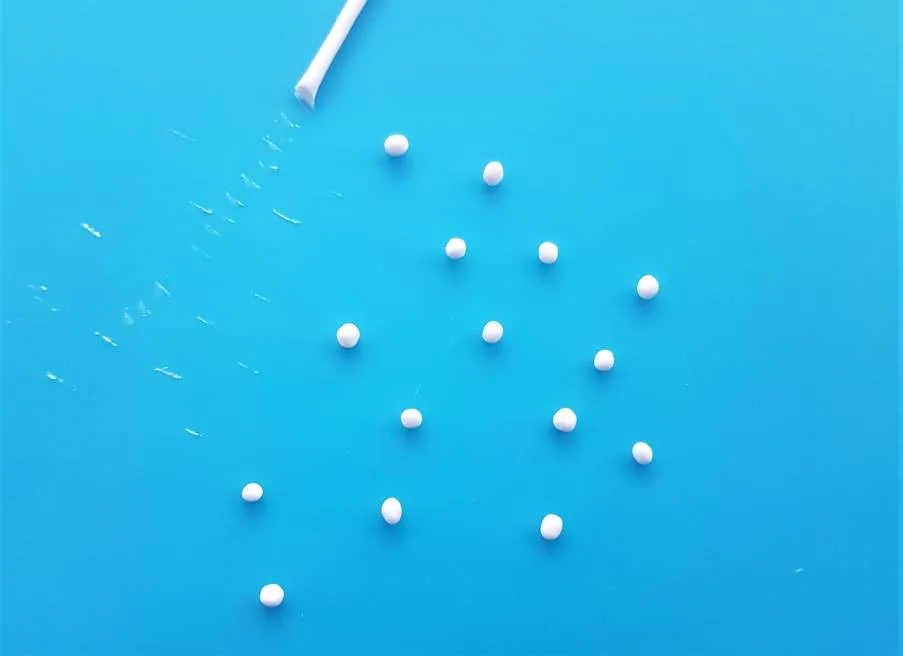
Divide the white clay into small balls that will make up the polka dots on the surface of the ball studs. Roll them with your fingertips until you are satisfied with how they look.
Take a ball ended tool and start to add the white details to the earring. Press each ball into the clay to ensure they adhere to the surface of the clay.

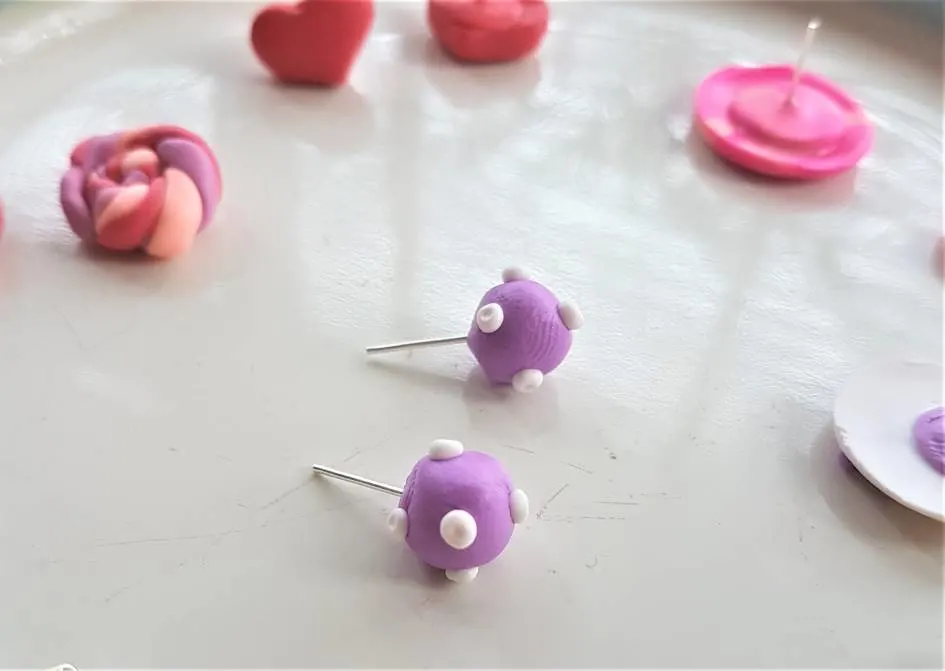
3. Bake the earrings
Bake the earrings according to the packaging instructions of your chosen brand of clay, taken them out of the oven and allow them to cool properly, so they can harden.
Then they are done!

5. Polymer Clay Marble Stud Earrings
These glossy marble studs look good enough to eat – just like sweets (or candy if you’re from the other side of the pond!).
They’re fun and quick to make too, using the marbling technique, which I will outline below for you.
1. Create a marbled ball of clay
- Take two clay colours and condition them until malleable
- Roll the clay into two strings of equal length
- Twist the clay until it forms a spiral, as pictured above
- Then roll the clay into a smooth ball, to create a marbled effect

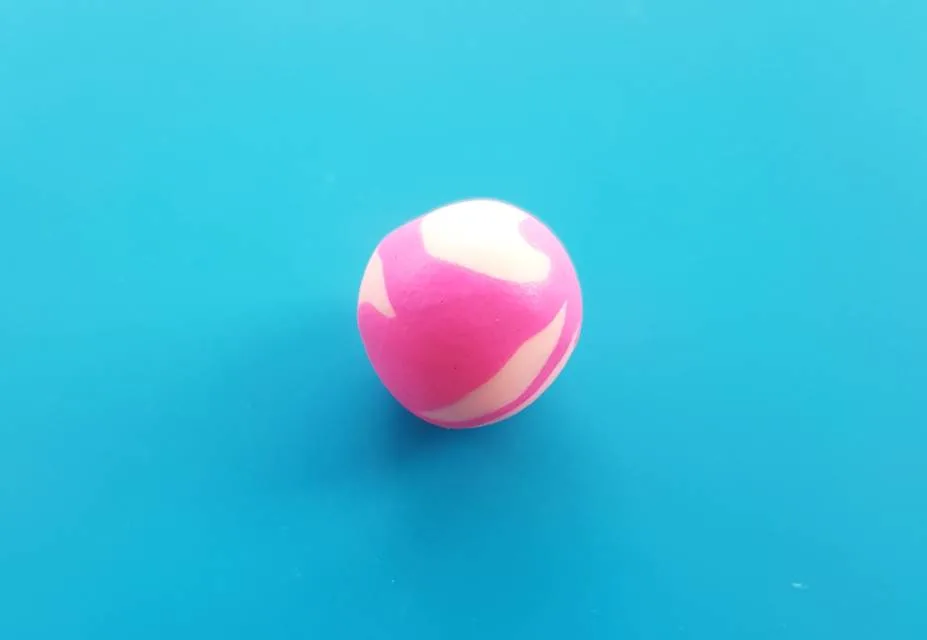
You should have something that looks like the above.
2. Roll out the marbled ball and use a circle cutter to form two earrings

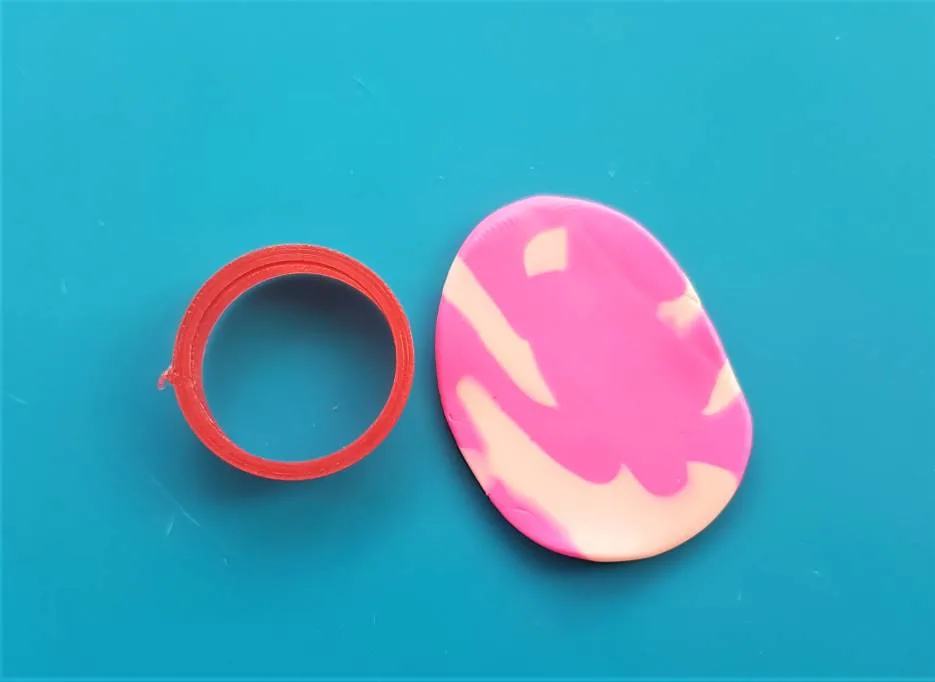
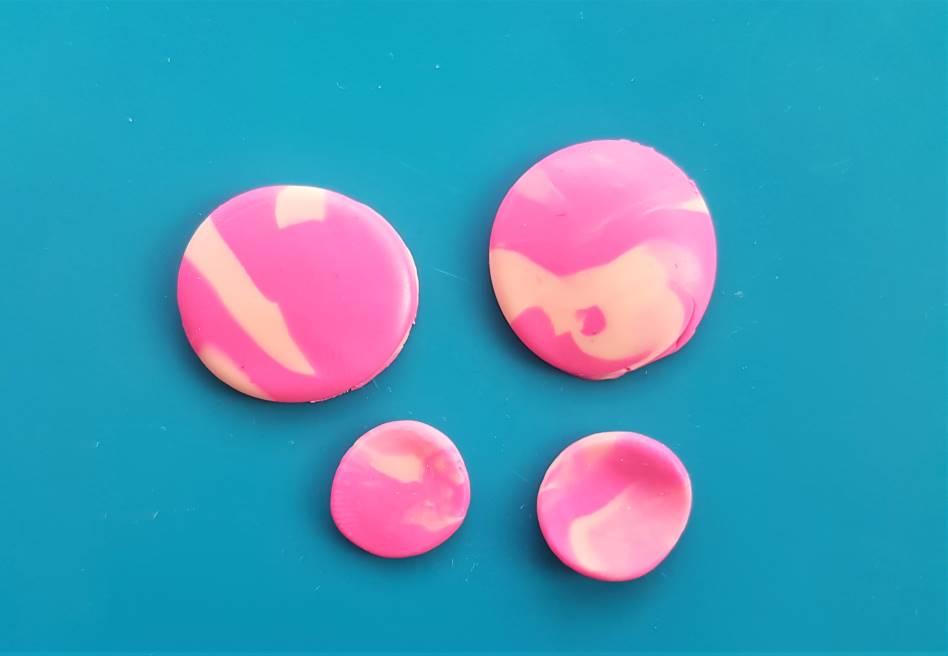
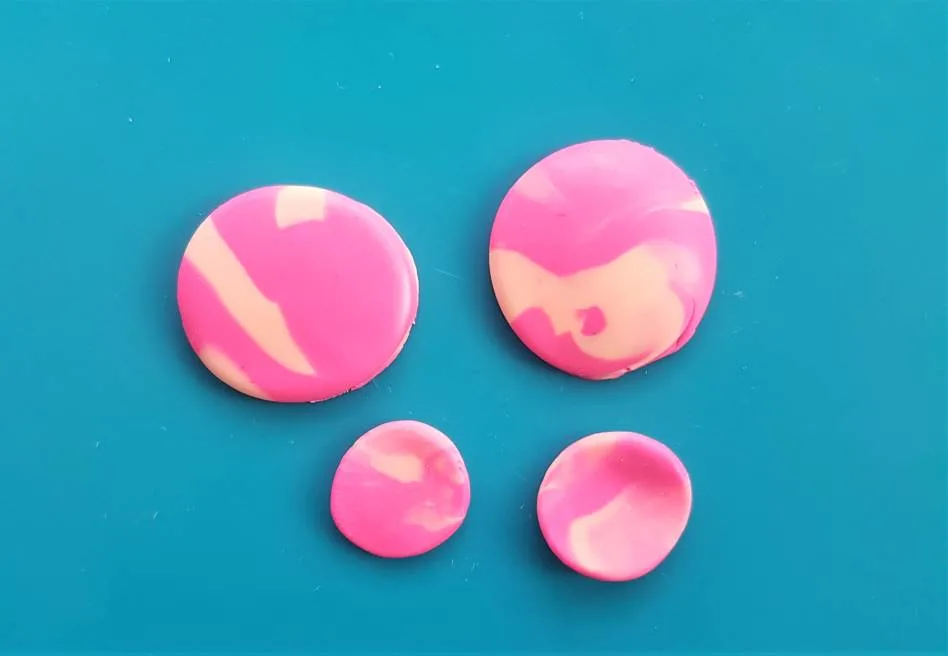
Use an acrylic rolling pin and flatted the marbled ball until it forms a slab. Take your circle cutter and press it into the clay twice to form the pair of earrings.
Then take some of the excess clay from the slab and form two small pads of clay that will adhere the stud backs to the earrings in the next step.
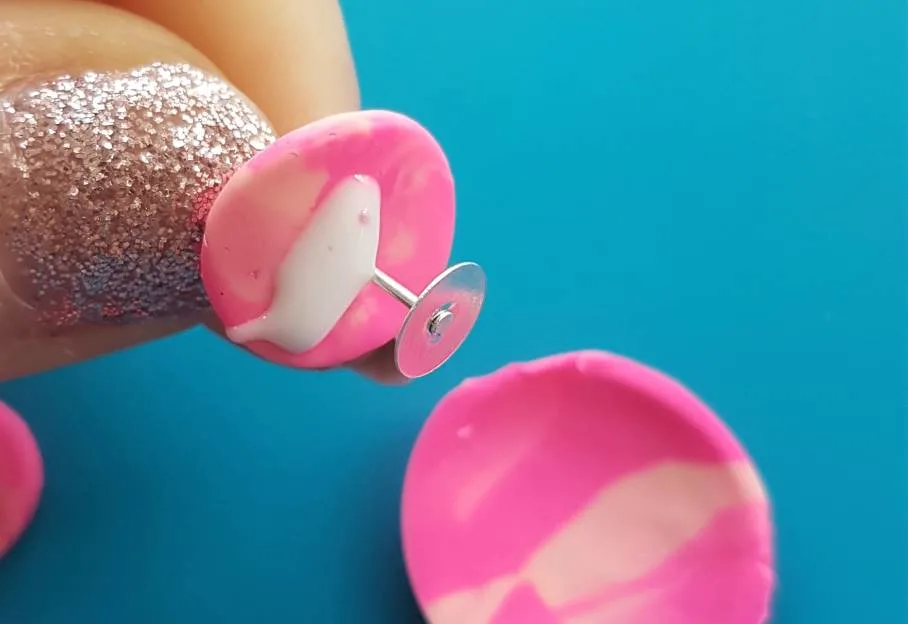
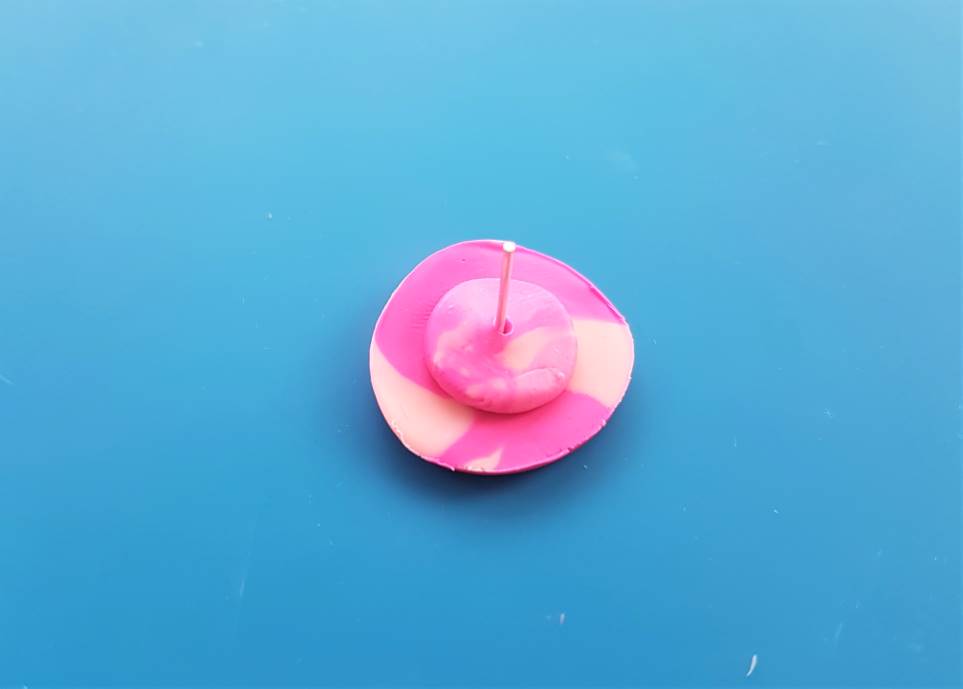
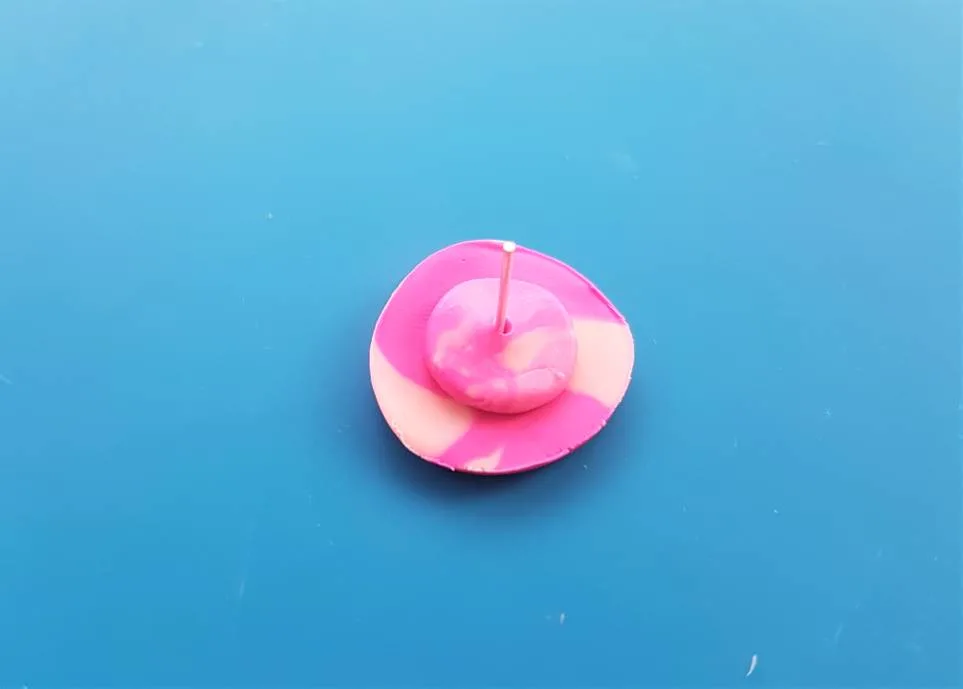
3. Attach the stud backs
Take the pads of clay and skewer them onto the stems of the stud backs. Add a blob of polymer clay glue between the metal and clay as pictured below, and press against the back of the earrings.
Bake the earrings to activate the glue.

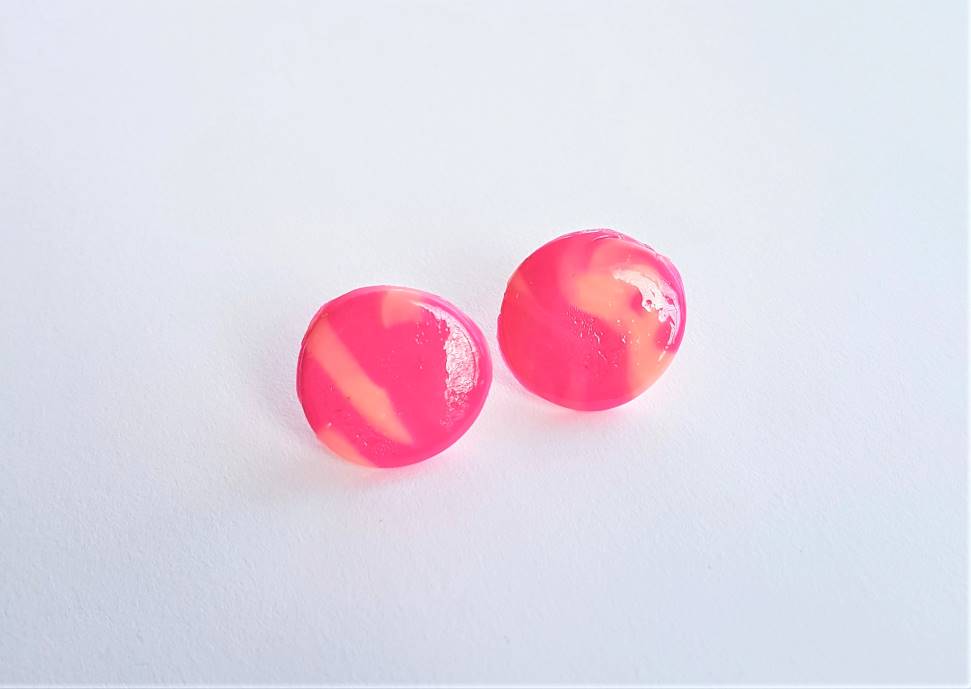
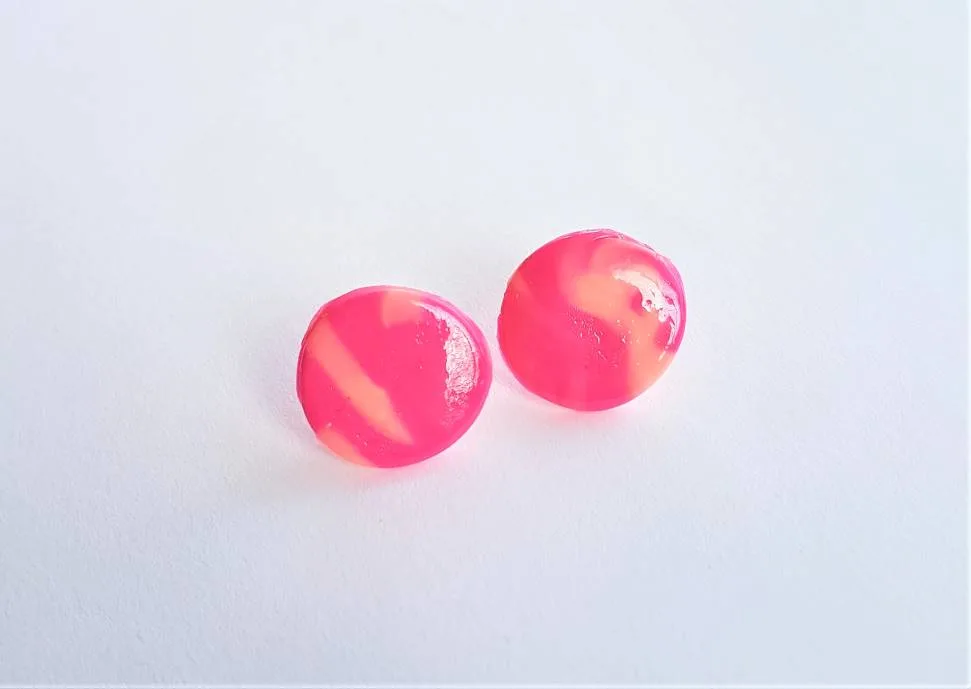
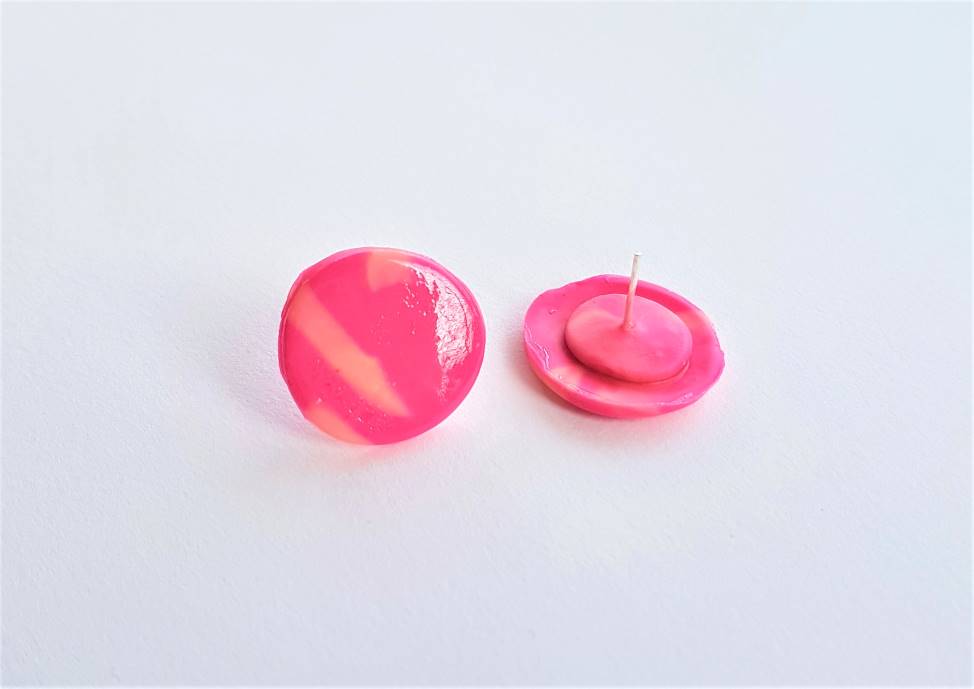
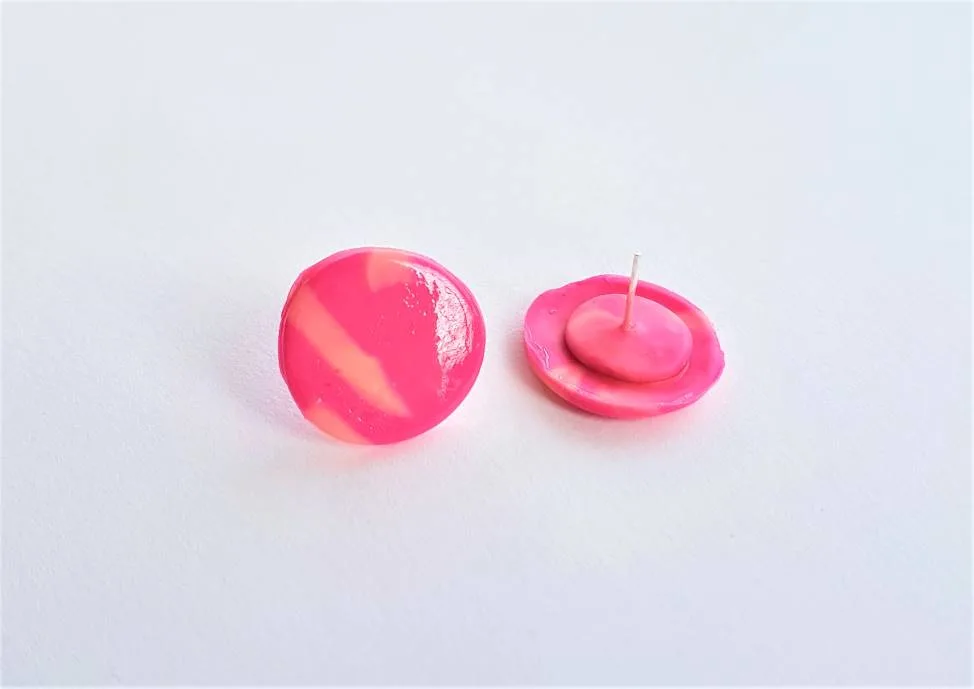
4. Bake and then varnish the earrings for a shiny effect
Bake the earrings and then allow them to sufficiently cool and harden.
Take a polymer clay varnish and coat the earrings two to three times, and allow them to dry.
The final product should look something like this:
Related Articles
In addition to the above polymer clay stud earring ideas, I also provide design ideas for drop earrings.
Check out the following guides for floral, food related and fruit style earrings, plus a 25+ bumper list of design ideas:
Conclusion
I hope these polymer clay stud earring ideas are helpful for you and you now feel inspired to head to your crafting station and give some of these stud designs a go.
Polymer clay earrings are a hot trend right now, so get in on the fun and start crafting for yourself, to create gifts for friends, or even to open an Etsy store.
I also provide a How-to Guide to make polymer clay earrings for beginners, a Sales Guide for selling polymer clay earrings on Etsy, a comprehensive Cost Guide, and a bumper list of earring Design Ideas, so you’re never stumped by clay-makers block!

Lorna is a footwear geek and the founder of Wearably Weird. She created a YouTube channel in 2021 for fellow footwear fanatics, dedicated to detail-rich footwear reviews and info. She has a fashion media qualification (awarded in 2011).