
Looking to make your own polymer clay earrings, but you need some inspiration?
Join in on the fun and get inspired with my tutorial guide on how to make 5 fruit polymer clay earring designs.
I’m going to be covering:
- Polymer Clay Banana Earrings
- Polymer Clay Orange Earrings
- Polymer Clay Lemon Earrings
- Polymer Clay Coconut Earrings
- Polymer Clay Watermelon Earrings
- Polymer Clay Raspberry Earrings
Read on for a simplified a supplies list and five step-by-step guides for beginners, including my top tips for working with polymer clay.
This post may link to online stores. If you click a link and buy something, I may get a commission. Learn more.
What you will need
Before we start crafting let’s make sure we have all of our tools and supplies ready. I’m going to do a breakdown of everything I use in the following tutorials, so you have a clear list to refer to when making your own.
Here’s what I used:
- Clay
- Clay glue
- Tweezers or jewellery pliers
- Clay cutting tool
- A pointed tool
- Silicone board
- Rolling pin – avoid wood because of the grain
- Baking paper and an oven tray for baking the earrings on
- An oven
- Optional – rubbing alcohol (to remove fingerprints from clay)
- Earring hoops
- Jump hoops
Make sure your creative space is spotless, so no tiny fibres or dust particles floating on the air and table will stick to your clay – this is of paramount importance! If possible create yourself a permanent workstation in a room away from pets – (fur is the worst) and dust gatherings items – non-carpeted rooms are best, but not essential.
Now you know what you will need, let’s move on to the designs…
1. How to Make Polymer Clay Banana Earrings
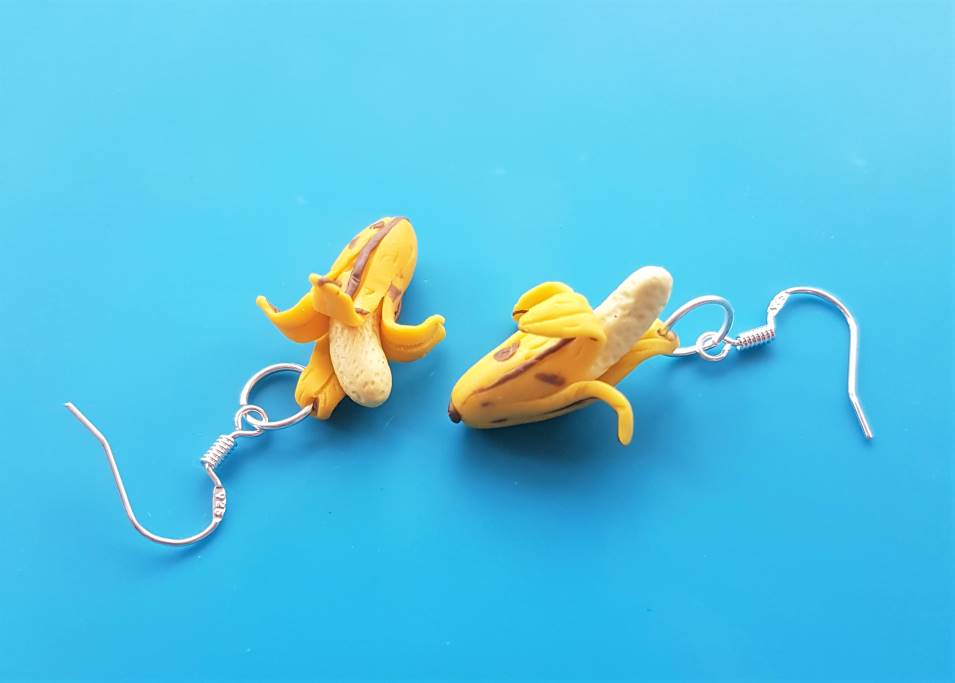
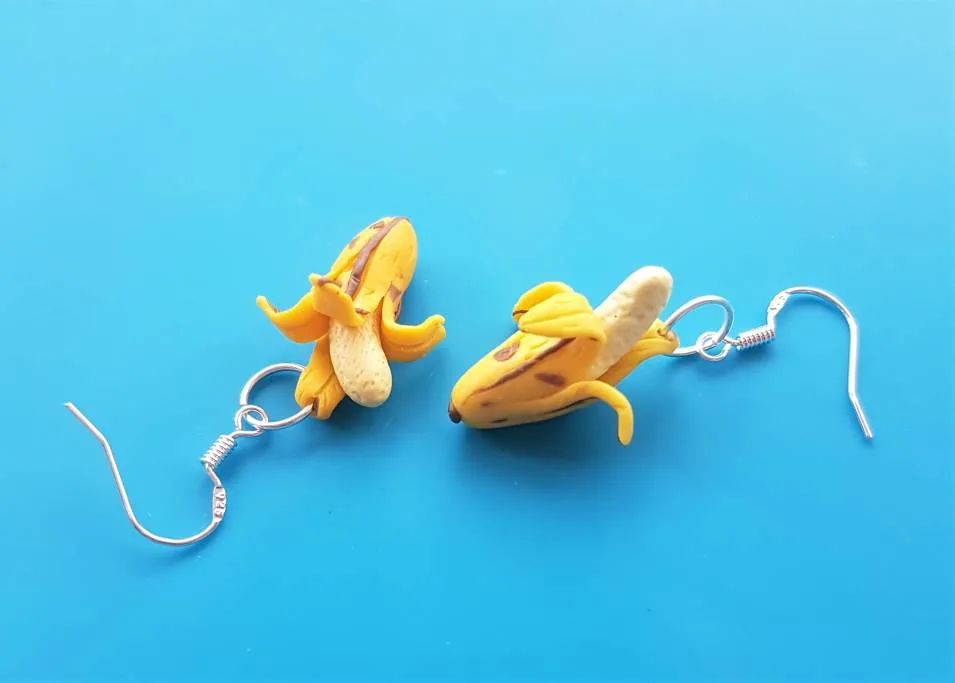
These realistic little banana earrings look good enough to add to your fruit salad, and they’re simple, fun and quick to make. I’m going to breakdown the step-by-steps for you in the following tutorial. Get your supplies ready and let’s start crafting…
Step 1. Condition your clay and roll out your banana
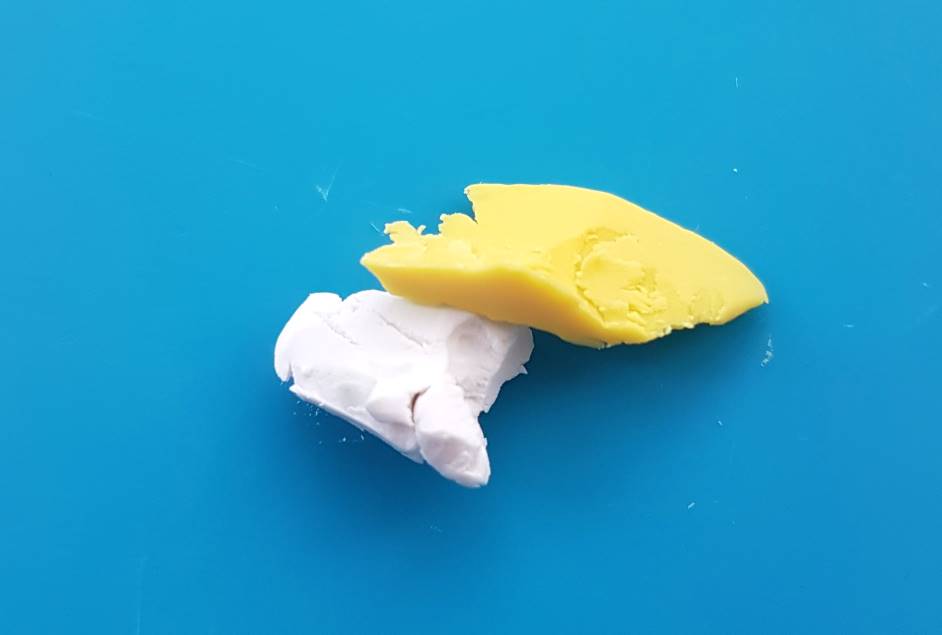
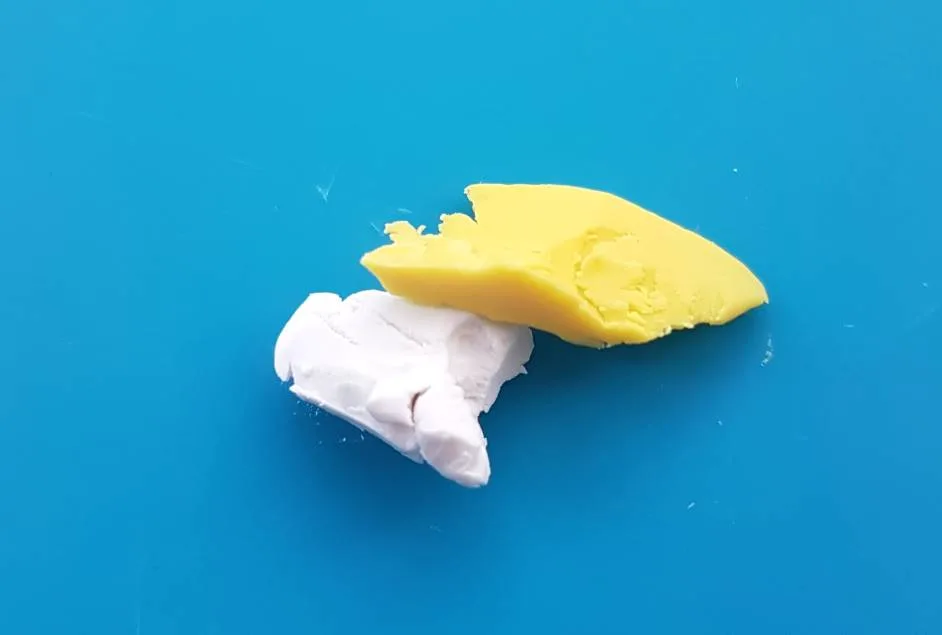
Pick out the colours that mostly resemble a banana peel and the light colour of the banana itself, along with a brown for the peel details. I mixed together several colours to achieve the pale yellow of the banana, until I was satisfied with the result.
Roll the clay together in your palms to warm it up, until the colours are blended and you are left with a smooth ball, with no cracks in the surface. They clay should be malleable and easy to mould if conditioned properly.
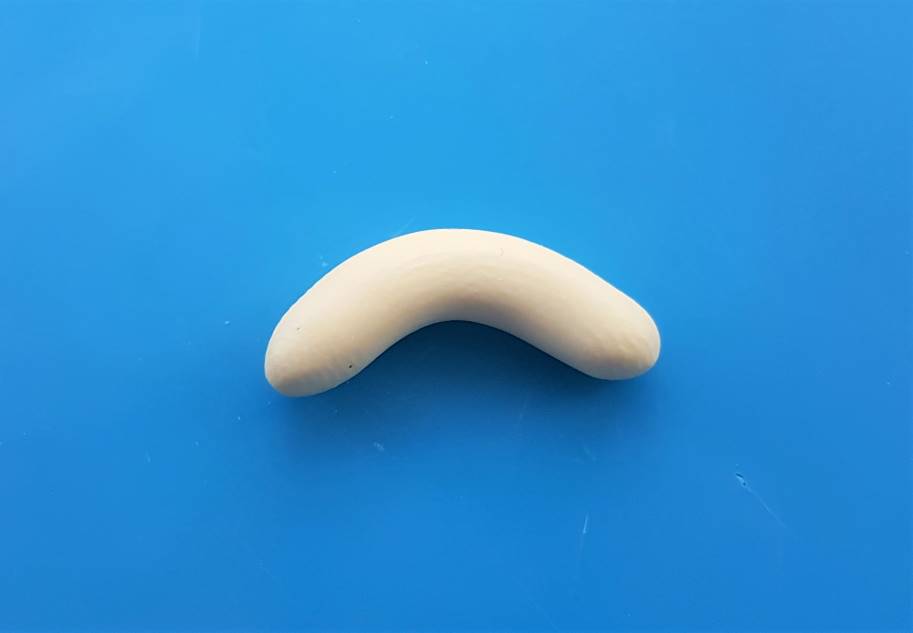
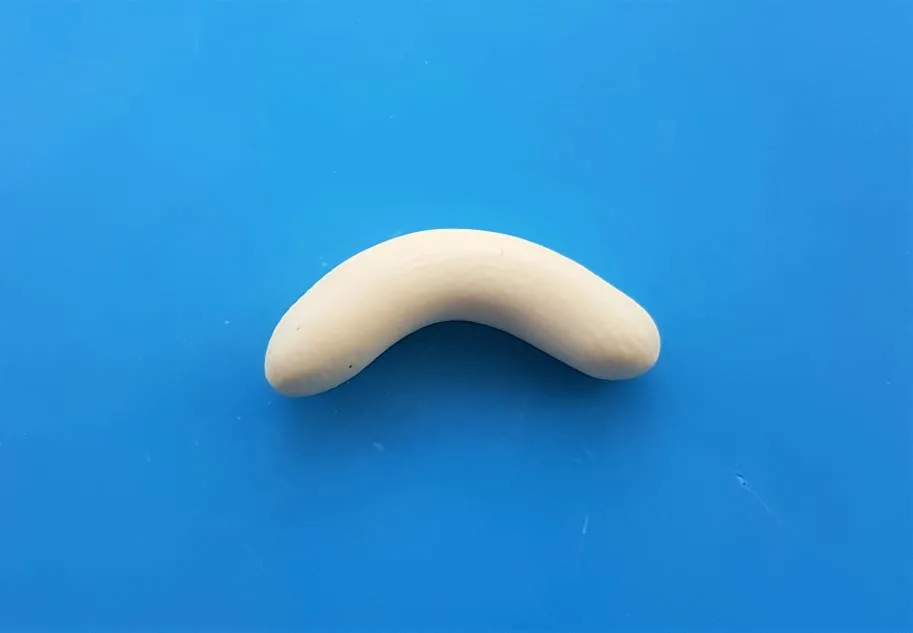
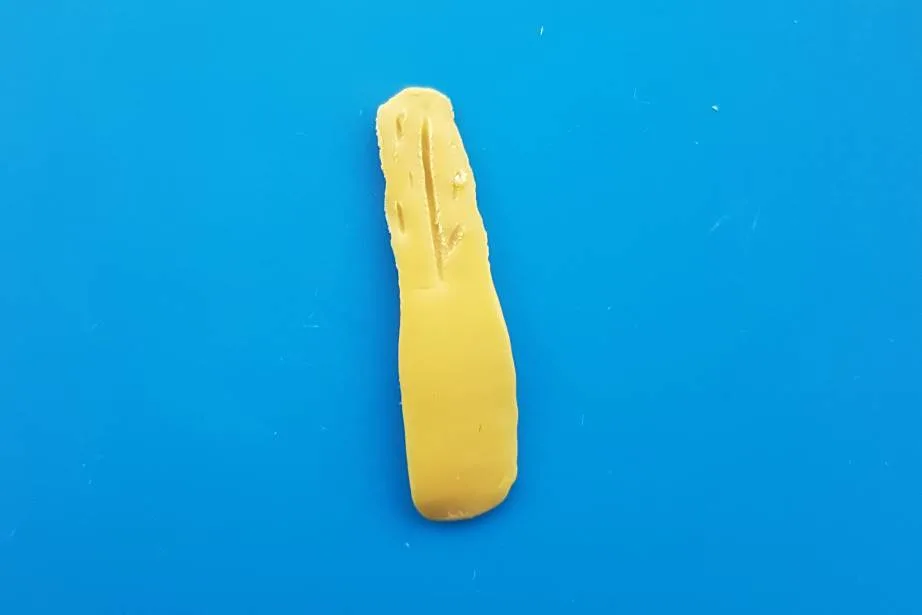
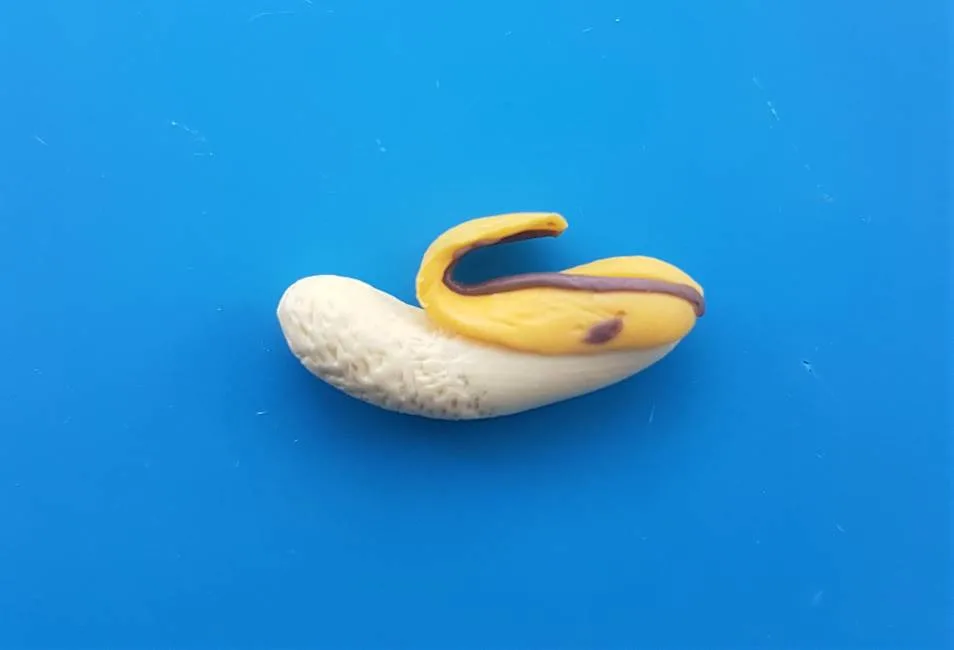
Take the ball of pale yellow clay and start to roll and bend it on your crafting mat, until it forms a banana shape, as pictured below.
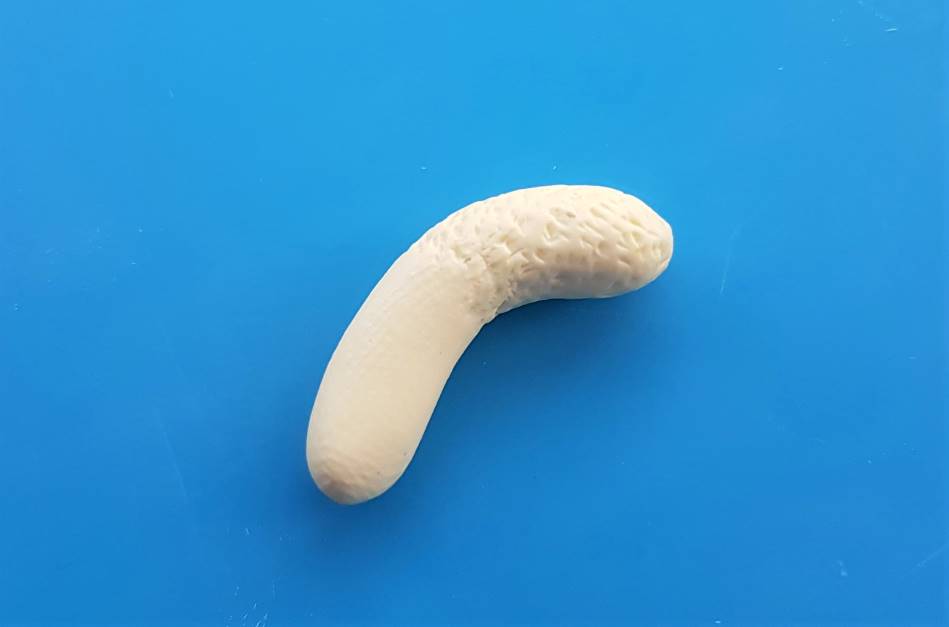
Step 2. Stipple your banana with a pointed tool to create texture
Take a pointed tool and begin to poke little indents in the top half of your banana, until you have a realistic stippled effect.
Hold it between your fingers for the easiest way to get around the banana; it doesn’t matter if you get finger prints on the bottom half of the banana as that part will be covered by the peel later on.
Once you’ve stippled your banana, it should look something like this:

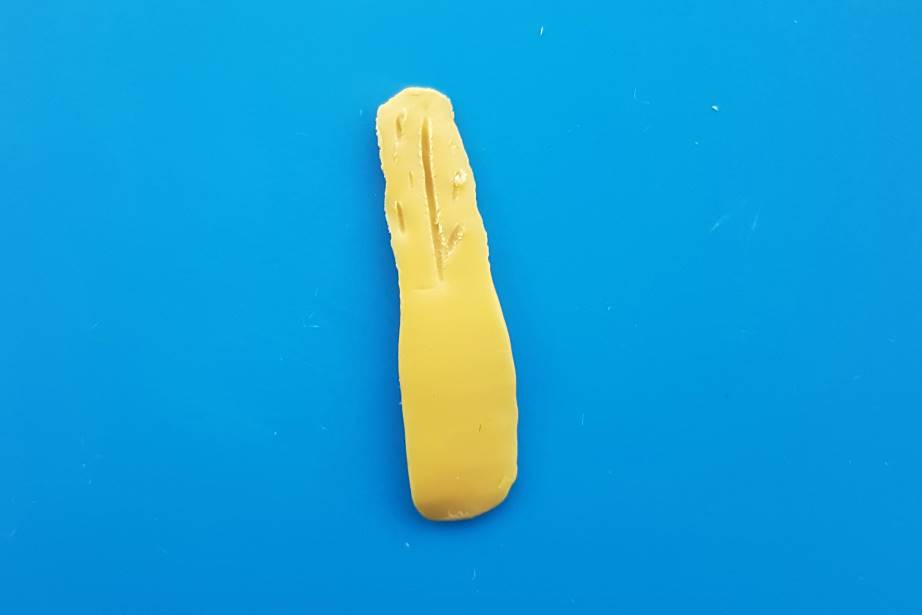
Step 3. Begin making your banana peel
Separate your ball of conditioned yellow clay into four pieces to form each side of the peel. Roll out each chunk into a long oval shape as pictured below, and slightly flatten the lower half of the piece, so it wraps around the banana nicely.
Add detail to the inside of the banana peel with a pointed tool, to create a lined effect. You only need add detail to the top half of the inside of the banana peel, as the bottom half will be pressed against the banana and not seen.
Flip over the piece of banana peel and add a long line down the back of it, as well as a couple of smaller lines through the peel for realistic detail.
Step 4. Add brown details to the banana peel
Roll out your ball of brown clay until it forms a long fine string, and then divide it into four pieces that will run along the centre of each banana peel segment.
Place the fine string of brown clay down the centre line of the banana peel, so it sits in the little indent, and then press it against the clay. There shouldn’t be any need for glue at this stage, as the pieces of clay should stick against each other quite well, although if you are having trouble with this a fine strand of glue should help.
Add a couple of small brown dots of clay to the banana peel if you would like your banana to appear extra ripe like mine, as pictured below.
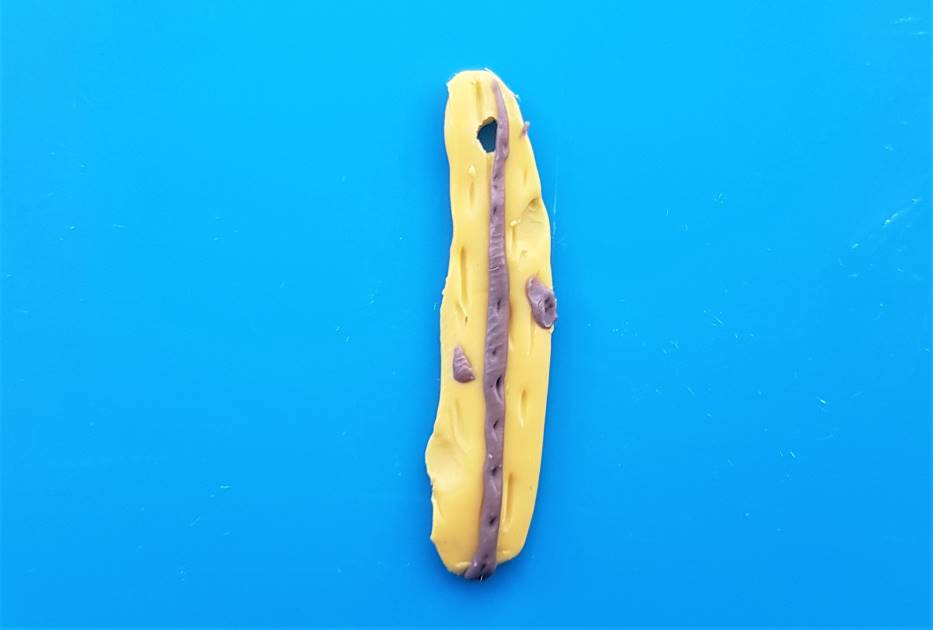
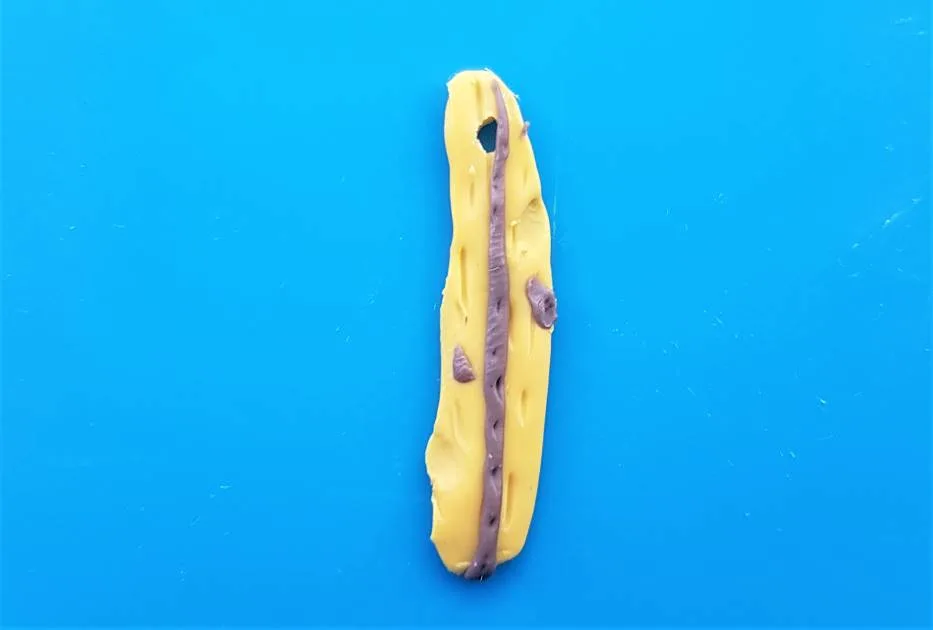
In one of the peel segments add a hole in the top with a pointed tool, for your earring jump ring and hook to go through. This segment will be placed at the back of the banana and will stand straighter than the other peel pieces, to allow the earring jewellery to hang nicely from it. Make this segment a little longer than the others.
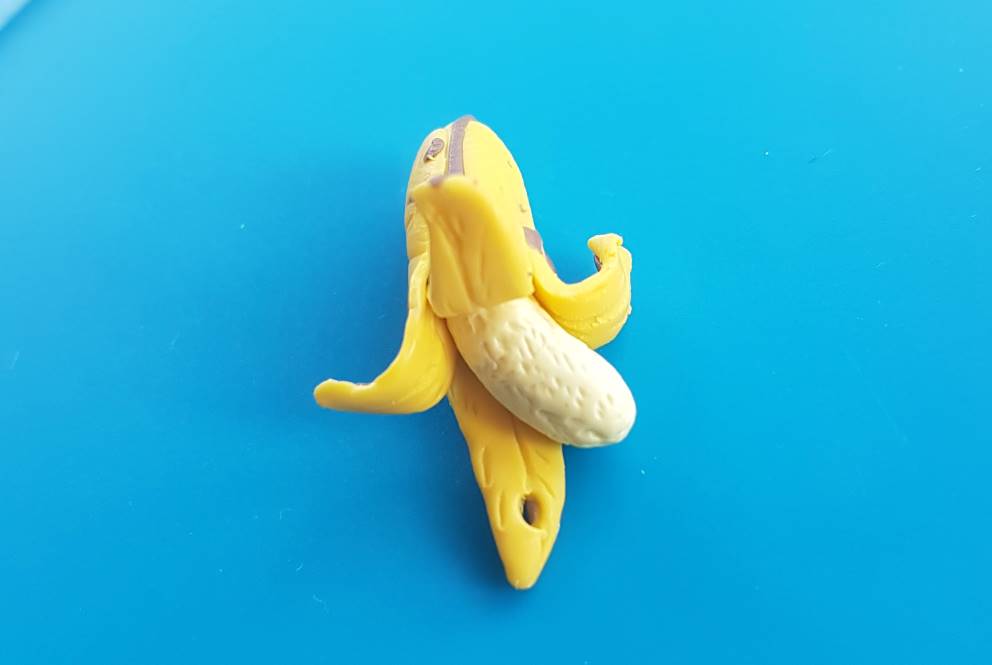
Step 5. Attach the peel to the banana
Take the segments of peel and begin pressing them against the bottom half (the un-stippled part) of the banana. The clay should stick together, but you can add some polymer clay glue if necessary.
Once a segment of peel is attached curl down the top part of it until it looks like a realistic opened banana with a bent peel.
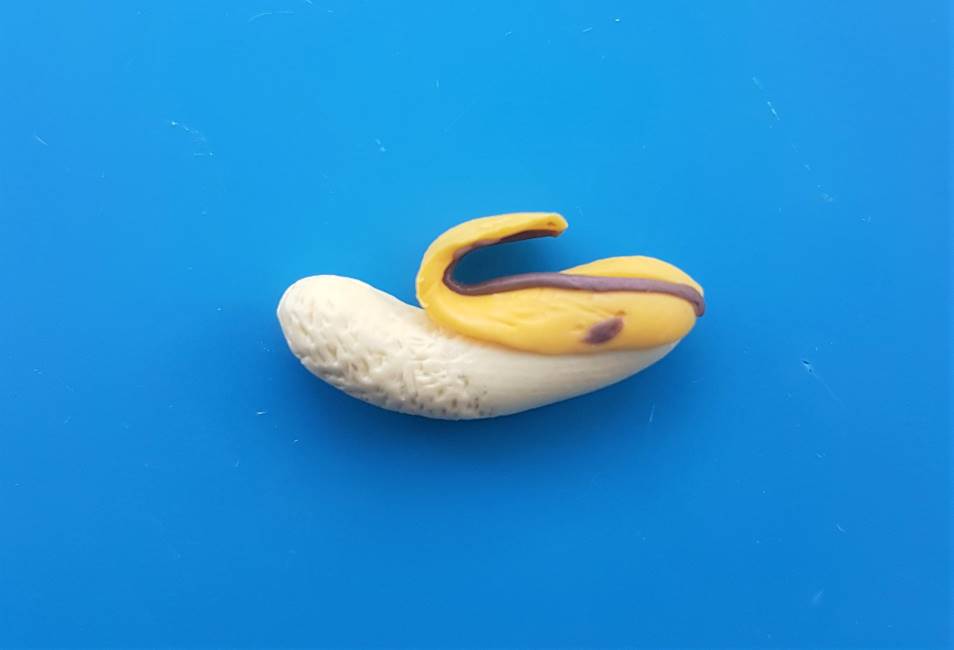
Repeat this step until all of the segments are attached, with the back part of the peel with the jump ring hole standing straighter than the others (so the earring hangs nicely), as pictured below.

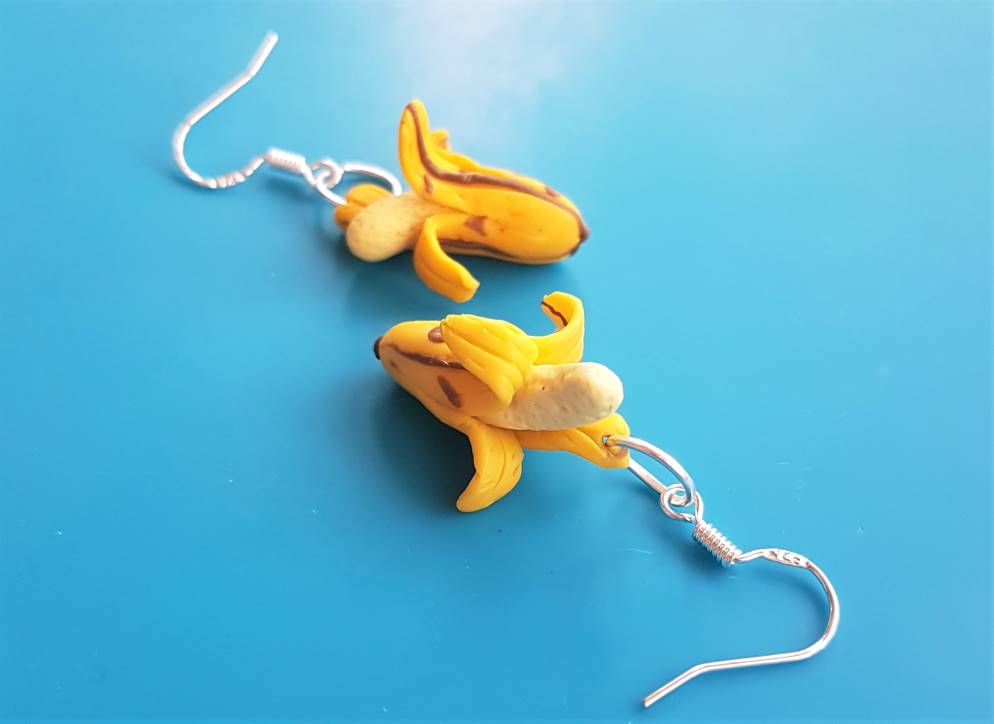
Step 6. Bake your bananas, allow to cool, then attach the earring jewellery
Bake your banana earrings according to the packaging instructions of your chosen brand of polymer clay. Once they are done, remove them from the oven and allow them to cool somewhere safe, free of dust and lint.
After 30 minutes to a couple of hours, check on the earrings to see if they have sufficiently cooled. If so you can begin adding your jump rings and earring hooks with a pair of jewellery pliers.
Once everything is attached your earrings should be done.
Here’s what they should look like:

2. How to Make Polymer Clay Orange Earrings
These sweet orange earrings make for a perfect summer-fruit look, and they are easy to make.
Read on for a step-by-step tutorial to add these citrus fruit polymer clay earring designs to your personal jewellery box, or to add them as a product in your Etsy shop.

Step 1. Condition your clay
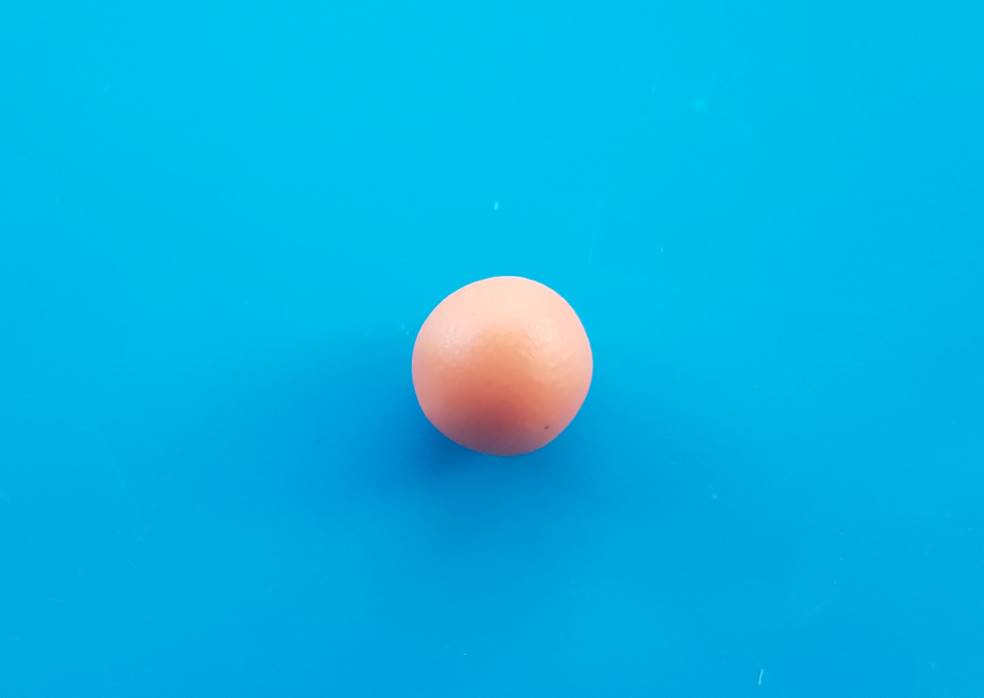
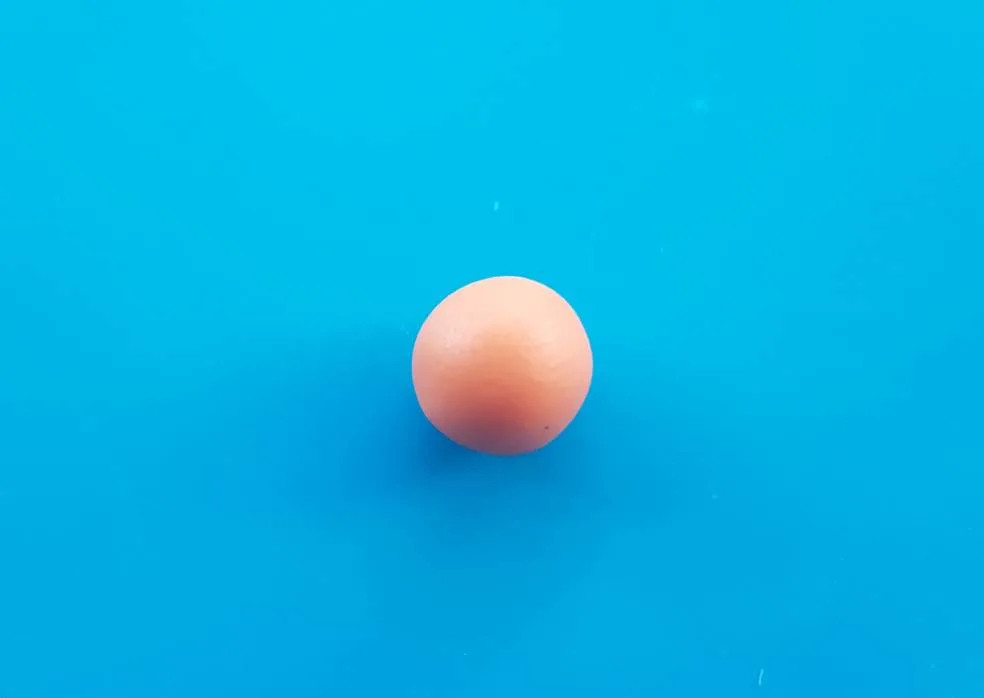
Either choose a premade orange polymer clay or mix a couple of clays together to form the perfect orange colour for your earrings. Once you’ve selected your colours roll them together until blended and smooth.
Form the clay into a malleable ball, without cracks.
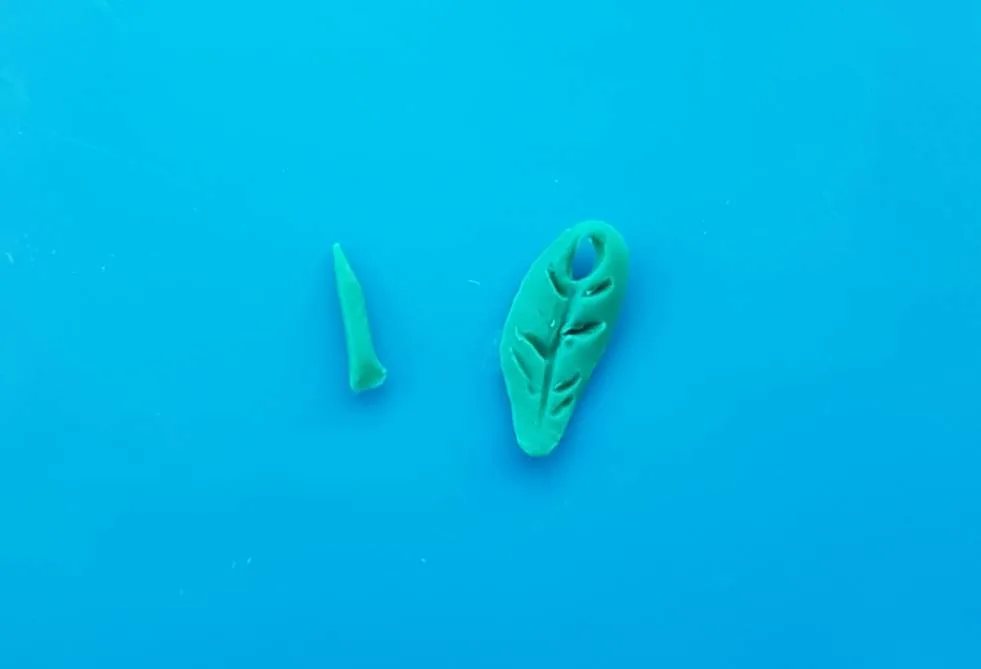
Step 2. Create a stem and a leaf for your orange
Roll out some green clay and form a small stem to insert into your orange ball.
To create a leaf press a piece of green polymer clay into a circle and cut it in half. Take one of the halves and add some lined details with a pointed tool to create a realistic leaf effect.
Add a small hole into the leaf, as this is where the jump ring and earring hook will attach to.
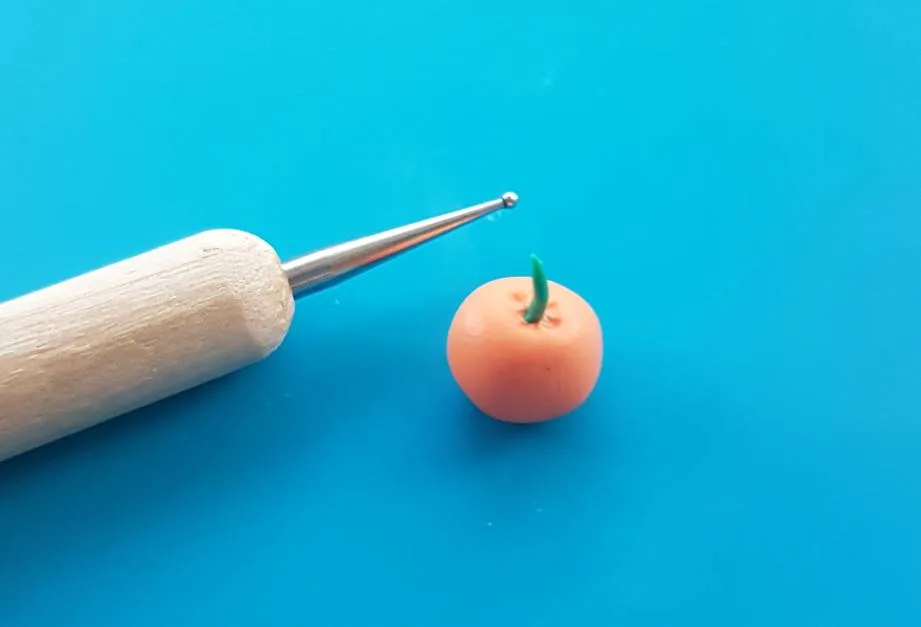
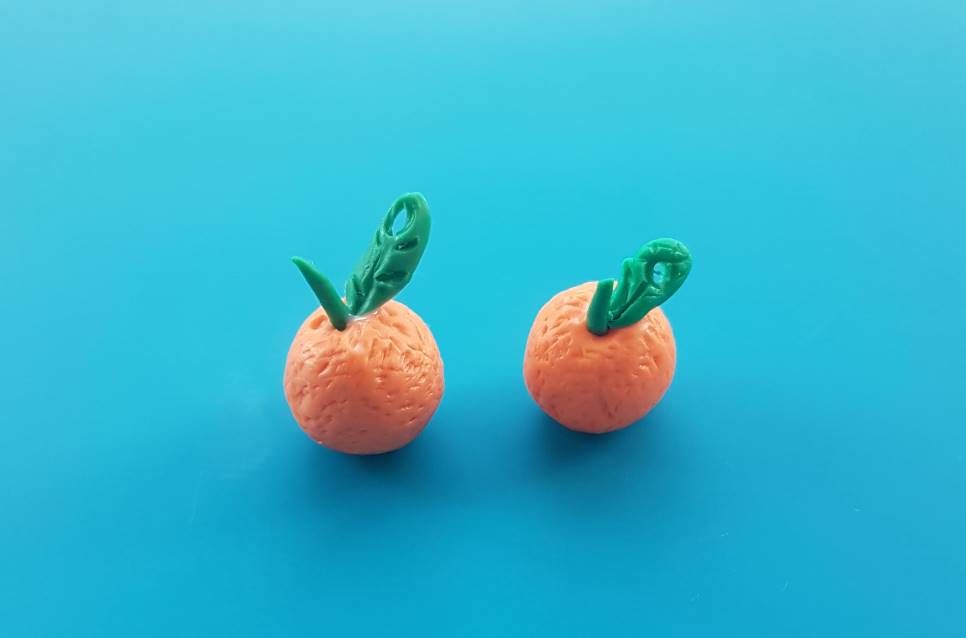
Push a small hole into your orange with a pointed tool, and then press the stem inside it. Add a drop of polymer clay glue to the underside of your leaf and attach to the base of the stem, as pictured below:


Step 3. Stipple the orange to add realistic detail
Take a pointed tool and begin pressing small indents into the surface of the orange to create an orange peel effect. Be gentle with this and don’t push to hard, to retain the shape of the orange.
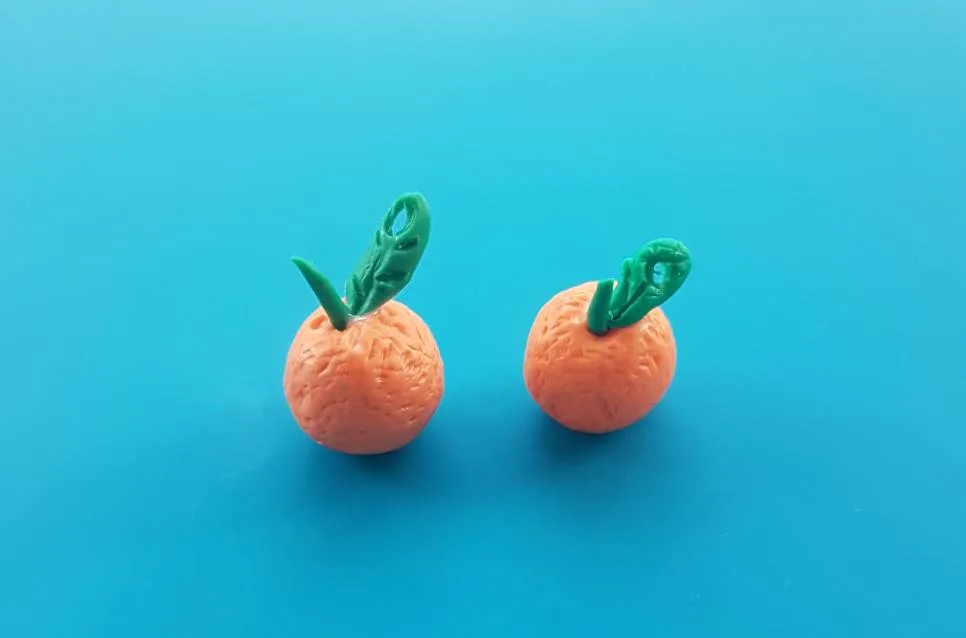
Once you have stippled the surface of the orange it should look something like this:
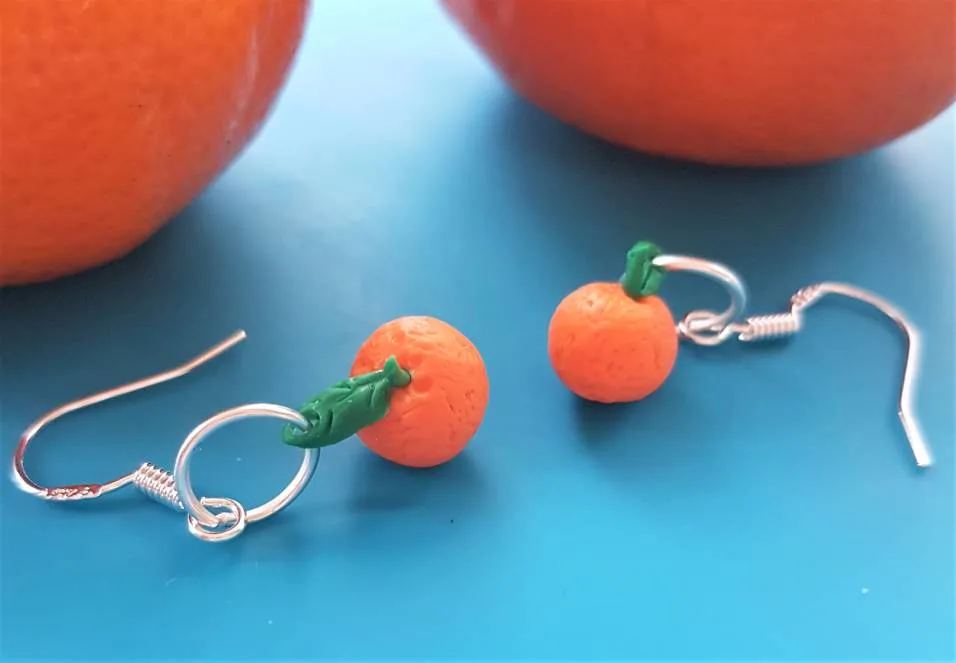
Step 4. Bake your orange earrings and then add the jewellery detail
Bake your orange earrings according to the packaging instructions of your chosen brand of clay, allow them to cool properly after the oven and then attach your jump rings and earring hooks with a set of jewellery pliers.
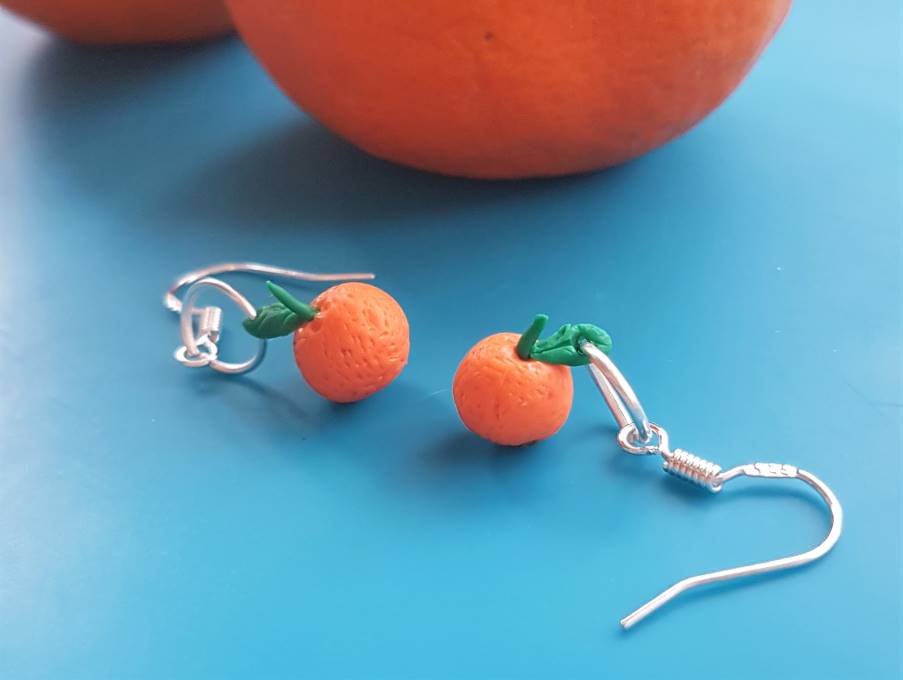
Once the jewellery is attached, your earrings should be done.
Here’s what they should look like:

3. How to Make Polymer Clay Lemon Earrings
These delicate lemon earrings are so pretty and dainty; a perfect summery accessory. Learn how to make them with this quick how-to guide.

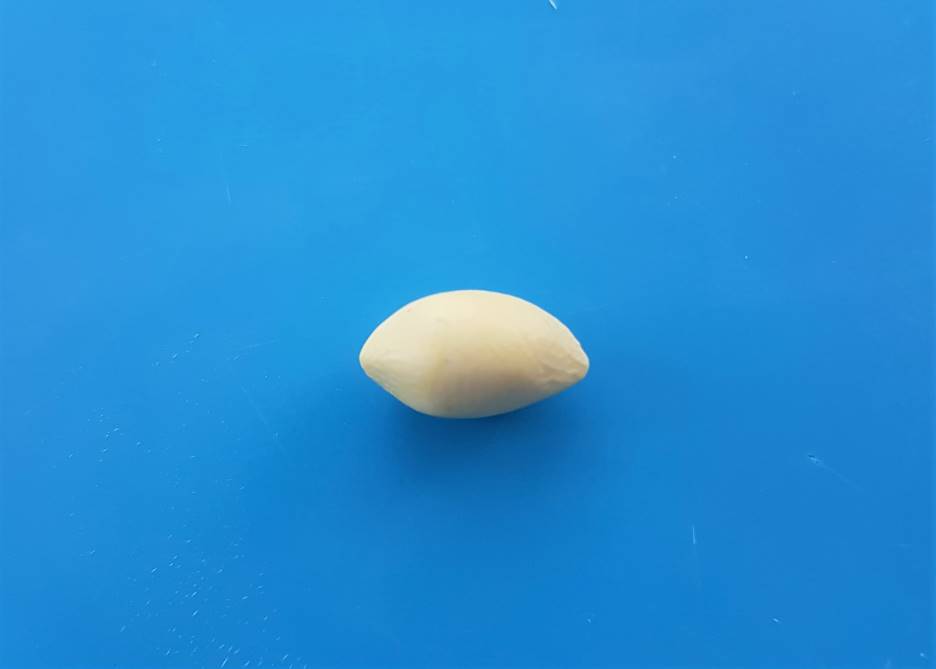
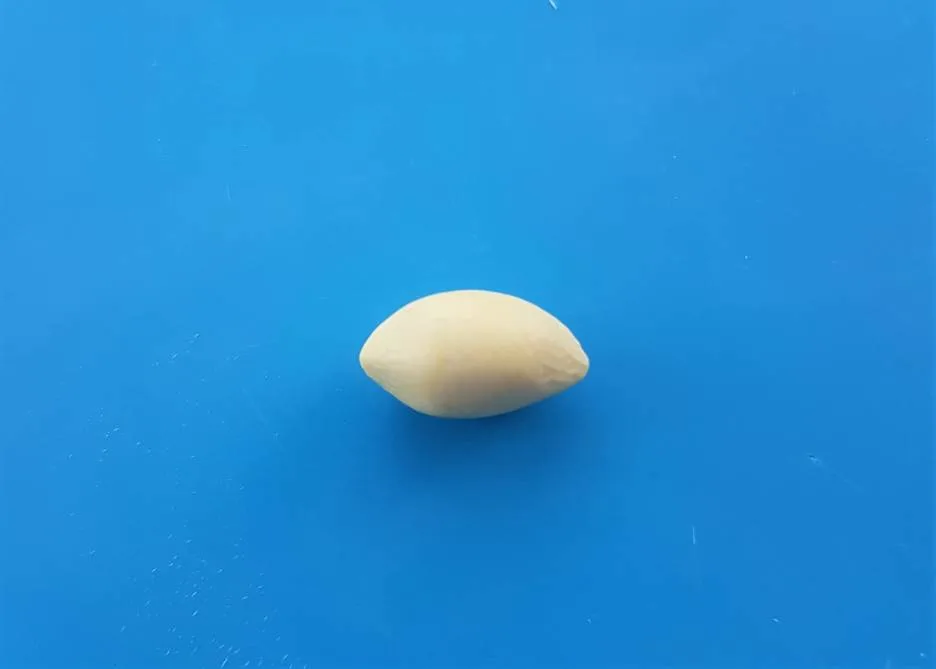
Step 1. Condition your clay and shape your lemon
Mix together colours of clay to form a light yellow, for the body of your lemon. You can either use a premade yellow, or mix in some of your own choices as I did. Roll the lemon ball between your fingers until it forms a lemon shape, and pinch the tips of each end to add realistic detail to the tip and tail of the fruit, as pictured below.


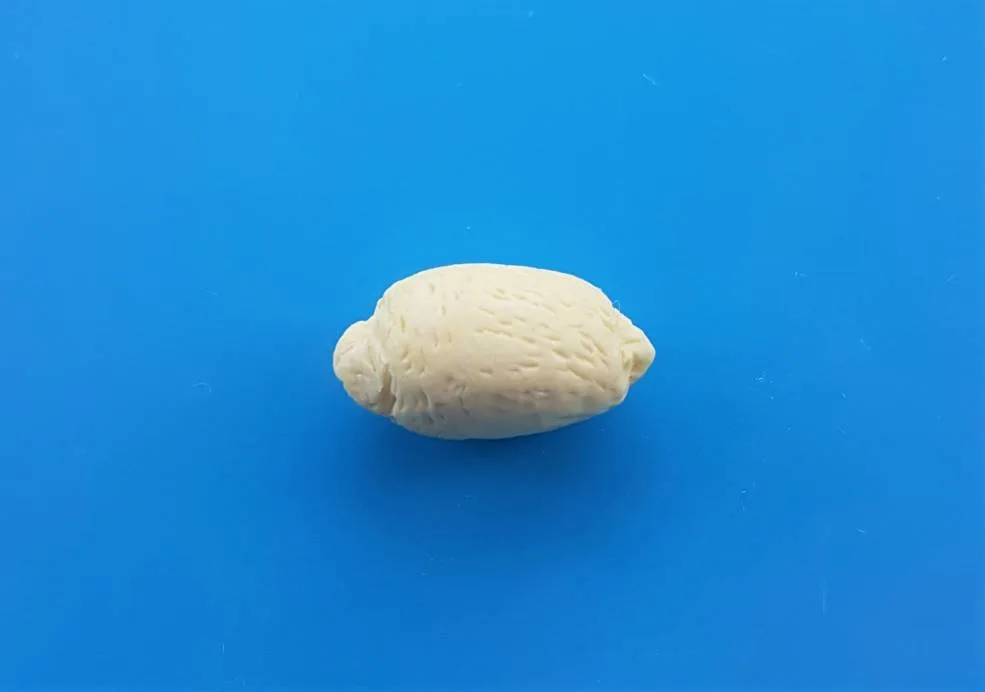
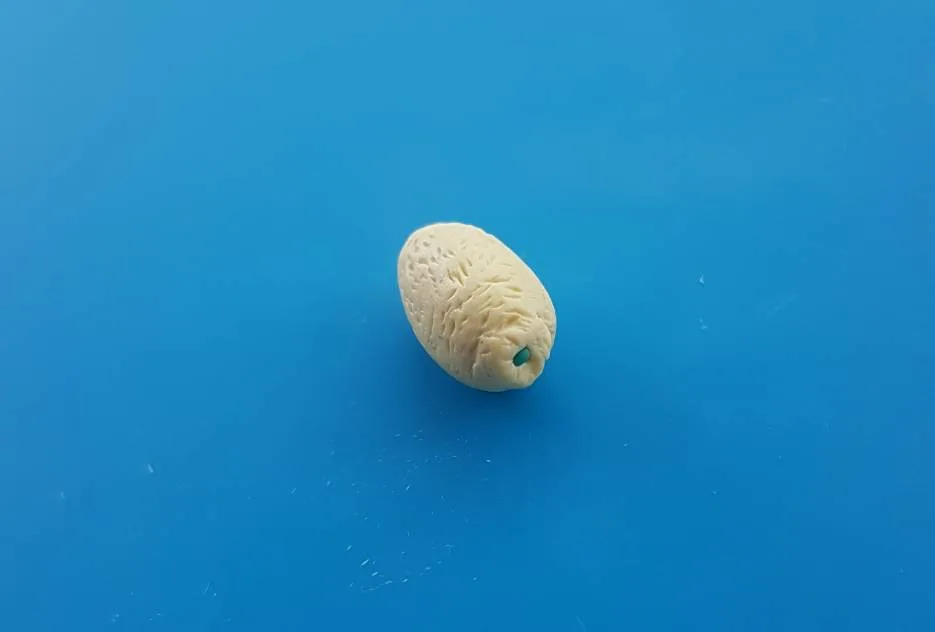
Step 2. Stipple your lemon and add a ‘blossom end’
Take a pointed tool and begin to stipple the surface of your lemon, to add a realistic peel. Press the tool into the clay to leave little indents all over the surface, until you are satisfied with the effect.
Then, take a small amount of light green clay and brown clay and mix them together to form a teeny tiny marbled ball, to place on the bottom end of the lemon. This will form the ‘blossom end’, the little nub at the base of a lemon, for a small bit of extra realistic detail, as pictured below.

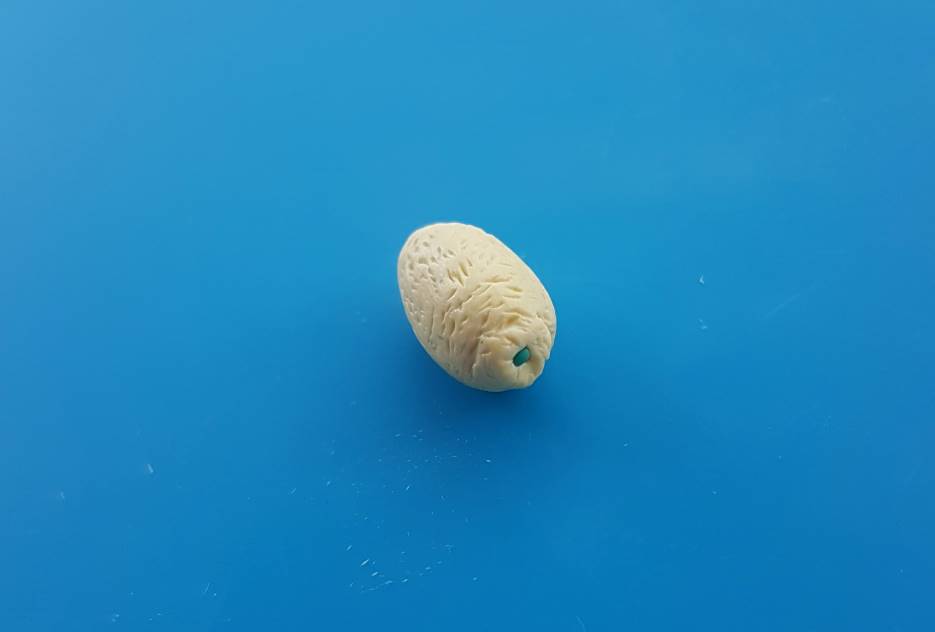
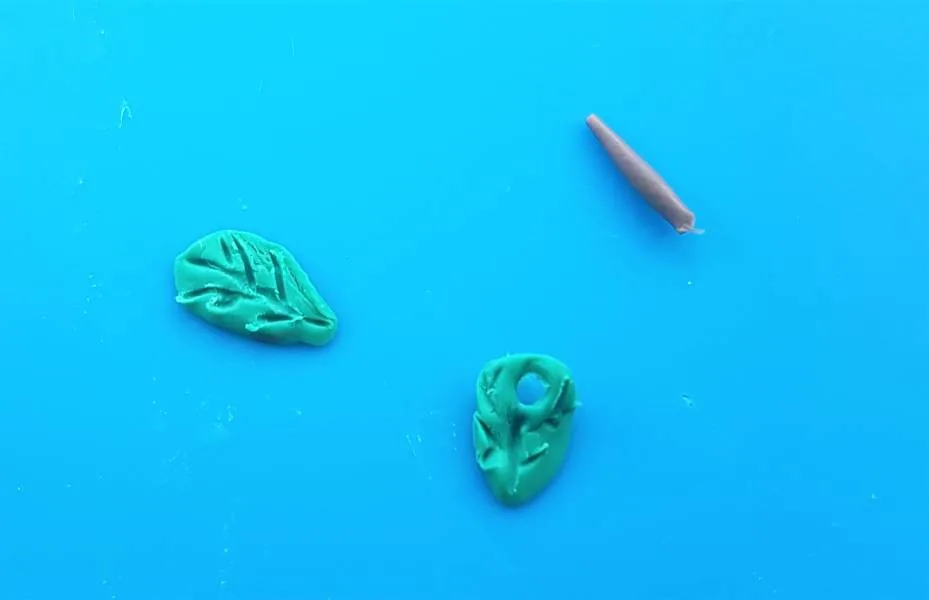
Step 3. Add a stem and leaves to your lemon
Take some green and brown polymer clay and create a stem and two leaves for your lemon.
For the stem roll out a small bit of brown clay, to press into a small hole we will create in the top of the lemon.
For the leaves mix a bit of brown clay with some green clay, about one part brown to three parts green, and roll the ball out into a circle. Cut the circle in half to form two leaf shapes, and begin to add details to them with a pointed tool.
Make a line down the centre of the leaf, and add a few smaller lines branching off from it. In one of the leaves add a hole for your earring jump ring and earring hook to attach to.
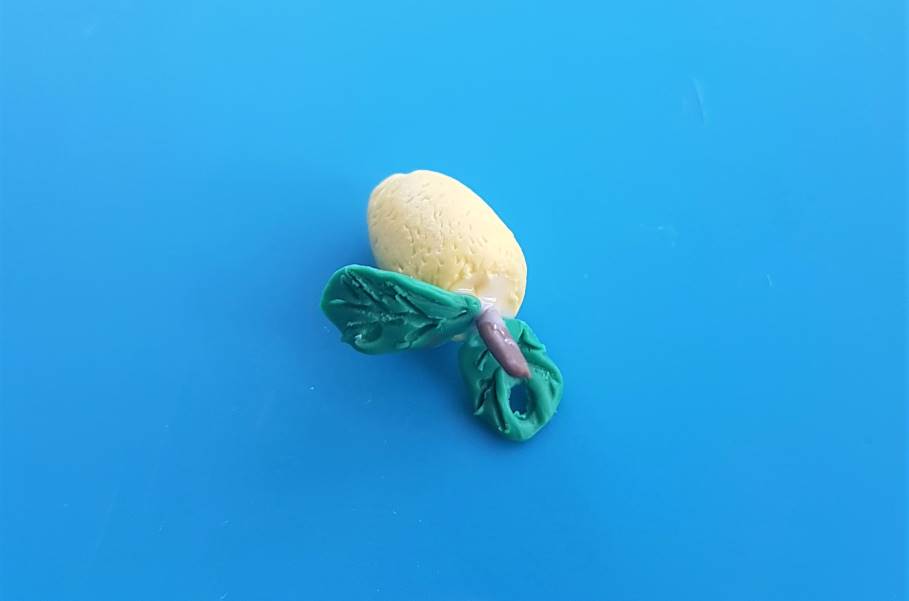
Then, press a small hole into the top of your lemon and insert the stem into it. Close this up around the stem, add a tiny bit of polymer clay glue to the leaves, then attach them to the lemon, as pictured below.

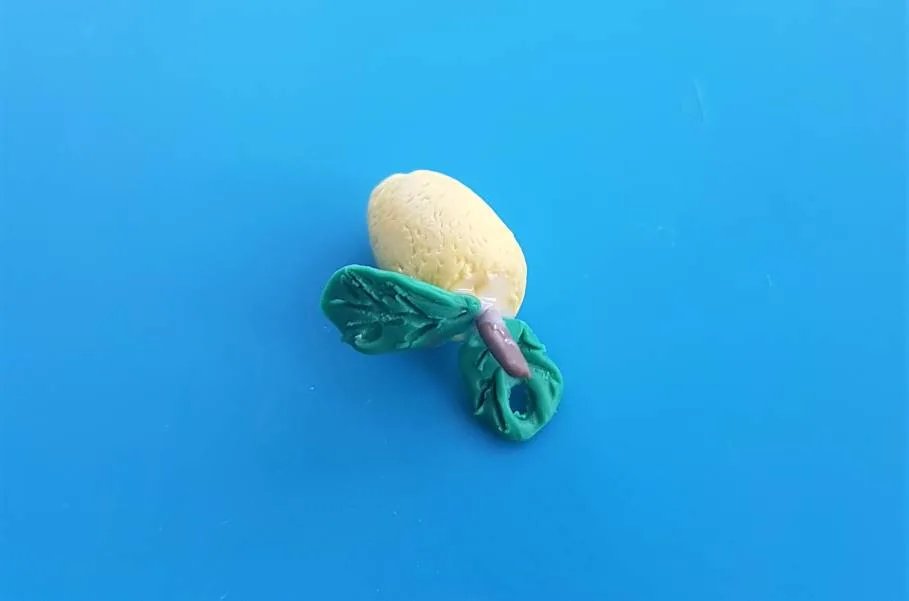
Step 4. Bake your lemon earrings and then add the jewellery
Bake your earrings according to the packaging instructions of your chosen polymer clay brand.
Once they’re done, take them out of the oven and allow them to properly cool, before taking some jewellery pliers and adding jump rings and earring hooks.
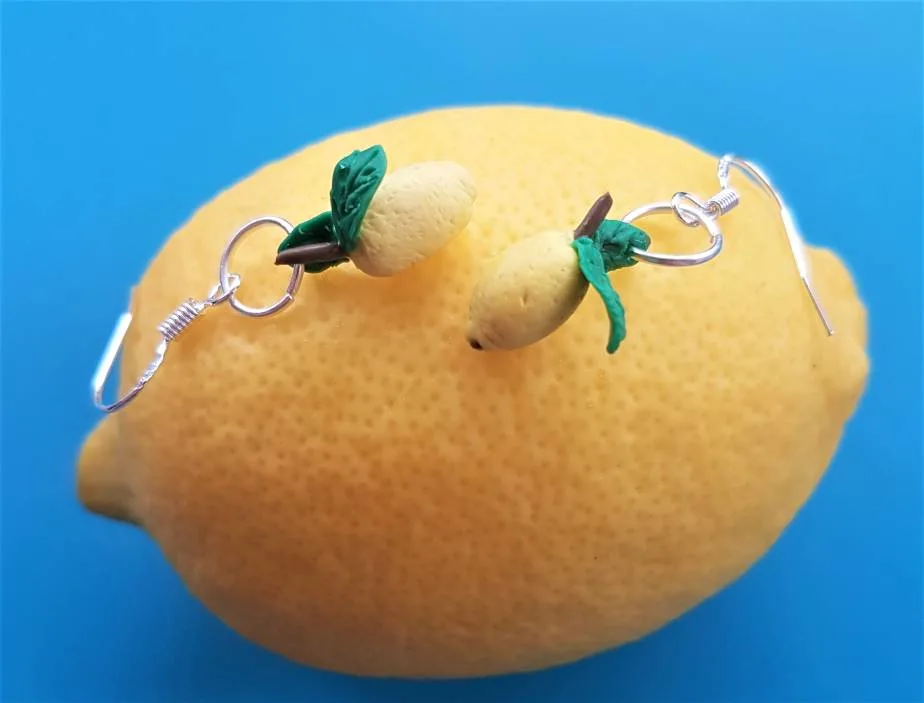
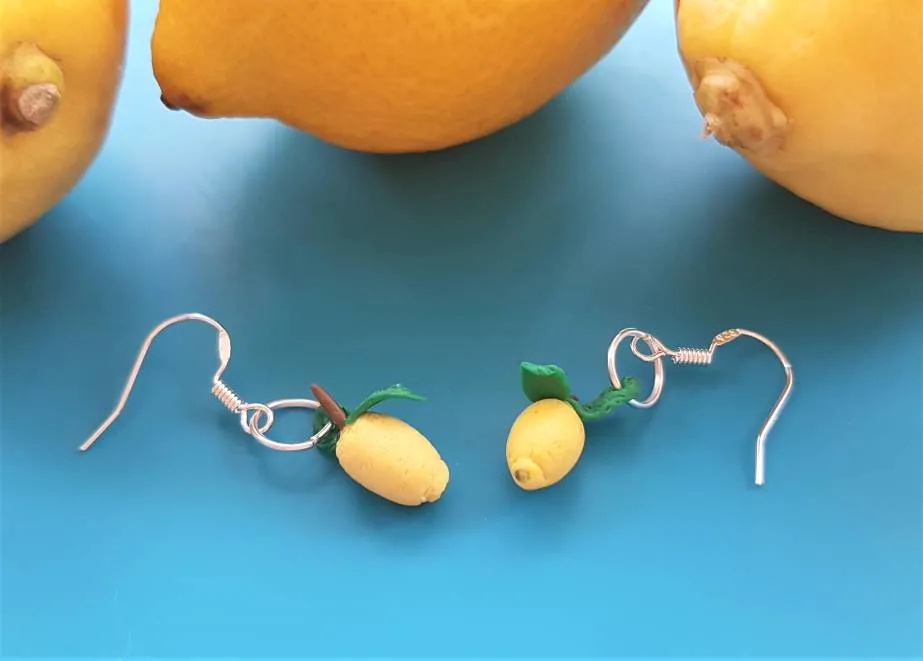
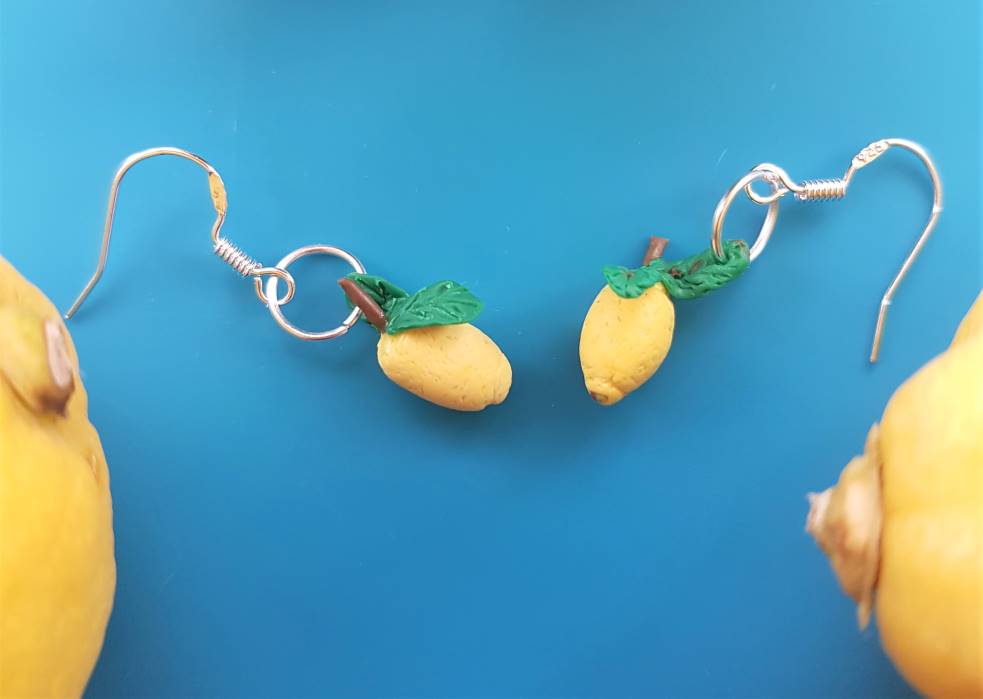
Your earrings are now done, here’s how they should look:


4. How to Make Polymer Clay Coconut Earrings
Coconut earrings are tropical, eye-catching and super easy to make! Add these unusual drop earrings to your Etsy shop or treat yourself to a handmade pair for your own jewellery box, by following my simple how-to guide to these fruit polymer clay earring designs.
Let’s get into the tutorial…

Step 1. Condition your clay
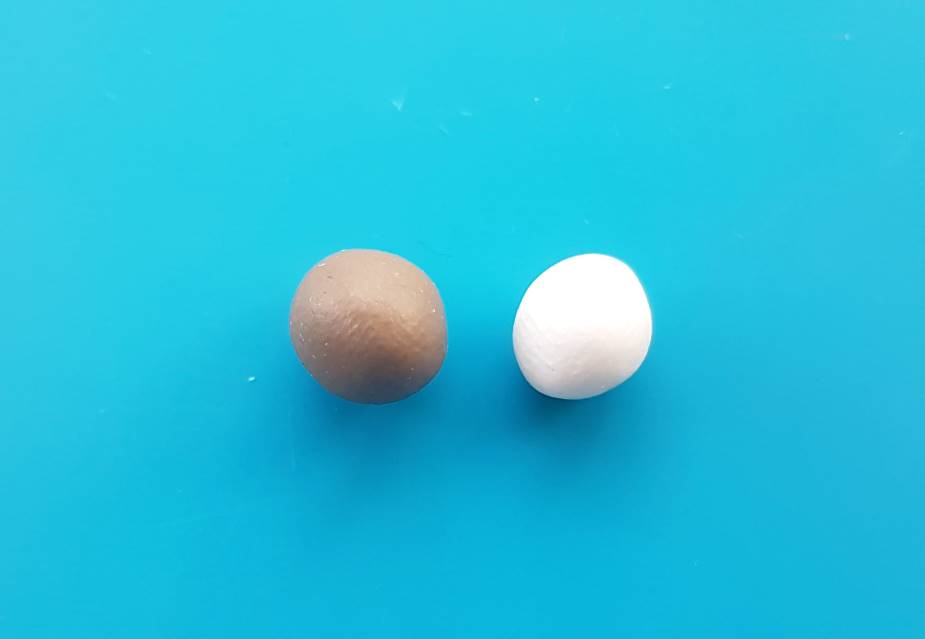
Condition a ball of brown clay and a ball of white clay – that’s all you need.
Roll the balls until they are smooth and malleable, without any cracks, until they look as pictured below:

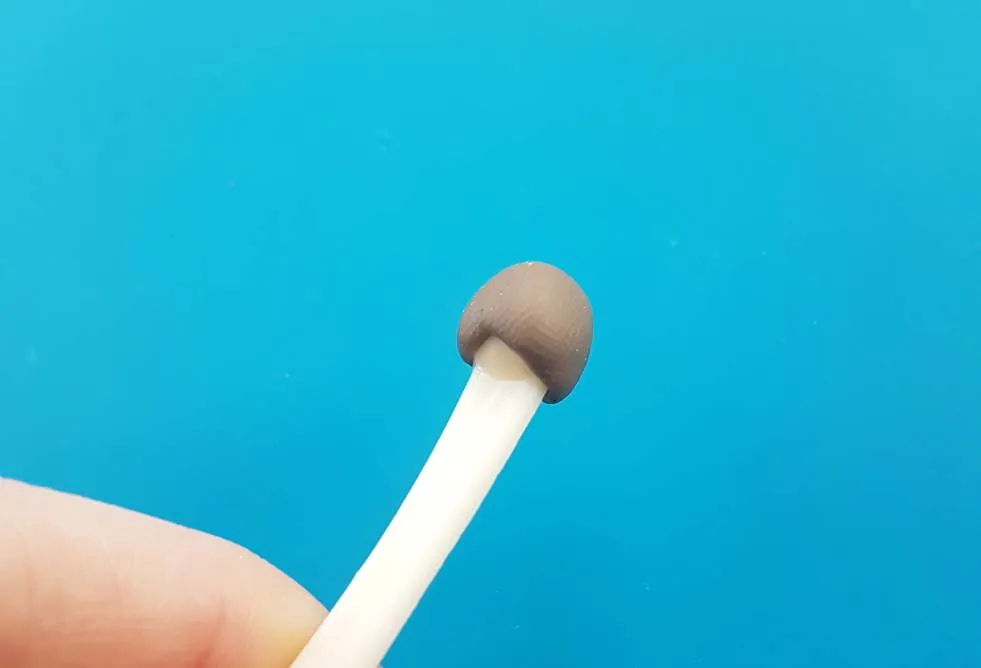
Step 2. Form the shell of your coconut with a ball ended tool
Take a tool with a rounded end, or anything that looks similar to what is pictured below, and press your brown ball of clay around it until you have a coconut shell shape.
Carefully remove the clay, and mould it with your fingertips until you are satisfied.

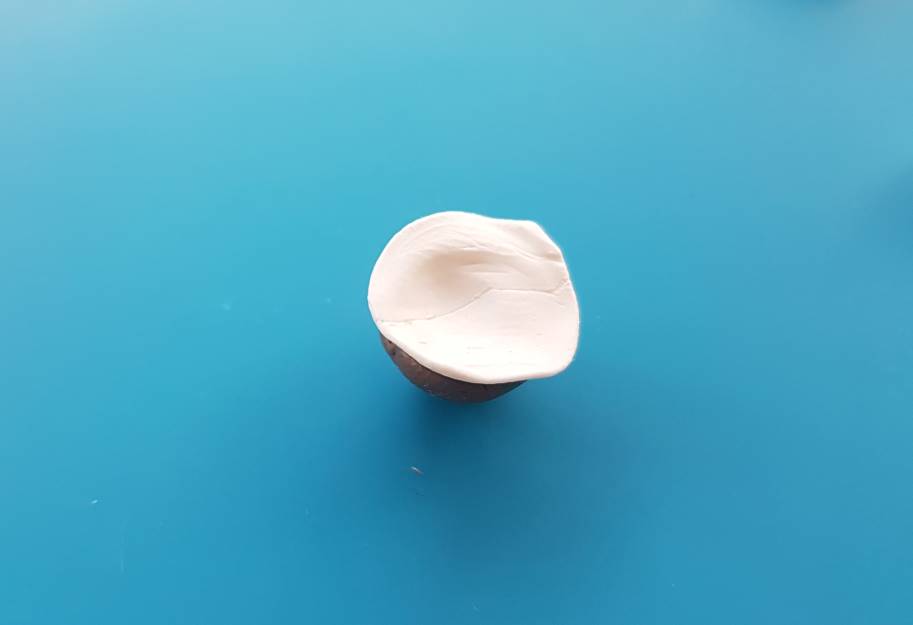
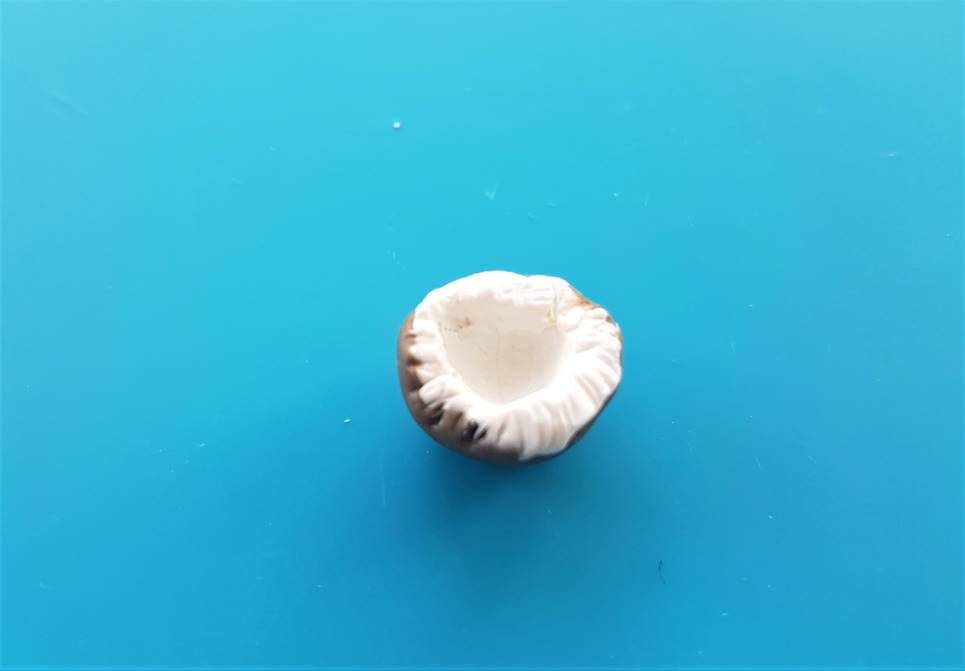
Step 3. Add the coconut flesh to the shell
Repeat the above process with your ball of white, by moulding it around the ball end of a tool. make sure your ball of white is slightly smaller than the brown, as it will need to fit inside the shell we have created.
Once the coconut flesh is formed, push it inside the shell and manoeuvre it until you are happy with how it looks.
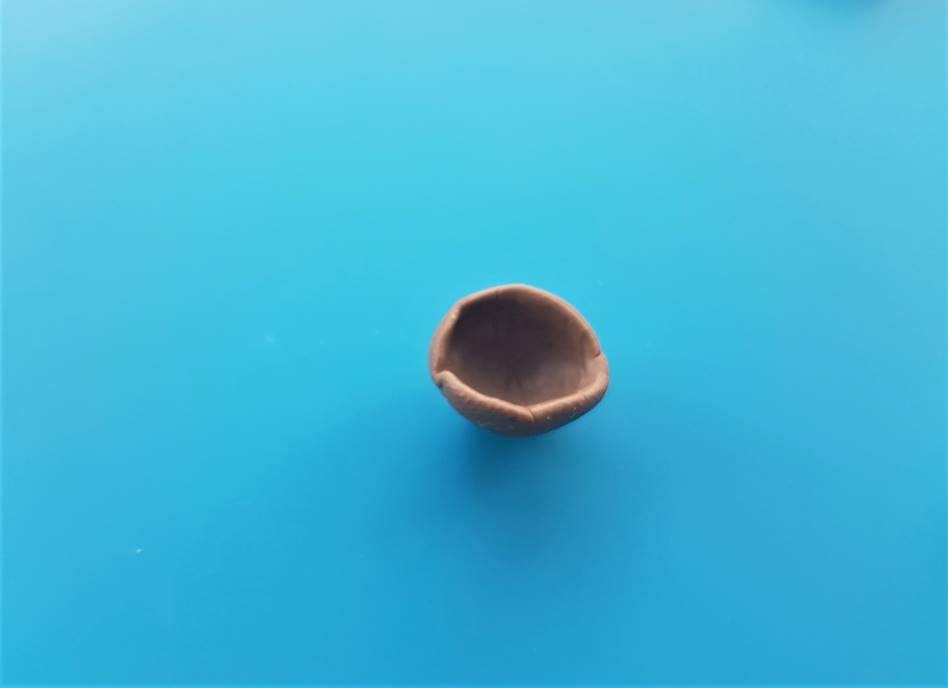
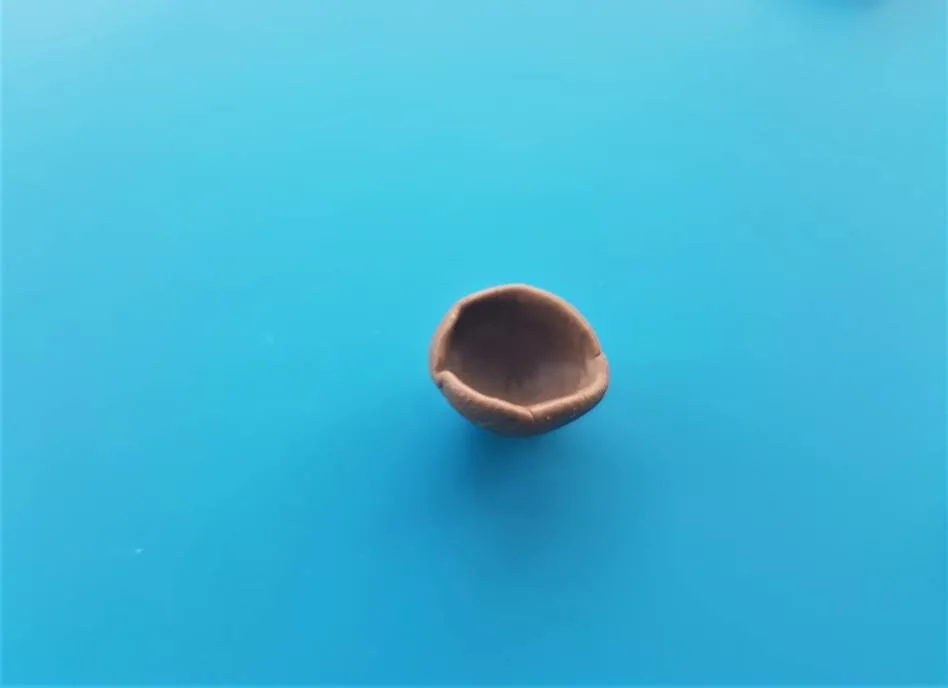
Take a pointed tool and begin to add lines around the opening of the coconut, to add some textured details, as pictured below.


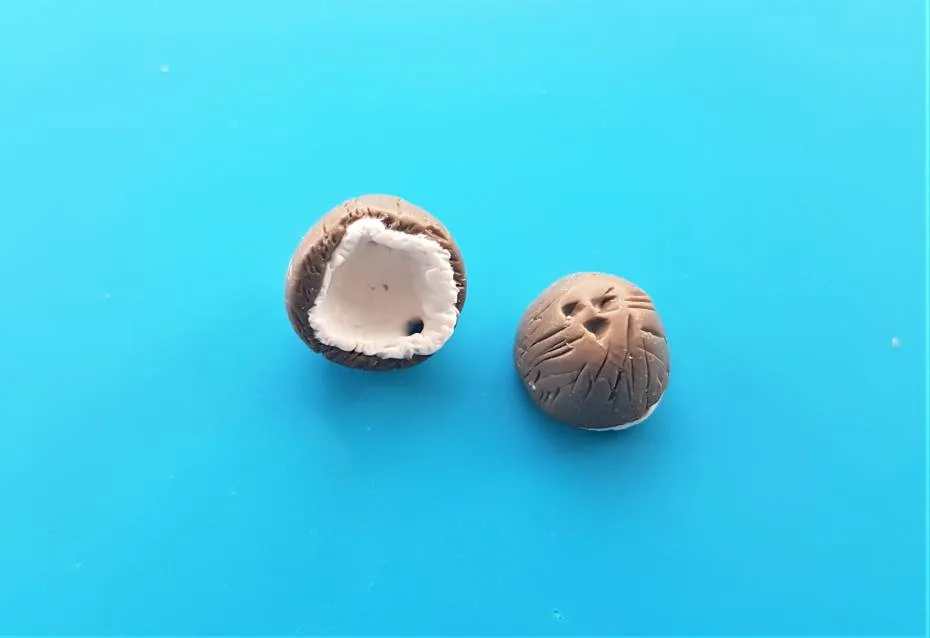
Step 4. Add details to the shell of the coconut with a pointed tool
Now your coconut is formed add some details to the outer shell with a pointed tool.
Carefully draw lines into the shell to form an effect that looks similar to the fuzzy hair of a coconut shell.
Then add three indents to the bottom of the shell, to form the small holes that sit at the base of a coconut shell, as pictured below.
Add a small hole into the side of the coconut for your jump ring and earring hook to attach to.

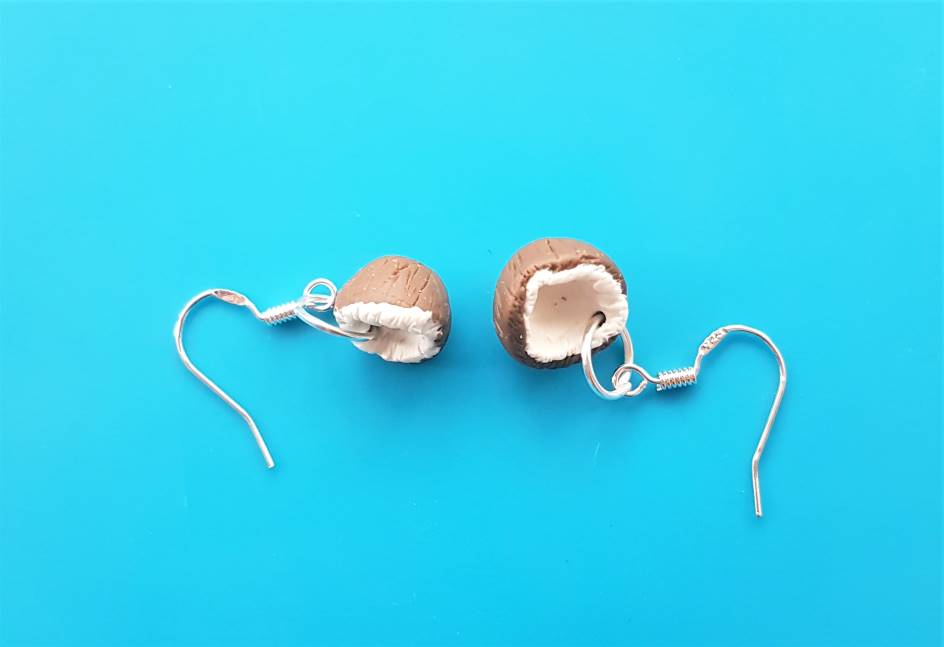
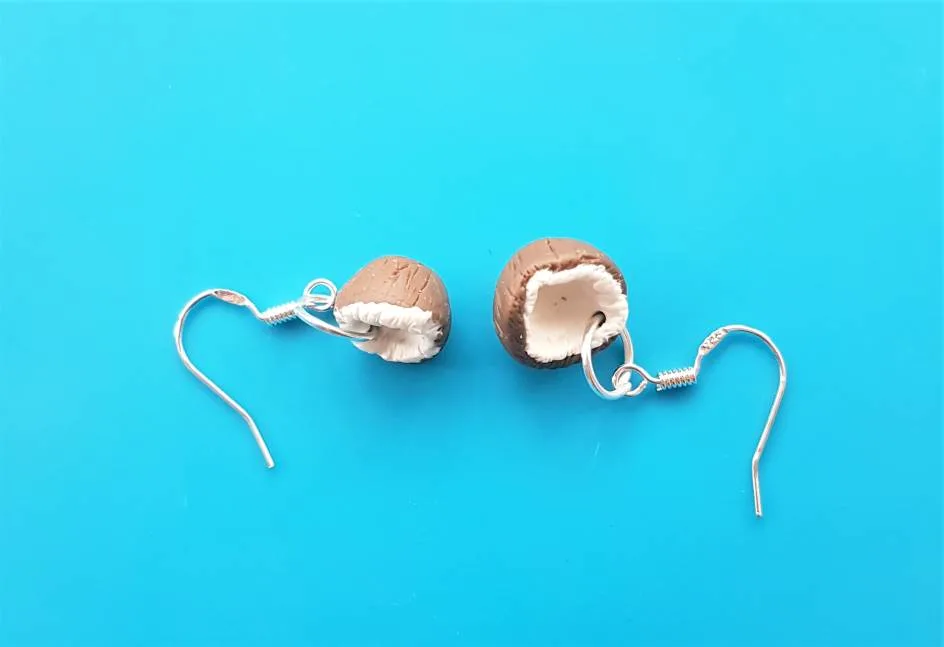
Step 5. Bake your coconut earrings and then add the jewellery
Bake your earrings according to the packaging instructions of your chosen brand of clay, allow to cool, and then add the jewellery hoops and hooks with jewellery pliers.
Now your earrings are done.
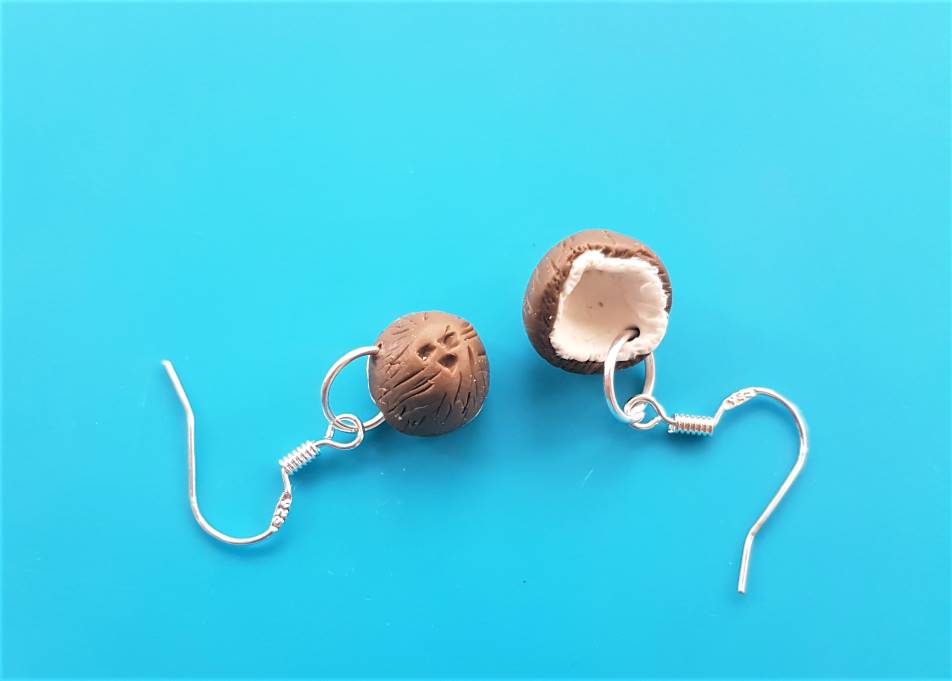
Here’s how they should look:
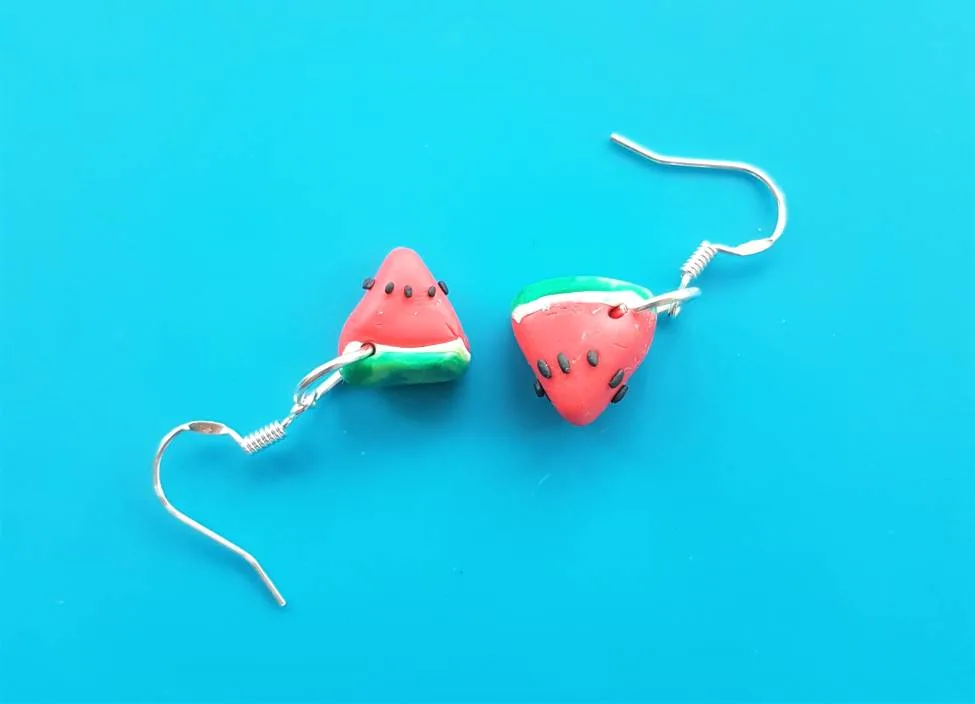
5. How to Make Polymer Clay Watermelon Earrings
Wear juicy watermelon slices from your earlobes with these gorgeous tropical earrings. A fruity staple, these designs are adorable and quick to make.
Grab your supplies and let’s get crafting…

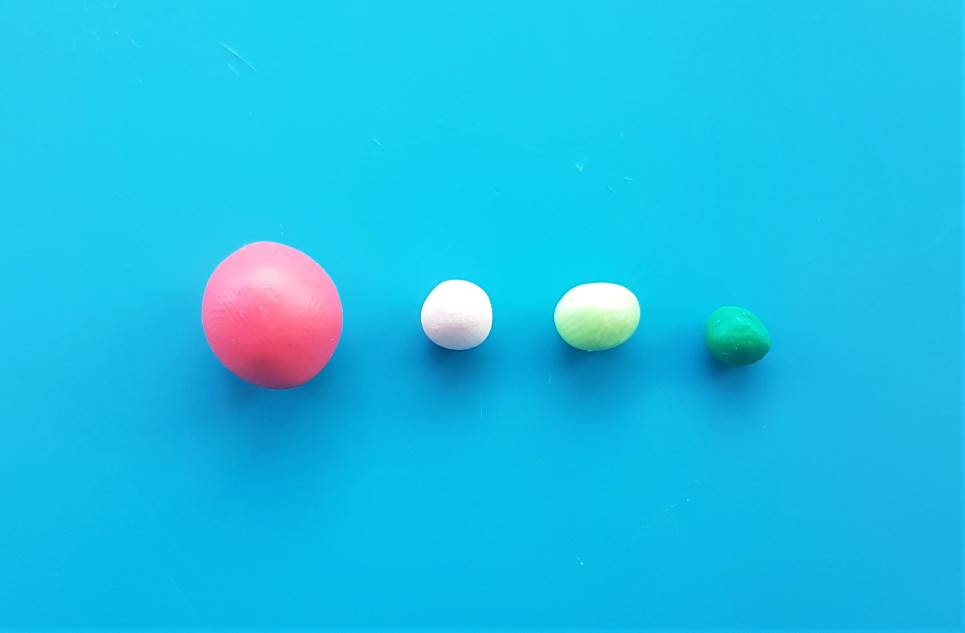
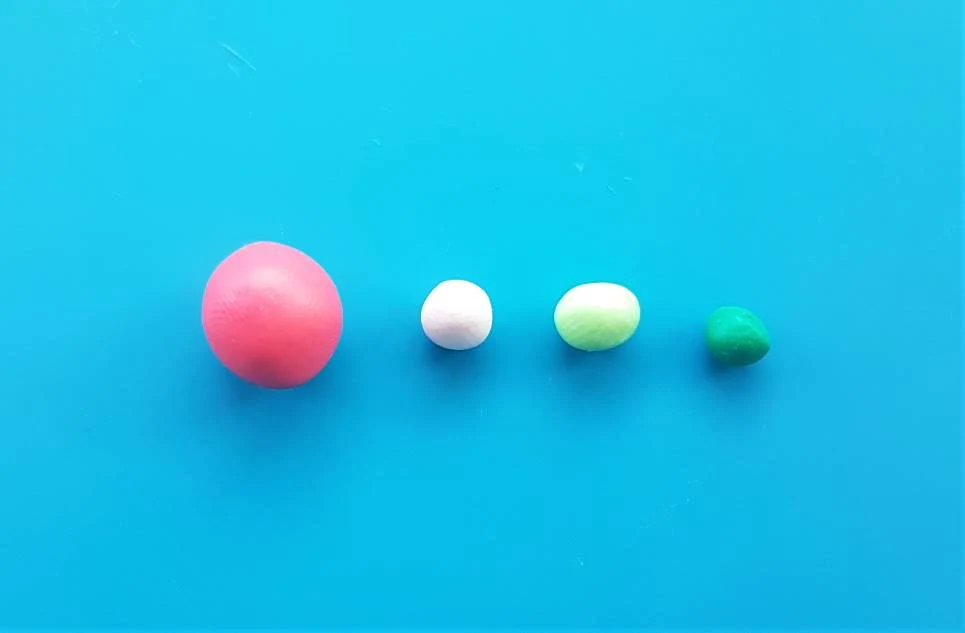
Step 1. Condition your clay
Take a reddish-pink clay and roll it out into a ball, to make the base of your watermelon slices.
Then take a small amount light green and a medium green and condition those for the watermelon rind.
You’ll also need a small amoutn of white clay and black clay for details, so condition those into tiny balls and keep them to one side.
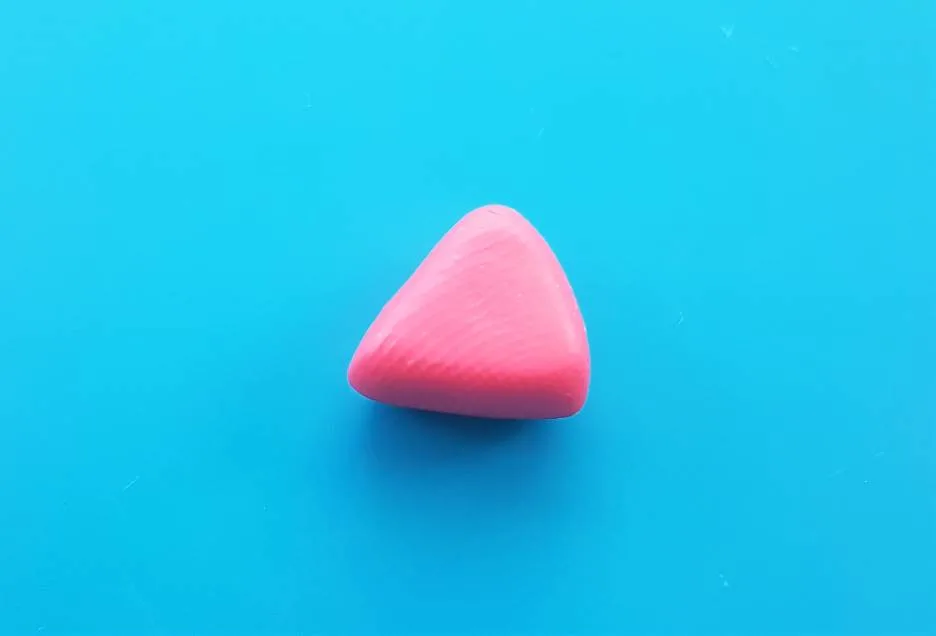
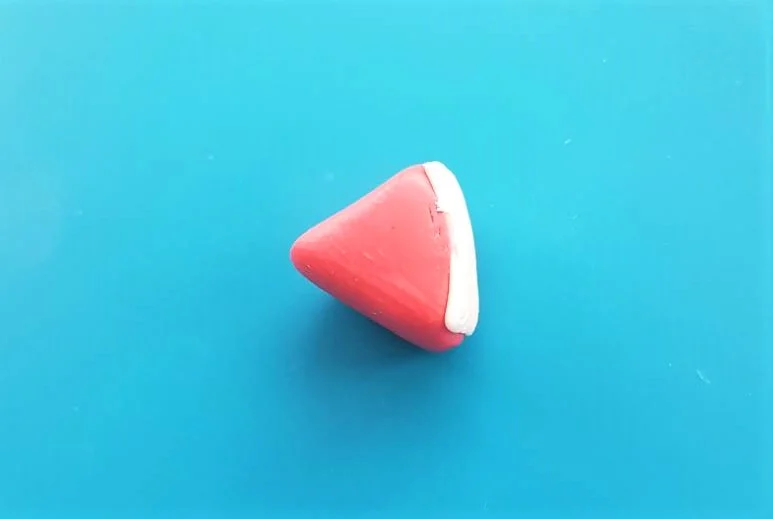
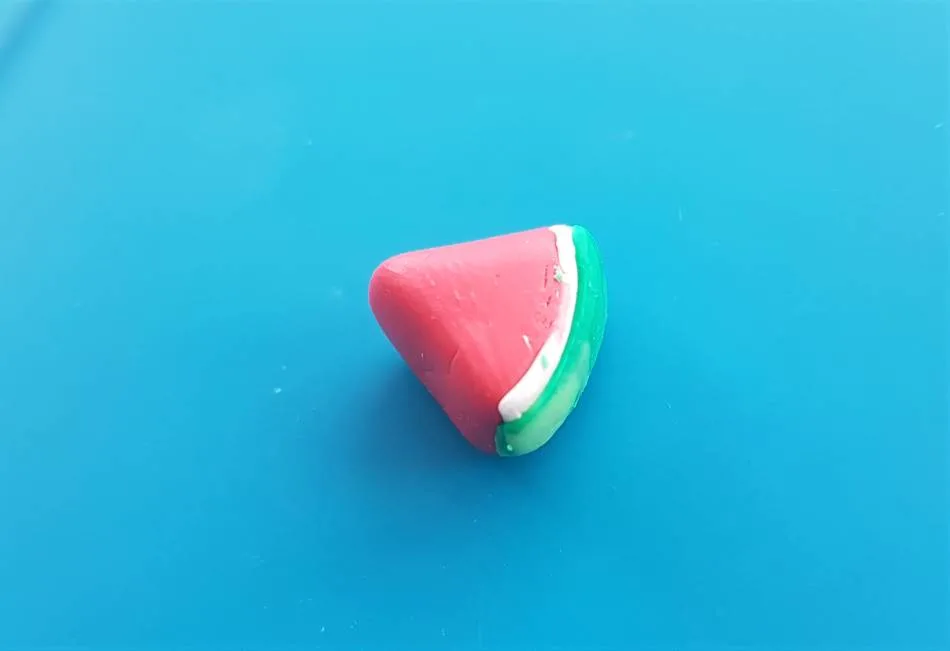
Step 2. Divide your watermelon clay into two slices and shape
Take the reddish pink clay and separate it into two pieces, and begin to create a triangular watermelon slice shape with your fingers.
Take your time with this until you are satisfied. If you would like to remove fingerprints from your design, simply wipe a small about of rubbing alcohol over the surface of the clay to smooth it out.

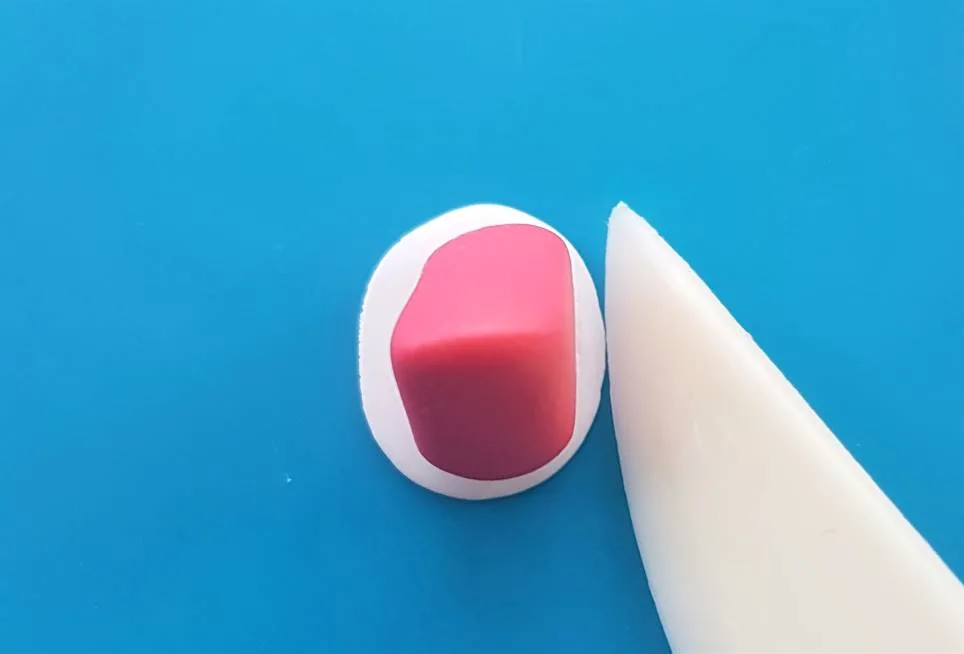
Step 3. Add a layer of white clay before the rind
Roll out your white polymer clay into a nice thin layer. Then place the base of your watermelon slice onto the white, and slice around the edge to make a trace.
Attach the white clay, as pictured below. You shouldn’t need to use glue, as the white clay layer should stick well, but if needs be you can add a small amount to bind the clay.


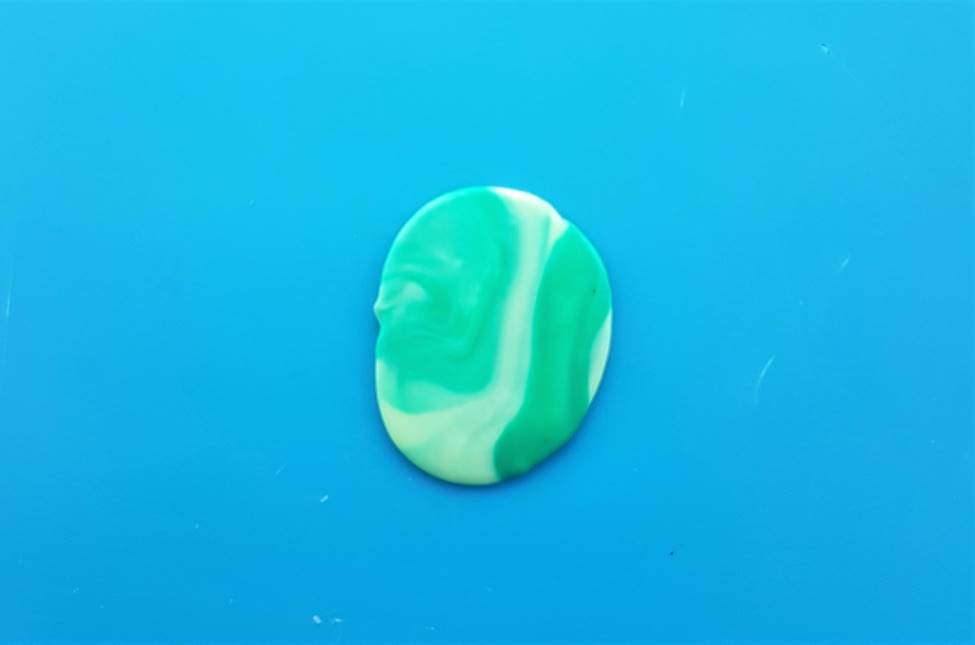
Step 4. Create your green watermelon rind
For the rind the easiest way to create a realistic effect is to marble two green clays together to create a nice contrast, which can be seen on real watermelons.
Take your light green and medium green clay and start to combine the balls between your fingers, until you are satisfied with the marbled effect.
Roll out the clay and place the base of your watermelon onto it, like you did with the white, and cut around the clay.
Then use your fingers to smooth the rind to the watermelon, until it looks something like the below.

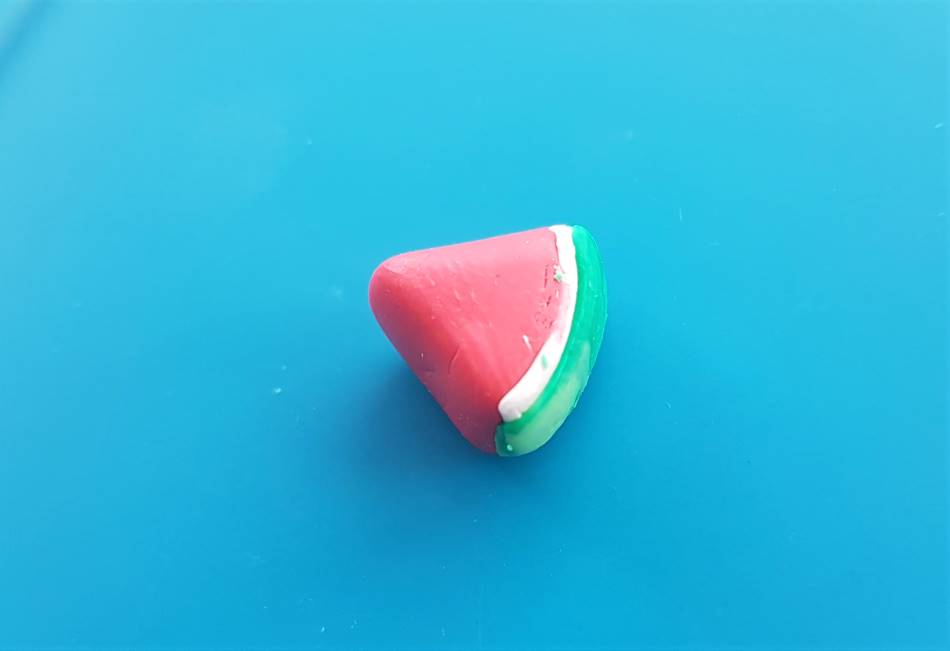
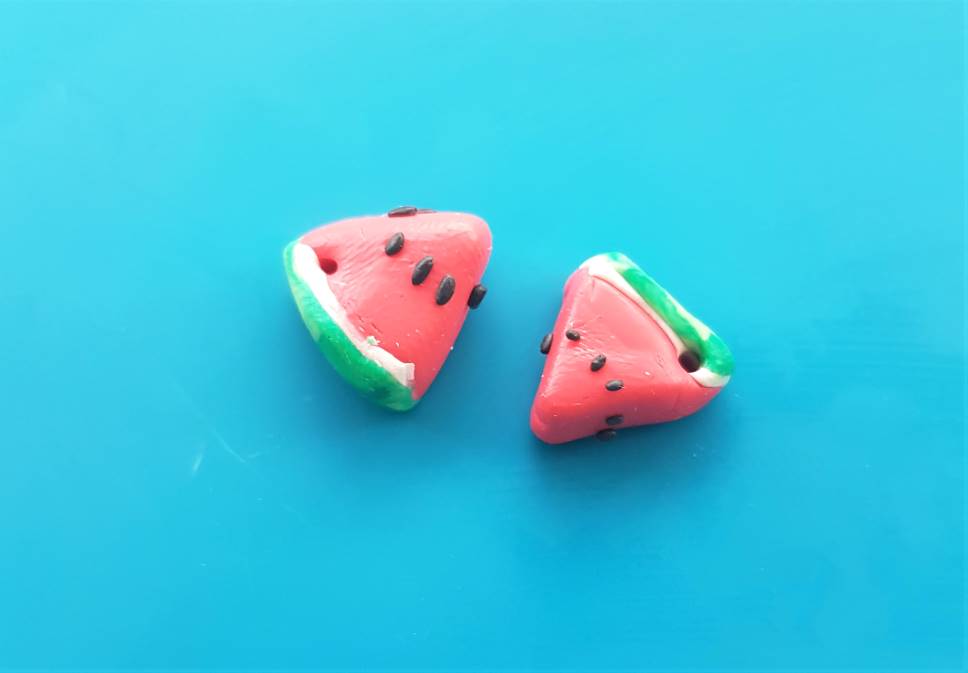
Step 5. Add your watermelon seeds
Take your conditioned ball of black clay and roll it out into a very fine string.
Take small cutting from it and roll them into tiny oval shapes to form the seeds.
Place them onto your watermelon to add detail.
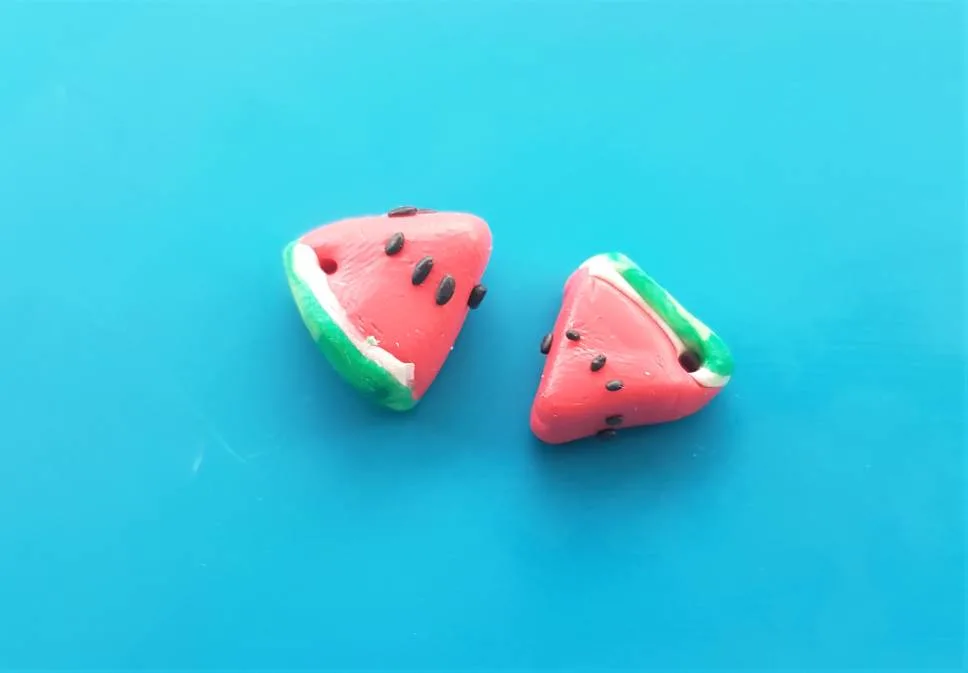
Step 6. Add holes for the jump rings and then bake your watermelon earrings
Add holes into the clay for your jump rings and earring hooks to attach to.
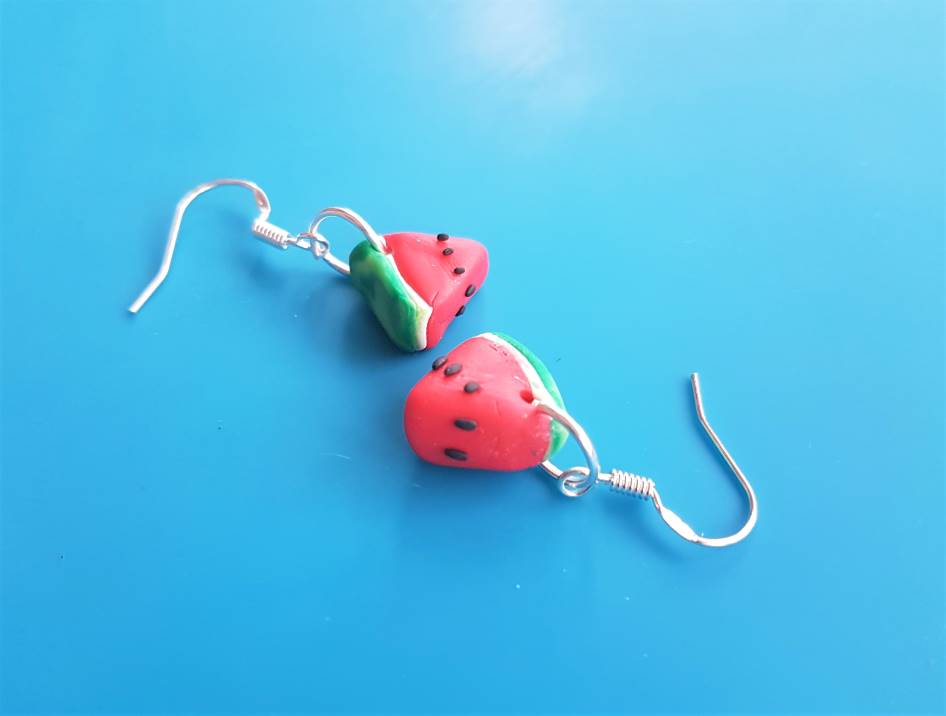
Bake the designs in your oven according to the packaging instructions of your chosen brand of clay. Allow the earrings to cool and then add your jump rings and earring hooks to the designs and they are done.
Here’s how they should look:

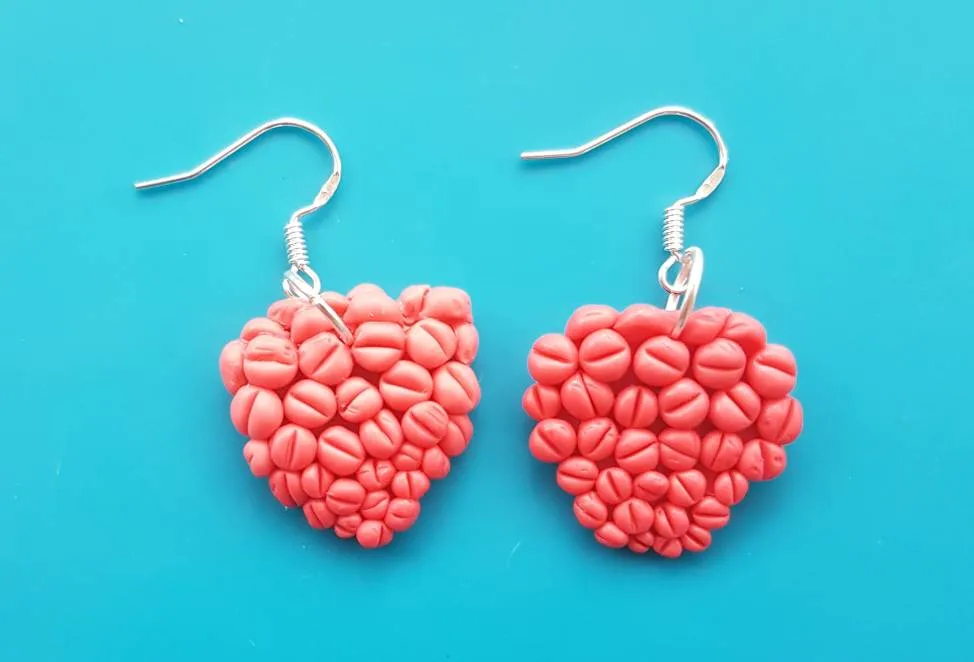
6. How to Make Polymer Clay Raspberry Earrings
These detailed raspberry earrings look impressive, yet they are surprisingly easy to make. Here’s a breakdown, step-by-step for you to follow for these berry fruit polymer clay earring designs.

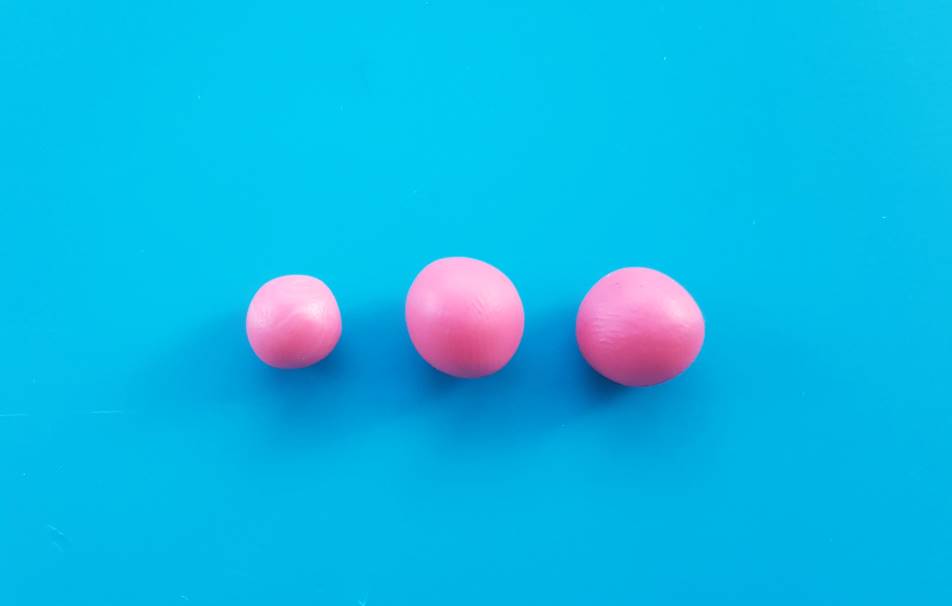
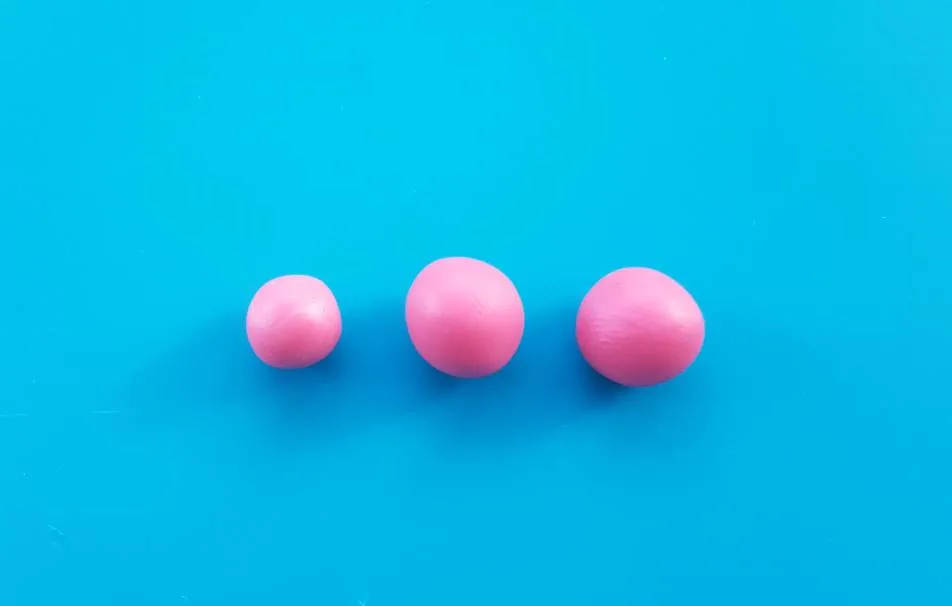
Step 1. Condition your clay
Roll out a ball of raspberry coloured clay and divide it into three parts. Add a little bit of white clay to one ball, to make it slightly lighter than the last.
Add some more white clay to another ball, so it becomes the lightest pink of the three, but keep it subtle.
We are trying to create a gradient of pink, like in real raspberries. The darker balls will form the base of the raspberry and we will use slightly lighter balls to form the top.

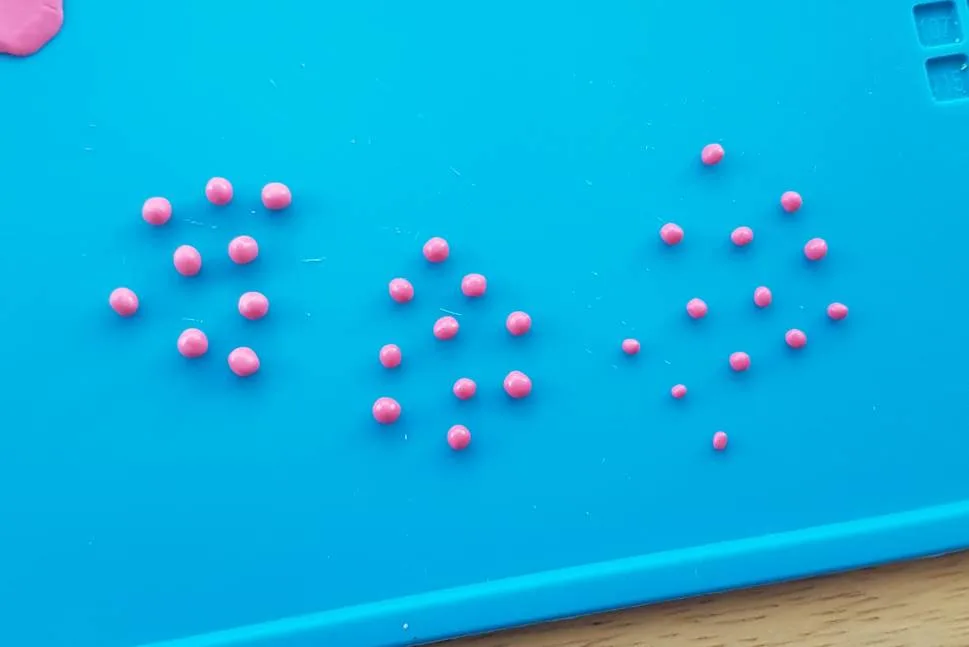
Step 2. Divide the clay into small balls and add a lined detail to each
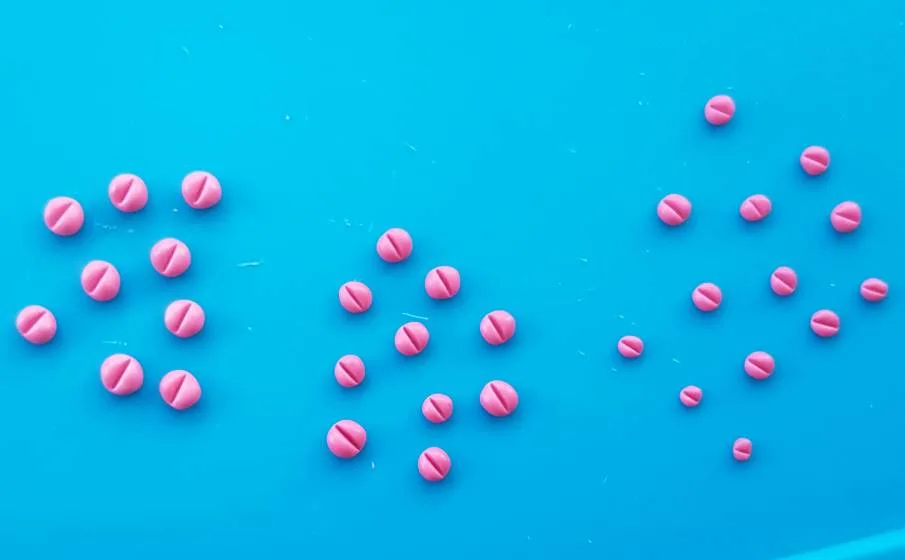
Divide the clay up into tiny balls to form the raspberry body, and using a pointed tool press a line of detail into each, until they look like little coffee beans, as pictured below.
The darkest pink balls should be slightly small, for the bottom of the raspberry.

Step 3. Create a base for your raspberry
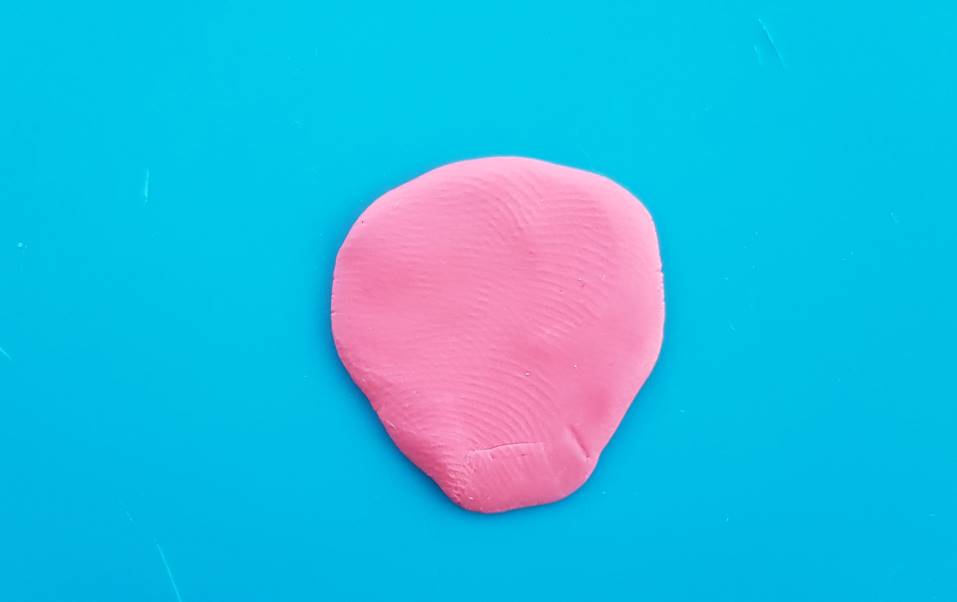
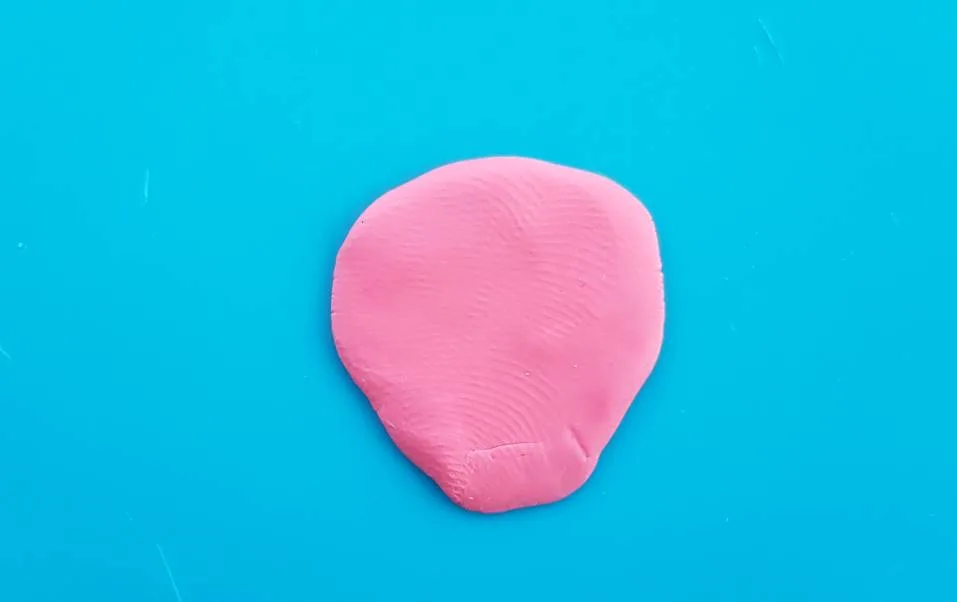
Roll out some raspberry colours clay and press it with your fingers until it forms a raspberry shape.
Step 4. Add the little balls to the raspberry base, and create a hole for the earring jewellery
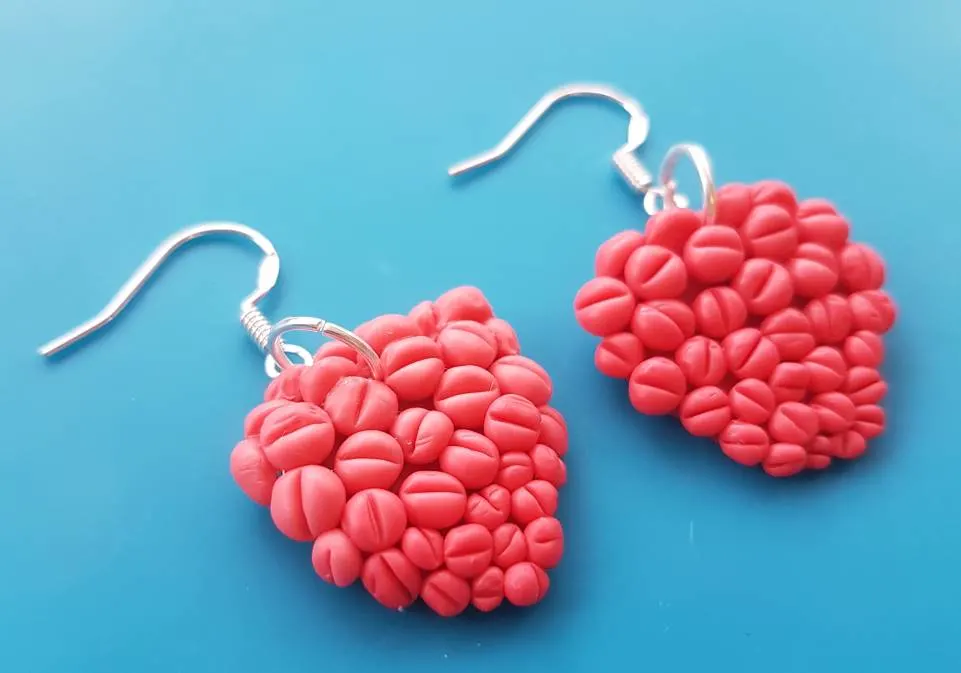
Take some polymer clay glue and smear a thin layer over the raspberry base. Then take the balls of the darkest pink and begin placing them on the bottom of the raspberry, working your way up and finishing with the lighter pink.
See the gradient effect and the hole in the below picture?


Step 5. Bake your raspberry earrings and then add the jewellery
Bake your raspberries according to the packaging instructions of your chosen brand of clay.
Allow them to cool, and then add the jump rings and earring hooks with a pair of jewellery pliers.
They are done!
Here’s how they should look:

Conclusion
Thank you for reading my article on ‘5 fruit polymer clay earring designs’. I hope you found it informative and you now feel excited to go and craft your own fruit earrings!
I also provide articles on: a How-to Guide to make polymer clay earrings for beginners, a Sales Guide for selling polymer clay earrings on Etsy, a comprehensive Cost Guide, and a bumper list of earring Design Ideas, so you’re never stumped by clay-makers block!

Lorna is a footwear geek and the founder of Wearably Weird. She created a YouTube channel in 2021 for fellow footwear fanatics, dedicated to detail-rich footwear reviews and info. She has a fashion media qualification (awarded in 2011).